Google Pixel 2 Complete Tear-down and Restoration By Mobile Refresh
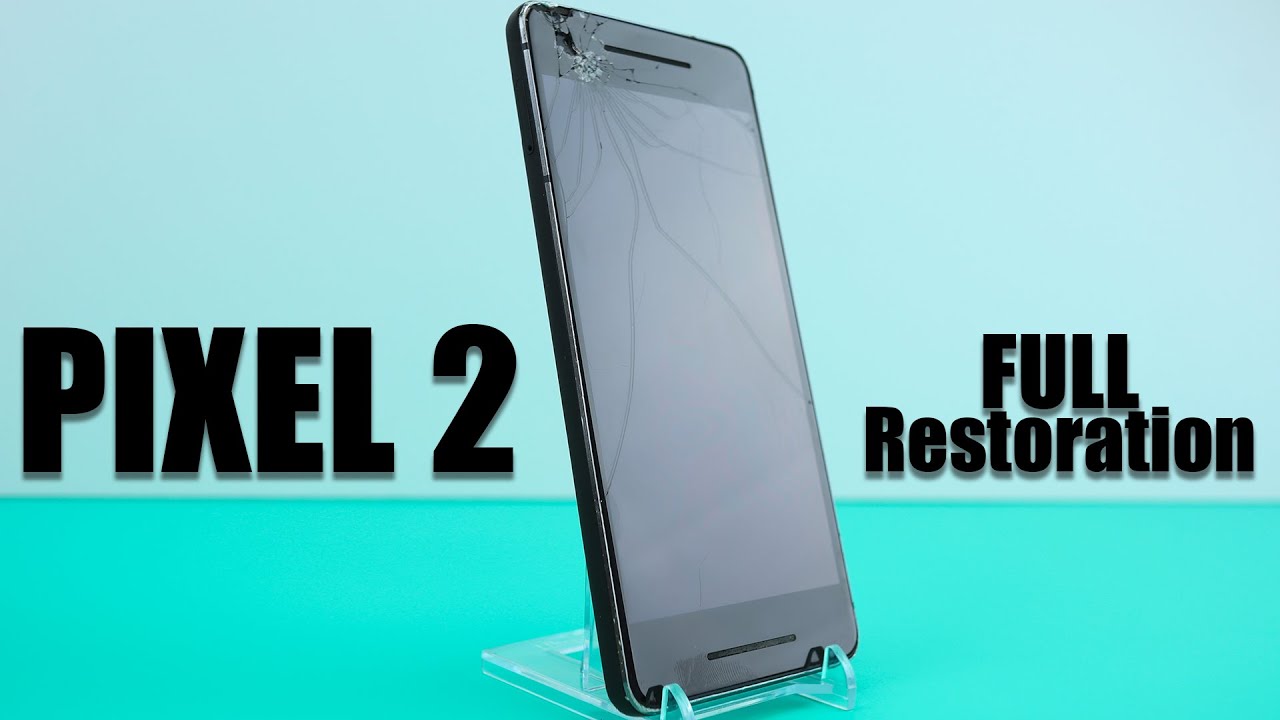
Hey everyone today we'll be doing another restoration, video. This time we'll be on this Google Pixel 2. This thing has a damaged LCD, cracked front and back glass, and the frame is just in bad shape. So I thought this would make a great restoration video. Let's get into it. First, we will need to apply heat around the edges of the screen to soften the adhesive.
Normally you want to be really careful when removing the screen mine is damaged, so I don't really care about damaging it. Now flip the screen over, and you will find two torn t5 screws holding the connector once the screen is out of the way we will need to remove 11, Phillips screws and one torn t5 in the corner, with the mid-frame removed, we need to unplug the battery connector first before we start tearing this thing down. Let's start by removing the charging port and the loudspeaker, there is one screw holding down the charging port unplug the antennas and then the speaker. Let's go ahead and remove the speaker as well as the vibrating motor and charging port. Next, we will need to remove the board.
There are two Phillips screws that hold it down pop the sim tray out, and now you can lift the board. You want to be careful when lifting the board. There is still a connector underneath it now, with the board removed. We can remove the battery. I apply some ISO all around the battery.
This will soften the adhesive. Now, with the pry tool, carefully lift the battery next up, we will need to remove the fingerprint sensor, apply some heat and then just push it out. After this we will only have the active edge pressure sensor to remove. You will need to apply some heat and then just carefully remove the ribbon, cable and the sensor all right. Now that everything is removed, we can take our new housing and start reassembling it in reverse.
So, okay, we now want to go ahead and test the display before we install it. Now that we see it works, we can apply the speaker mesh as well as the front camera bracket, remove all the protection film and plug in the display. Now we can do a final functionality test before we apply pressure and seal the phone for this repair I'll be using this holding mode to apply pressure evenly. You can use clamps or rubber bands, it will work as well. There you have it a completely restored Google Pixel 2.
, hey thanks for watching. I hope you enjoyed this video. Please hit the like button and subscribe for more videos like this I'll see you in the next one.
Source : Mobile Refresh
Phones In This Article
Related Articles


Comments are disabled
Latest Articles


