Fixing a Smashed Phone Screen - on a budget! (GLASS ONLY REPAIR ATTEMPT) By DIY Perks
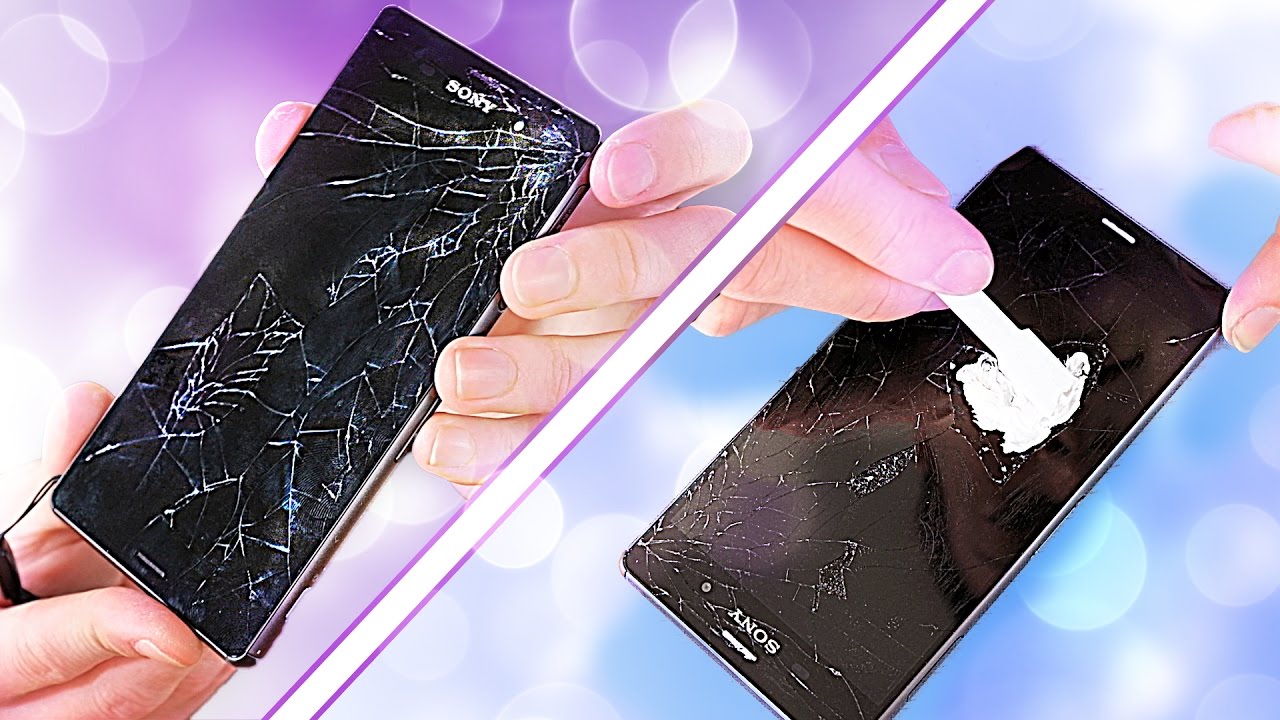
In this video I'm going to be fixing a smashed-up phone screen on the cheap, will I succeed, let's find out now, although the screen itself is completely smashed, the phone works fine and the LCD panel also is ok. It's just the glass on top, which has the digitizer, which detects your finger presses. That is just completely gone, so you didn't detect. Anything is essentially dead and unusable. So this is going to be a bit of an experiment really to see whether it's possible to replace just the glass and not the LCD panel, because I will allow me to keep the original LCD rather than a cheaper, lower quality replacement. So the first thing to do is power off the phone and obviously because the touchscreen doesn't work I'm going to use a USB, OTG cable.
This can simply be plugged in to the side, and then a computer mouse can be used to power off the device. So with that done, we now need a set of tools. These can be found online for very cheap mine were about 4 pounds which is about 6 dollars or so, and I'll put links in the description to a set like this for your convenience. Now we'll also need a pretty powerful hairdryer, and we're going to use this to soften the adhesive. That's holding the phone together to make it easier to disassemble, so I'm, just going to put it on the maximum heat and just going to put it all around the phone ? heater in like two minutes now, and it's time to try and pry it off, so I'm, going to just shove this little metal thing underneath, and now I can move on to the plastic tools, and the idea with This is that they are designed, so they can't go too far in so that they won't damage anything like a ribbon, cable or something like that on the inside.
Yes, so the next thing to do here is just disconnect the battery and pull it out. I've also got to unplug various ribbon cables at the bottom here and also remove you know bits of plastic and things until I reach. The screen cable now this needs to be very, very carefully unplugged, so that when I remove the screen later, it will be able to come free, okay. So now, with the back all free with the panel and digitizer disconnected it's time to remove the screen- and this is going to be the toughest part of this product because, as the screen is just so shattered, it means that if I were to try it off just like we did the back, it would crumble away and that could potentially damage the panel that's attached to it. So what I want to do is potentially a little crazy.
It's either crazy or a stroke of genius, not sure which yet and what I'm going to be doing is gluing on a piece of aluminum to the glass to support it whilst I price it off and to do this, I'm going to be using some epoxy, and another thing I need to do is bug up the speaker grilles, so that the glue doesn't glue onto the sort of fabric thing. That's underneath so now. I've just got to leave this to dry and now that it's dry I'm, just using the hair dryer to heat up the aluminum which should in turn heat up, he says that's holding the screen in place. Ah, this does not look good, oh okay! So that's not worked at all. The glue has just not adhered to all the glass, and it's just pulled away.
A few of the shards I think one of the reasons why the glue didn't stick properly is because on the instructions it says that surfaces have to be lightly, sanded, which I didn't do, so I'm just going to likely sand the glass and then fill the gaps with some cork, so that the second attempt epoxy won't glue to the screen itself, which is what's in these gaps and now just try it's hot okay right. So that's working nicely. Okay, so it's off at last. That was definitely not as clean as I would have liked it to have been. But hopefully the panel is undamaged, so we'll, we'll see in a bit whether it still works, so I'm just leasing up the screen and digitizer here to soften the adhesive, again nice and hot okay.
So that's a bit too hot to touch I've got work quickly before it cools down, so I'm, just using a fishing line here just to separate the screen from the shattered glass digitizer that it's stuck to come on, don't get stuck. It feels like it's gotten stuck on a piece of glasses and look still going right. Almost there Hey, okay, there you go right so that looks like a horrendous mess, so we'll see whether it once I've taken all this stuff off whether it's actually still works and is still in good condition. Okay, guys got some bad news. I've just noticed that on this corner, part of the screen has broken away.
It looks like this must have been just stuck too hard to the digitizer for whatever reason and the same thing on the other side. Just here you can see there's a little of glass still attached to the screen very strongly and there is sort of like a crack there. We go between it and the rest of the control thing, so this controls the screen. So to be honest, I think that's that's the screen done for yeah, I've, just removed this corner glass, and it looks like they've, actually dabbed a small amount of glue directly onto the screen like a different type of glue, and that must be just much stronger and not really affected by heat. So I have no idea why they would do that.
It could be to stop people repairing them. I don't know, but you know if it weren't, for that this would have worked. Oh dear well, I think it's pretty safe to say that that isn't working so that didn't quite work out as hoped, but what I've done instead is gone and ordered a replacement screen with the chassis. This was 40 pounds from eBay. It's a used part.
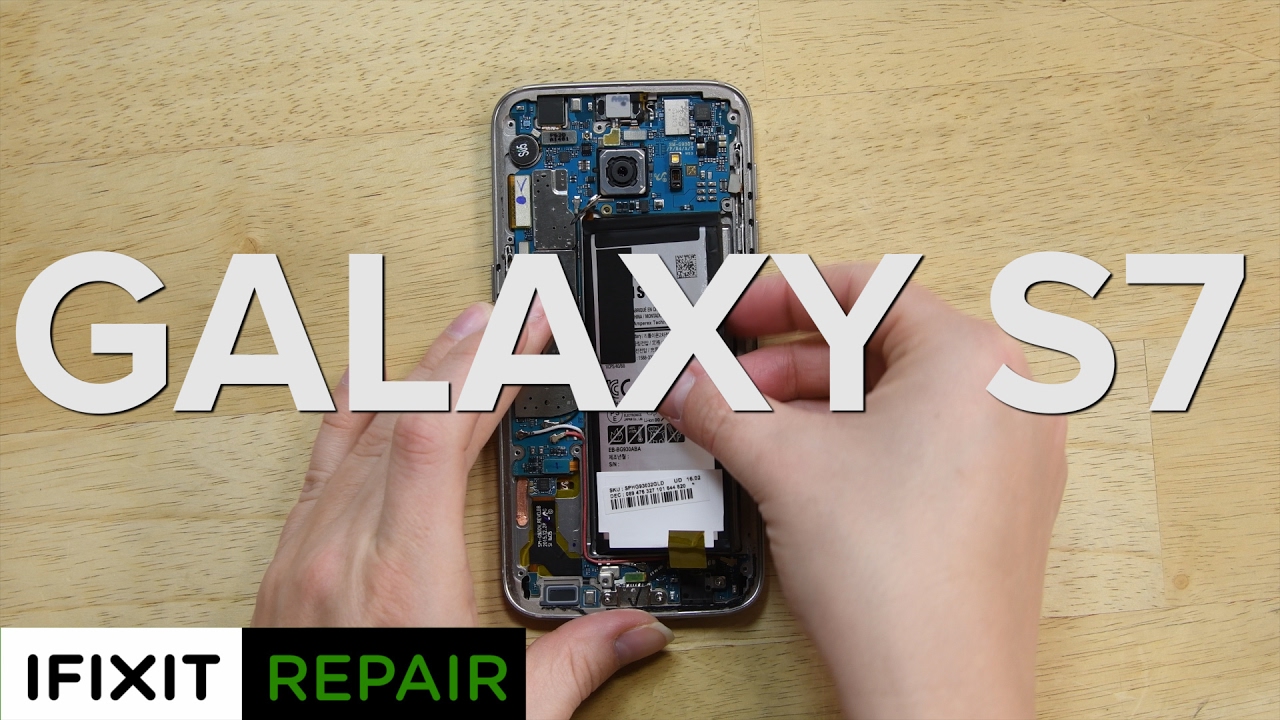
So it means that it has the original screen, not a cheap replica. So it's ideal and it looks like new. So another benefit of this is that, rather than replacing the screen, it's just a chassis, so I'm going to be transferring the motherboard and things and that's much easier. So it's just a case of putting the old components into the new chassis. This has to be done very carefully, so nothing is missed and here's the motherboard itself.
So this is essentially the heart of the phone. Well, the operating system resides and everything is processed, and this can just fit in like so, and then it can be followed up with the camera and then the battery, and once the back has been stuck back on, it's ready to test. Will it work? Yes, yeah great, so there we have it fix and fully working at last now, it's time to return it to its rightful owner. I might have something for you, so I think that's it for this video I hope you've found it interesting. It's certainly been quite an interesting one for me, because I didn't know where it was going to go and in conclusion I have to say you know that is just not worth it and that if you're going to repair a phone to just replace the screen and digitizer right, so I'm Matt, you've been watching DIY, perks and I.
Hope I see you next time. Goodbye for now.
Source : DIY Perks
Phones In This Article

Related Articles


Comments are disabled
Latest Articles


