Sony Xperia 1 HDR Camera | How to use Manual Mode | Part 1 By WhatGear
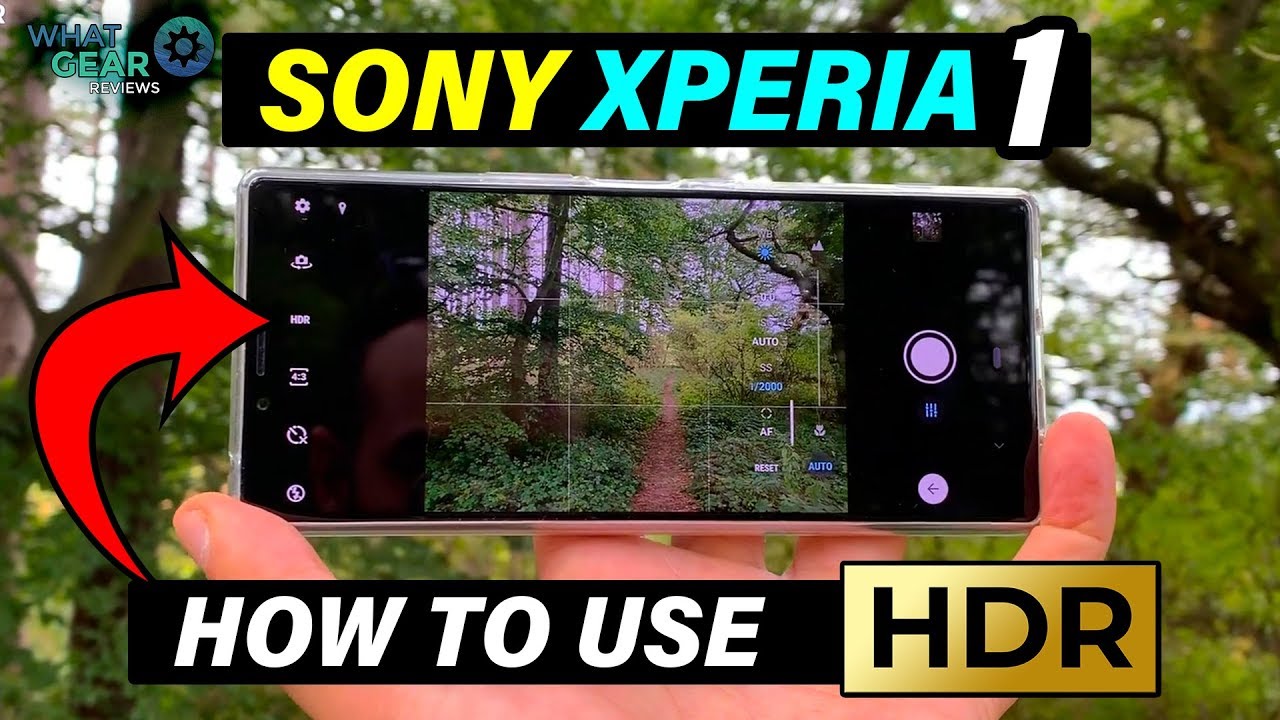
Okay, so in this video I'm going to break it up into two parts, because I realized that some of you are going to want to take photos. Only handheld, as some of you are gonna, want to use a tripod. So I will start off with the handheld settings that I would use, and then we'll look at some settings. You can utilize if you have a tripod, let's go alright guys. So when you are doing the handheld photo in manual mode first thing: you're going to want to do is go into manual mode. There's a couple of ways to do it.
You can either go to mode and manual or there's these little things here, which you could push that picture to manual mode. The next thing you're going to want to do is go into your settings here and look at this a metering, it's very important so, depending on what you're taking a photo of you're going to want to adjust this. If you set it to face it's gonna measure, the light only hit in the face of the subject: you're shooting. If you go multi, it's going to take everything that it sees and work out the average of the light, and then it'll be measuring using that or center. We use only descent to pass up the photo and then spot you can actually choose so, for example, and it's just I'm raining alright.
So when I got to the park, it was really sunny, and I thought it would be a perfect opportunity to get some height. Dynamic range photos for you guys, and literally it's just I pouring it down. So we'll have to head back to the house to finish up this video. If you guys, let's try that again, shall we and now empower Vista, and it hasn't rained in 2050, and I'm, going to show you how to unlock the power of the Sony Xperia one using the manual settings on the camera, and this will apply to pretty much any Sony Xperia phone and also pretty much any other device. But the settings may look a bit different if you're using a different device, but anyway shall we begin.
Let's begin alright. So this is the manual settings on the phone. Okay, you need to do just going back briefly to while speaking about before. Is the metering so face multicenter in spot or say like this, where we just want the entire seemed to look nice, we can use multi. So it's going to measure the like based off what I can see the entire frame right, let's start from the bottom or from the left, if you have it in portrait with the first setting, which is autofocus so here you can of course, focus in on things in the foreground, which is gonna.
Give you that nice blurry background what things forever away, which is gonna, give the foreground some blur. So here's an example of that. Well, I like to do sleep on or tho at first now in this really bright lighting condition. One of the issues here were shutter speeds. If you go too slow because it's going to expose the photo so in a very bright lighting condition, you're gonna need to use the fastest shutter speed, which also means it approaches and moving stuff like this.
When you take a photo, it's going to capture that moment without any. If you want to add a little of motion, but you can see slower the shutter speed of it, I'll show you somehow you can use shutter speed to get a brighter image, even if it's darker next thing is pie, so so I highly recommend you keep this as low as possible in bright lighting conditions. The only time you're gonna work now office, witness a bit darker and I could brighten the scene, but a lot with that. Keep it in mind. If you go too high with this ISO you're going to get a really sort of distorted and pixel image, so, in my opinion, no curve, while they a hundred, which is about their know, anything more than that you might ruin the image, then you guys suppose about you again.
This is going to adjust help right. Your images, I always say this to loss and once I get the picture, how I want it to be denying just it in a very bright condition like this? What you're, gonna want to do is have it on the lowest, because you don't need to bump up the lighting it's over as a bright lighting condition. Take your photo there white balance now I'm going to show you what each one of these things do so cloudy moment is actually ideal for this. Setting right now is a bit of clouds, and it has a bit of a warmer tone to the image. Sunlight bright light will actually give you quite a nice image as well.
It kind of gives you a more accurate tree to life image, especially in this kind of lighting condition. Then you've got this incandescent mode, which gives you a slight blue, attend and then even more blue is starting to talk about left to right when you said HDR you're, a service which semantically cannot change that jumps out HDR immediately. So if you're going to be using HDR like this, mainly just the shutter speed, the e V and the white balance, do you got more focus on there's a bunch of stuff you can do like so, in effect, lens correction? If you need to be well within the settings so when it comes to shooting handheld with the manual settings, I highly recommend, you don't go for an exposure time this longer than one quarter of a second, you can just about get away with half a second. If you have really steady hands, if you don't do go slower than one quarter of a second, how the manual settings work now just keep in mind once you figure out where you want to dial in those settings, and you can pretty much use them throughout the whole day. So for me, I'm using one for thousands of a second on the shutter speed up using the daylight white balance.
HDR. So don't need to worry about ISO, and I'm. Also using manual focus, so I could choose if I want that flowery background of blowing all around. So let's go and take some photos around the island hope you guys enjoyed this video and if you have any questions for me about the settings, leave that in the comments below I have to apologize for the audio quality in this video forces of nature were against me. But anyway, if you guys are interested in seeing my manual settings on the exterior one from night mode and hit this thumbnail just on screen right now, if you enjoyed this video hit the thumbs up subscribe, and you will be one of the finest subscribers known to man- see you in the next one.
Source : WhatGear
Phones In This Article

Related Articles


Comments are disabled
Latest Articles


