iPhone 7 Screen Replacement shown in 5 minutes By JerryRigEverything
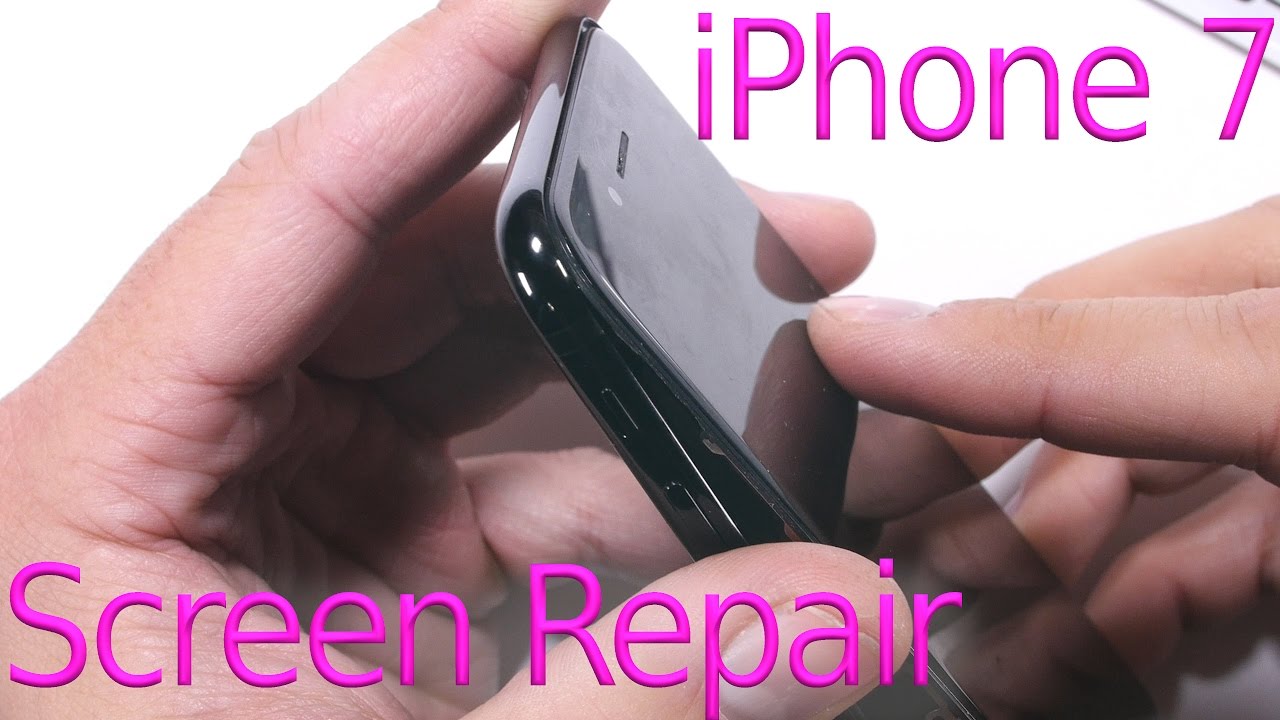
Today I will show a screen replacement on an iPhone 7. Remember, this is harder than it looks so make sure to watch the video all the way through before you decide to dive into your own repair. As always, you attempt this project at your own risk. Turn off the phone and at the bottom of the screen there are two pentalobe screws – the same ones Apple always uses. Since there are copious amounts of adhesive under this screen I found it easier to use a thin metal pry tool instead of a suction cup. Slipping it in-between the metal frame of the phone and the plastic frame of the screen.
Then gently twisting the tool to pry up on the screen in a controlled way. There are a few ribbon cables along the right side of the phone that are extremely fragile so do not put any stress on them whatsoever. A little bit of heat will help soften the screen adhesive, so if you’re struggling bust out your mom’s hairdryer and warm the screen up. The trick is the releasing the top edge of the screen enough that you can un-tuck it from the top edge of the metal frame – that’s what is holding it in place. The adhesive you see stretching is structural, it is only for keeping water out.
Your phone will not be water resistant anymore after replacing the screen, but a cracked screen isn’t water resistant either. After releasing that top edge the phone unfolds like a book and you can see those incredibly fragile ribbon cables I was talking about earlier. This metal plate protects the connections to the main board. It is held down by 4 Y shaped screws called a tri-point or Y000. I’ll link all the tools that I use in the video description.
I unplug the battery ribbon first and then unclip the two screen ribbons right next to it; they just unsnap like little Legos. Up here at the top of the phone we have another metal plate held down by two screws. This is protecting another ribbon cable so pop that off and the screen comes loose from the phone. The screen is made up of multiple components and these components need to be transferred over to your new, unbroken replacement screen. If you need a replacement screen I will link them down in the video description along with everything else.
To start transferring components we need to remove the huge metal plate from the back of the screen. There are 3 tri-tip screws on either side. Make sure you keep all of your screws organized throughout this project. It is incredibly important because nearly all the screws are different sizes and you do not want to mix them up. One more screw is at the top holding down that big metal back plate, and two more screws above that holding down the earpiece bracket.
Once that earpiece bracket is set off to the side, the earpiece speaker can pop out and you can see the little spring contact points that rest on the little golden circles; this is how it receives its signal. The front camera ribbon cable is just lightly glued into the frame so be extremely careful. Pry that out making sure not to kink or tear it. Here is the ribbon itself. It has the front camera and all of the other front sensors attached to it.
On to the home button. I’m going to explain a few more things about this little guy at the end of the video so stick around for that. There are a total of four screws holding it in place. Remember, keep them organized. The home button bracket can then be removed and the metal back plate itself can lift off.
It has a little bit of adhesive holding it down to the ribbon cables and even if your old screen is broken to bits it’s still a good idea to go slow while removing this so you don’t break anything new. And I’ll just reiterate that the ribbon cables are extremely fragile; they can tear like paper. Now that the big back metal plate is off, the home button or touch pad can be removed by unclipping the little Lego like connection and then dropping it out of the hole in front of the screen. Now I grab the new replacement screen and I start installing the original components on the screen that isn’t broken. Line the metal back plate up with the little screw holes on the sides and then tuck your original home button from your old phone up through the hole and plug it in.
Get the bracket screwed back onto the back of the home button making sure to put it over the little circular tabs on the metal back plate. And then those 4 screws on the back go in the same holes they came from originally. Then the metal back plate has 6 screws to tighten it down; all of them those same little tri-tips. Then we have the front camera ribbon. Fold that back into place like an origami master.
The earpiece with its springs will sit on top of the little golden circles and it will be held down with two screws. Then the top bracket will go down on top of the earpiece with its own two screws. Now to reconnect the screen. The funky looking ribbon cable at the top clips in like a little Lego. And then the bottom two ribbons plug in next to the battery connection.
Remember these ribbons are like paper so do not kink or rip them. Get the battery plugged in and then I’ll test the screen out before I screw all the metal plates back in. If your screen is dark or has lines running through it or doesn’t respond to touch, it either has a bad connection with the main board or it is just a bad replacement screen. Everything looks good on mine so I turn the phone back off and screw the metal plates back in with their original screws that I kept organized from earlier. Remember that the top edge of the screen goes in first and the rest of the screen gets gently placed down after that.
So if your frame has been bent by a drop you might have to unbend it a little before your screen will fit into place so watch out for that. Don’t press too hard and crack your new one. I’ve seen it happen. Now back to the home button. Since this phone is so new, this video is showing literally one of the first few times the iPhone 7 has been taken apart in the wild.
After reading online several other people are complaining that their home button does no longer function when attached to a replacement screen. Apple has played dirty in the past with Error 53, not allowing people to fix their own phones. So it wouldn’t be super surprising to me to see Apple pull more anti-repair shenanigans against their own customers. But obviously we have to wait until we get a larger sample size of broken phones. If you have repaired an iPhone 7 leave any tips down in the comments below.
Remember, if Apple really is disabling the home buttons of repaired phones, you can get around it by using the on screen home button located in your settings. And if you enjoyed seeing tech reviewed from the inside, hit that subscribe button; I’ve got a lot more videos coming. Bonus points for following me on Instagram and Twitter and I even post an occasional behind the scenes Snap Story on Snapchat. Thanks a ton for watching. Hope to see you around.
Source : JerryRigEverything
Phones In This Article

Related Articles


Comments are disabled
Latest Articles


