Google Pixel 2 (G011A) Teardown + Screen Replacement By Group Vertical
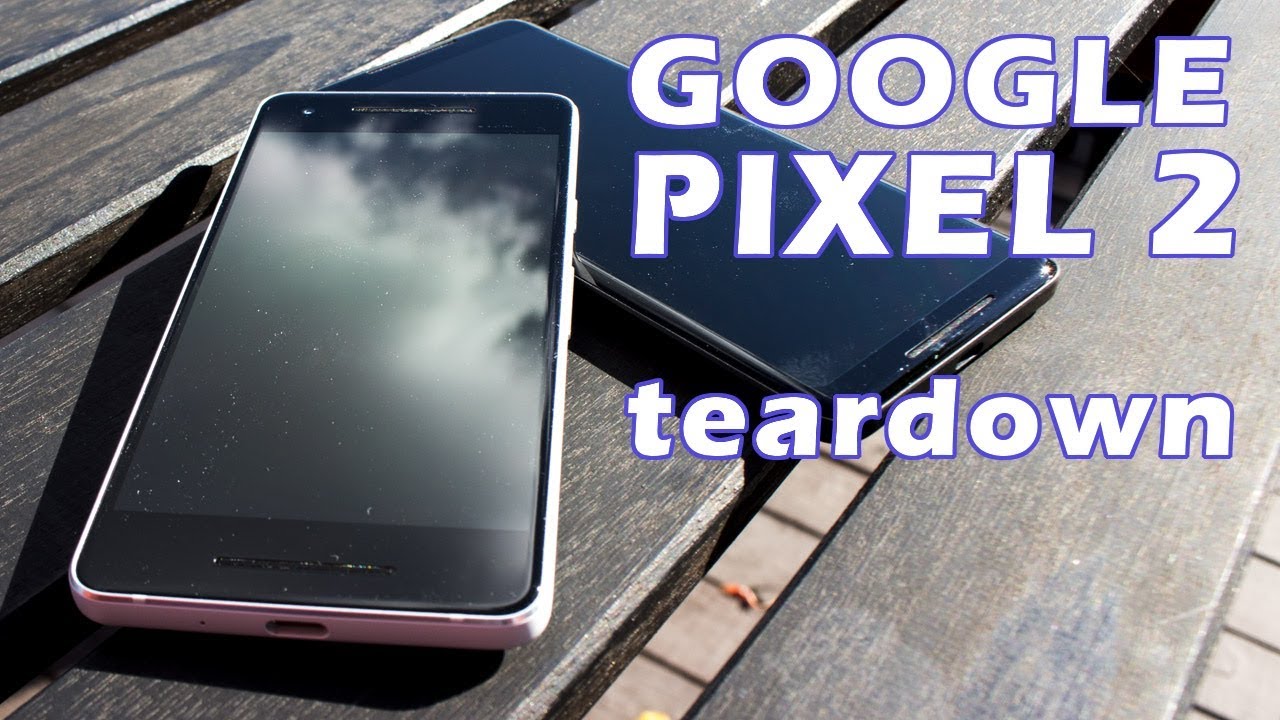
Find out, what's under the hood of the Google Pixel to our friend holder from holder, Tech came by to tear one down inside some familiar parts, some new ones and some missing ones check it out. Thanks for watching the Google Pixel has an ip67 rating, so we expect to find a fair amount of heat adhesive around the outside and around the ear speaker. Grills, we're gonna start by carefully lifting one corner of the screen, placing a guitar pick and carefully moving it back and forth to cut the adhesive. We're going to keep a couple of those picks in there to keep it from sticking back down again, and then we'll gently flip this back up, and we see basic adhesive all the way around the edges. And then, if we see some waterproofing and around the ear speaker grills well from here finish, removing the display by removing these 2 t5 screws, lifting on this little cover plate and then using a plastic spider to come in here and just popping that connection off and our screen is free. Ok, next thing we're going to do is remove the mid-frame here.
We're going to remove all the screws around the corners one in the corner, this top corner is going to be the t5 and the rest are Phillips. There's also a couple grounding tabs one right here that we want to peel back and the other one here partially covering this screw, and we'll start with a t5 at the top right hand, corner of the phone make sure when you're pulling these screws out that you're placing them, so you know where they go and all the screws go back in the same holes come under this little corner here and carefully lift this up without too much resistance and in the bottom, we've got another little sensor. Also, that your proximity sensor will have to be careful when we replace that make sure you remove this from the front, lift it off the alignment pin here and carefully get under it. Yeah, almost like a proximity sensor, and that looks like everything out of the mid-frame. There is an ear speaker glued in will get under that and remove it, and that's one speaker out.
The other loudspeaker is down along the bottom. Here will not worry about that. You know we'll get them, and we get the dock port out, but that looks like everything out of the mid-frame. Okay, the next thing we're going to do is remove the battery, even if you're working on something else on the phone at your earliest possible time. You want to make sure you disconnect the battery with this pop connector right here leads down to the lithium-ion battery.
Then we'll move a couple of things out of the way we've got a little grounding plate sticker pop it up and pull it off. This way there we go and that's the dock port cable, pull that back and out of the way the volume flex, cable, I'm, gonna, disconnect that and bring this out of the way. So I don't snag it. That's your power button and volume, flex, I'll move that here a little, and then we'll come in and carefully. You may need to usable two heaps off enough that a piece of underneath or not looks like it's coming up.
Okay, gently tip that up and out of the way- and there is the battery all right next to come out to the dock port and the loudspeaker along the bottom. Here, we've disconnected that cable. We have one screw in the center here we're going to remove in this again standard Phillips, but then I'm going to remove the service antennas and there's two of them. The white one right here, gently pop that up and do you wrote it little the way, there's a little clip that holds it in place right here, get that out of the way, and then we'll come to the black one over here carefully, come in with a nylon, spider and we'll. Do you out that and get out of the way, and I've seen anything else holding this in place? So, let's see if we can get underneath it pull it away from the bottom there's some adhesive holding it loudspeaker and dock board coming.
The vibrating motors. Also, right here, is soldered on the bottom of the board. Someone wants to be donen't want to be. Yanking is too much here. What we're seeing here is a seal with looks like dielectric grease to help protect from water intrusion, and we will then see if we can lift out the vibrating motor fairly easily and again kudos for making this a modular part.
The dock boards, a high wear item being able to repair to replace that without soldering is a real bonus, so vibrate motor that is soldered to that board and the extension, cable and the dock port. Alright next thing we're to do is pull the logic board out, and we're gonna start with the SIM card, we'll get that out of the way and then disconnect the cables for the little squeeze sensors here pop those off Google uses those sensors to enable the hey Google feature on their phones and working around the board, making sure that we don't have anything else that needs to come off. There are two screws located here and here we'll remove those two and then checking once more to make sure we don't have anything holding that board in, and we don't and carefully remove and then take a look at what we've got here. You do have the fingerprint sensor plugged in on the bottom, so we'll want to be really careful that MMM that pop connectors held in with a little Tapton tape. So we'll peel that away that wasn't the fingerprint sensor we're going to leave the two antennas on there.
You need to replace those what you generally don't and move this aside and then take a look at the board. Front-Facing camera right here, we'll remove that, and this is the back facing camera. This has the optical image stabilization, which you can tell by it moving here, pull that one first, because it's convenient and that's the rear, camera 12.2 megapixel and will disconnect the front-facing camera, which, if memory serves, is an 8 megapixel, very good for this level phone and no optical image, stabilization, there's a fixed lens move off to the side here and see. If there's anything else, that's serviceable, it can be removed here, and it does not look like it looks like that said. Ok next thing we're going to do is pull some things out of the chassis here, and we're gonna start with the home button.
There is a copper shield here, protecting that I suspect. There's going to be some good adhesive on here, holding that home button in, so we'll gently cut that away peel that away, and that gives us our home button. The copper tape can stay there and will work down into our squeeze sensors using decent amount of adhesive on those to hold those into the chancing we're going to slowly and patiently work early, a fair amount of adhesive holding those in to the sides. Here, it's like a series of sensors, it's just a piece of holding them in place, and we'll turn our attention to the other side. Moving too fast here, we'll tear these apart, so take it slow, be patient.
Ok looks like the only thing that really leaves us with now is gonna, be the volume and power flex cable, so we'll pull that gently out of there. Now flex is attached to small. The board here should lift right out same on this side. I just got the clip up with it. Pull this one out, while we're at it and home button and volume flex, looks like the dance about it, except for the back glass will heat that up, and we'll pull that off.
Next camera lens comes out the inside here, that's pretty straightforward, and it has more waterproofing adhesive to hold it in place of that lens. You can replace it that fairly easily. That way and in several attempts to get a purchase point trying to pull this back off of here, we have not had any luck in getting that to separate, not for like train. So if you're looking to replace the back glass expect a struggle, if you're able to get it out at all and yeah- that's not coming out of there. So that looks like that's about as far as we're going to take that one down without completely destroying it all really nice design, very serviceable.
Most of the parts are modular so fairly easy to get pieces in and out of this thing. So if you feel comfortable with the repair just take your time, take it slow if something's, resisting you, there's, probably a reason either more adhesive or you missed a screw, so be very, very careful with that, but all in all high points for surface ability to Google, alright. So here's a couple of tools that we used to pull the screen enough. We use the suction cup and a couple guitar picks and some assorted pry tools, we'll get you in there. We do have a good flat.
Pry tool is essentially get under the screen, nylon spider to work under some of those connections. You don't want to use metal when you're coming in direct contact with a board, then of course the standard double zero, Phillips screwdriver and a t5, that's about it pretty, pretty simple and our tweezers, of course, get our sausage fingers into those small spaces, and that's about it. It's all it takes. You.
Source : Group Vertical
Phones In This Article

Related Articles


Comments are disabled
Latest Articles


