ZTE Blade X Z965 - Screen LCD Glass - How To Repair - Charging Port By Jose Morales
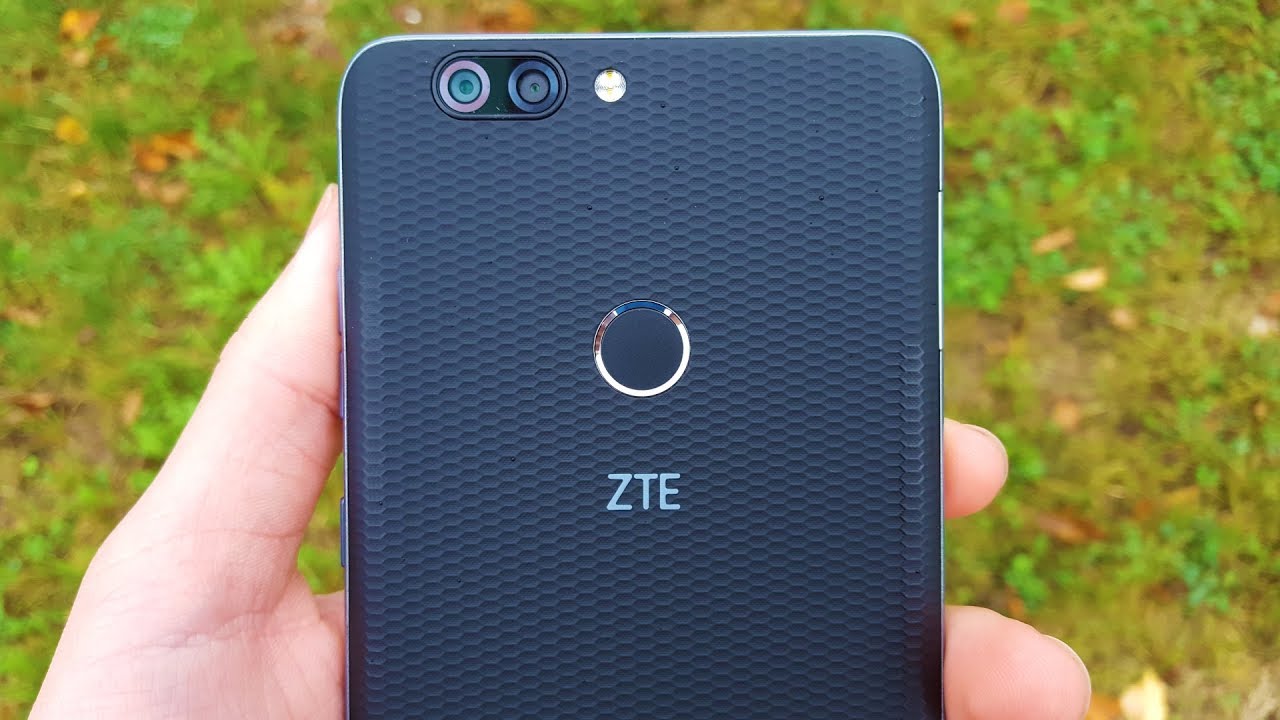
Welcome back to another video I know: it's been a while here, I'm back with this CPE blade, CT blade X, which is something very similar to this one right here then I already make a video how to take. Apart on the city, c-max blade the display on this one is 6 inches and on the other, one is 5.5 HD display both of them comes with the type C charger. Okay, we're going to do today, we're gonna. Take this one apart, I want to show you guys how to take it apart or just in case you guys need to replace a battery or the screen. The city max blade comes with dual camera. The rear camera is comes with two of them, and the city blade X only comes with one single camera, which is I, think it's a cheaper version of no more talking.
We're going to put our hands on this phone right now, we're gonna start by removing the back cover something I noticed on this city East and most likely always they use the same powder I mean not only the city, every every every brand used the same pattern. The way they manufacture the phone, we're gonna just use our right razor blade to remove the back cover just doing what I'm doing right here. It's a plastic back cover, so it's not gonna, give too much fight, but we got to be careful. Because I see it has a fingerprint sensor right here, so it's gotta be a cable name. We don't want to rip that cable.
We are almost there. I'm gonna just start from the other side. That would be the safe. This way, as you guys can see it just came apart and as the CTE c-max blade is very similar. If you saw that video it's going to be very, very similar, I could say I'm opening the same phone.
The way the screws are displayed in this cable, which is the fingerprint sensor. I, just remind me at the other forum, it's just a smaller version. Okay, we're going to go ahead and see if it's that true, when I, remove all this curse, I just remember all the screws then add a different color. Please keep them separately, don't confuse the position of them, because if you do so, you might be piercing the screen because they might be longer or shorter. We don't know so just try to keep the screws in the same order, how they come from the factory.
Okay. Now we have removed all the screws. We're going to go ahead in the attachment this middle frame, which is holding down, or this cable and also is protecting the which is the motherboard. You know still just I'm going to keep using my razor blade. I am very gently: I'm gonna just slide it in between the screen and the frame you can.
You have to be very gently, you make sure done. Don't scratch the frame. Okay, I forgot to remove the, which is the SIM tray. You're, just going to go with the razor blade all around pretty similar for what we did with the back cover. It's Nana, it's not a big chain, so I'm going to go all the way around.
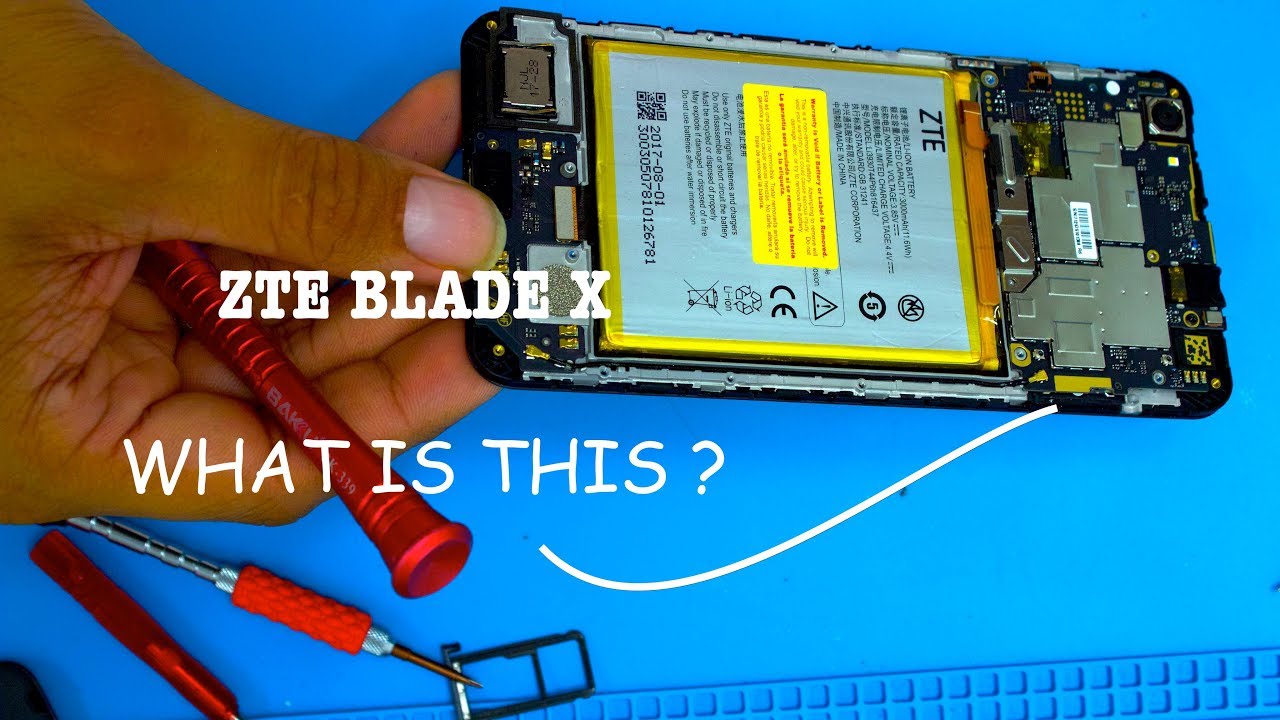
Like I told you very gently, be as professional as you can. I know your own phone, but one day could be somebody else's phone I feel like something is stacking here. So let me just zoom in, so I can show you what is going on here feel like something stuck inside here. Oh wow, look at that! That's something new on this phone, that's something very new! We have a pantalone screwdriver right here, I, don't think it's as small as the iPhone I'm gonna, just try. It sees, Wow! Look at that.
I used the same one I used to remove the iPhone screws. I used the same one wow. That was something different there you go. You see that tiny screw holding down this way. Okay, that was something new.
Then we discover on this phone and just basically that's it. I'm going to take this middle frame out of the way it comes out like that and, as we can see, we have right here the model bar and the other components. This cable, which is just attached with this clip right here. We just lift it, and it's going to be released from the side and the bottom of the phone. We have the charging port, which is the antenna always when you open this phone, don't forget to connect this and this cable back.
If you don't do it, you're not gonna. Have any signal. Okay, this cable right here this other cable just is the one that connects the charging port to the motherboard sigh. We have the microphone which is even right. There told you don't touch it, but you know we're going to go ahead and touch okay.
All right, if you want to like to do a charging port replaced on this one. Just all you have to do is disconnect these cables right here and use like a razor blade, and you're gonna. Lift this little board then, is uh on the bottom of the phone. It's really really really stack it there. So I'm, just gonna, lift it like this, and it's only glue.
It's only hold down by Pew, as you guys can see. That is the microphone then I'm, talking about right, alright, to remove the motherboard installed, is only gonna, be one screw right here and of course we have to remove this little cables right here we have the power bottom. The volume bottom is only one single, cable, ? and also the battery. All we got to do is lift this metal plate and holds it down, and we're going to expose the battery the cable. Then it comes from the charging port and the digitizer I'm.
Sorry, the LCD, that's gonna, be the LCD, and we're gonna just lift this marble, which is uh just hold down, but some clamps right here, as you guys, can see. Let me try to do it from the top and very gently just pull it. I want to make sure I'm not ripping any cable off I feel some something it's like. Okay, it's just a little of glue. Not even much I think is that tiny piece right there? Okay, so that's gonna, be the motherboard.
We can see the front camera and the back camera and all the sensors right here. So there we have the ear speaker and the loudspeaker and on the middle frame we got the vibrator and some other antenna connections and all the stuff. So basically that's it on this phone as a different from the other ones, then we have open. I can tell you this only have one single cable, one, single cable for the LCD and digitizer, very different from the form from the CT max Pro and the city max blade, okay, I'm gonna, just very quickly remove this battery just to show you I'm going to expose the cables then are behind battery. As you guys know, this city always are kind of glued down the, but it is perfect.
So you are straight there you go is giving up it's giving up guys. So, just let me just pull it a little more I am from here. I can squish my fingers and boom. Just like that. Don't worry about this battery, it's okay, yeah! That's what I told you guys, as you guys, can see right now, the arm this cable, which is the LCD and digitizer one single cable for both of them.
So that's the big difference between the old version in this, like a smaller version of city max pro, or I mean this city blade X. Basically, okay, there you go if you would like to replace the screen. That's as far as you can go, and from here you just have to remove the screen and install the new one. You can fill up this cable, which is the LCD connection. We're going to go ahead and put these back together, so you guys can see this one still work after we just destroy.
Okay, let's go okay! Here we just have to connect this fingerprint sensor, cable and just the same way. We open it. We're going to close it down. Just going to push press this. Until you heard the clips attach into their to the front part of the phone there.
It was not it's not a difficult repair on this form. We can see it's pretty similar to the other one. We have done. Okay, everything is closed. Very nice now we're going to go ahead and put the single screw, which is a little pantalone screw we're going to use they're like the same one, you use stuff for the iPhone bottom screws I'm using the same one.
There you go I'm, not going to force it too much, but that's basically that's that. Okay, now oh I'm gonna just put back all the screws. Now we're just going to close this down, and we basically press are really hard squish, it makes sure everything is clipped on, and the last part put it back. There seek tray. Okay guys there will be everything that will be all on these, how to pick the CDE blade X, which is a version made for Circuit and I hope you guys enjoyed the video.
If you please help me out to get the thousand subscribers I will really appreciate. It. I mean the world to me and as always, thank you for watching, and I'll. See you in the next video I hope I, bring you another fun to fix, and I hope. This is help you something help you to save some money and thank you guys see you next time.
Source : Jose Morales
Phones In This Article

Related Articles


Comments are disabled
Latest Articles


