Samsung J6 Plus Not Charging By MST
Hi guys today we have Samsung g6 plush charting board to play. We got this phone with problem when you put the charger on the battery, lid goes on and goes out goes in and goes out. Let's fix this problem. Try it first to clean the charging board using the clip and brush with alcohol to see if I can fix the problem without opening the device. Opening this device is very hard and the operation will takes too long time. So we can first try to solve this problem without opening to open this device.
We need to take out the screen pairs taking out the screen. First could damage the screen, so it's better to do that. As you can see now the battery cable goes out. It goes in and then out and then in now we are going to remove the screen and start the operation. Take your time there is no need to rush.
You can hit your screen at 256 degree for every spare. Second uses the plastic card to push the screen. Remember don't put the card between the LCD and the screen. You need to be exactly to put that plastic card under the screen and the LCD continue. I have speed this up.
The operation took for me about 2 1 in minutes to finish, to remove the screen without any harm or damage, and you ?, you should do this work. Maybe you took 30 minutes to open the screen without any damage. There is no need to rush and take your time I'm going to meet you in a few minutes after I finish removing the screen. We are almost finished, remove the clip and then remove the screen clicks cable. Then we can remove the screen easily.
Okay, easy with the flex cable. There is adhesive, you can push it or just again heat it with a block, so the adhesive can be soft. Then the screen can be easily removed, take out all screws from the board. The second thing removes the SIM card slot. Remember.
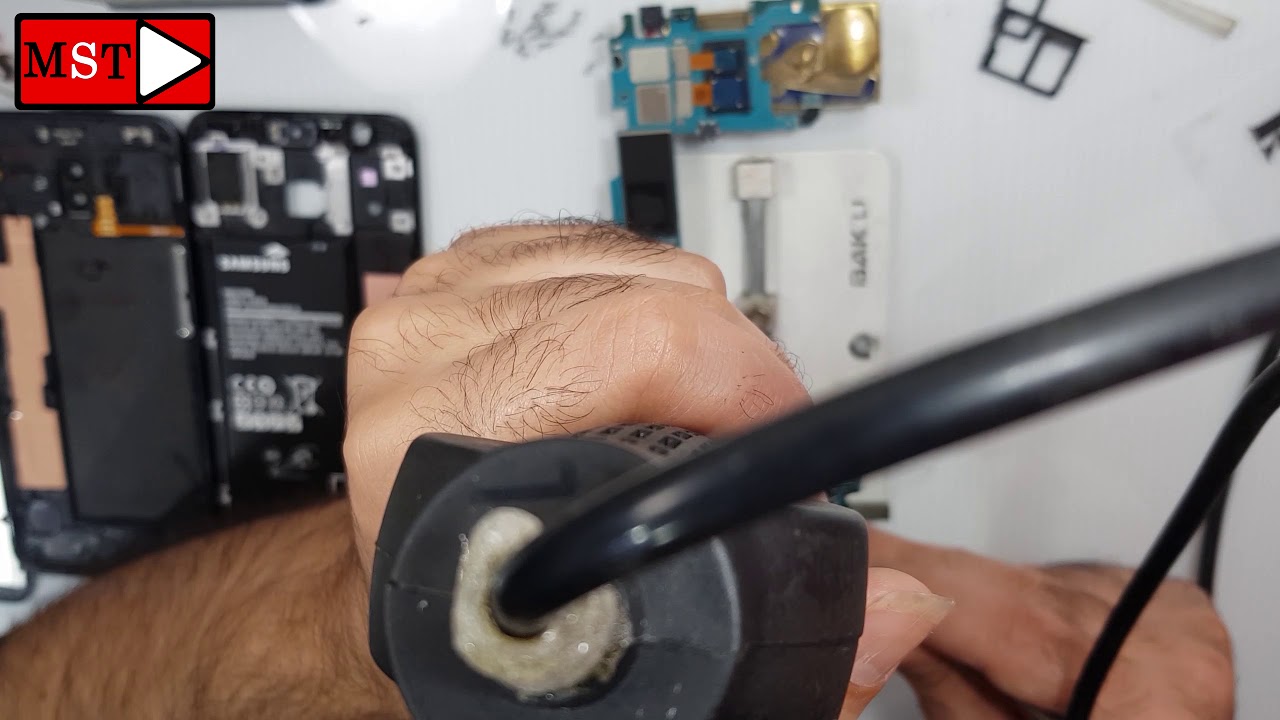
Maybe there is two SIM card slots, remove them and then push the frame out from the border. Now remove the SIM card slot. Okay, we have to screw black screw, remove them, so the board can be easily removed. Put it in the holder, bring van yo charging port, then solder, the charging port, but now soldering paste. Now you can use both heat gun and soldering iron so easily can remove the charging port, the old one, I'm.
Sorry for the view, I didn't see that I'm on the way. There is nothing complicated. This is going on. You just need to heat it, remove it and then bought the new one. That's it I stopped working because there's a hole connected to the microphone.
The southern best could click on that and making a problem with the microphone, so I swipe it you'll have to clean it. If there's something happened to you, you can see it in the hole near the audio jack, the black one. There is the hole. Okay! Now you can maybe remove it. You can remove it, push it with the soldering iron okay.
Now, if all pins are looking good, you can both the new one immediately. There is no need to abort or resold during their pens, and that's it wait for it to goes on the place, make sure the pins are connected to them new charging port. After you see that happen, you can then release all your work and assemble your device adjustable charging. You can wait for five minutes, or you can use this air blower I just wanted to check the voltage of the charging voltage. Okay, it's for a point: 4.30! Okay! We are now good. We can now assemble the device we fix this device.
The problem has been resolved and that's it now. You can assemble the device back the way, I disassembled it and that's it. If you have any questions, just write it in the comment we'll see in the next video don't forget to Like and subscribe, see ya. You like/subscribe enable the ring. Click subscribe in the circle for any questions, write it below.
Source : MST
Phones In This Article

Related Articles
![Xiaomi Mi11x vs OnePlus Nord Speedtest [SD870 vs SD765G]](https://img.youtube.com/vi/G4FN80iLqj4/maxresdefault.jpg )


Comments are disabled
Latest Articles


