Oppo F11 Camera Expert Mode Explained in Detail By VickGeek
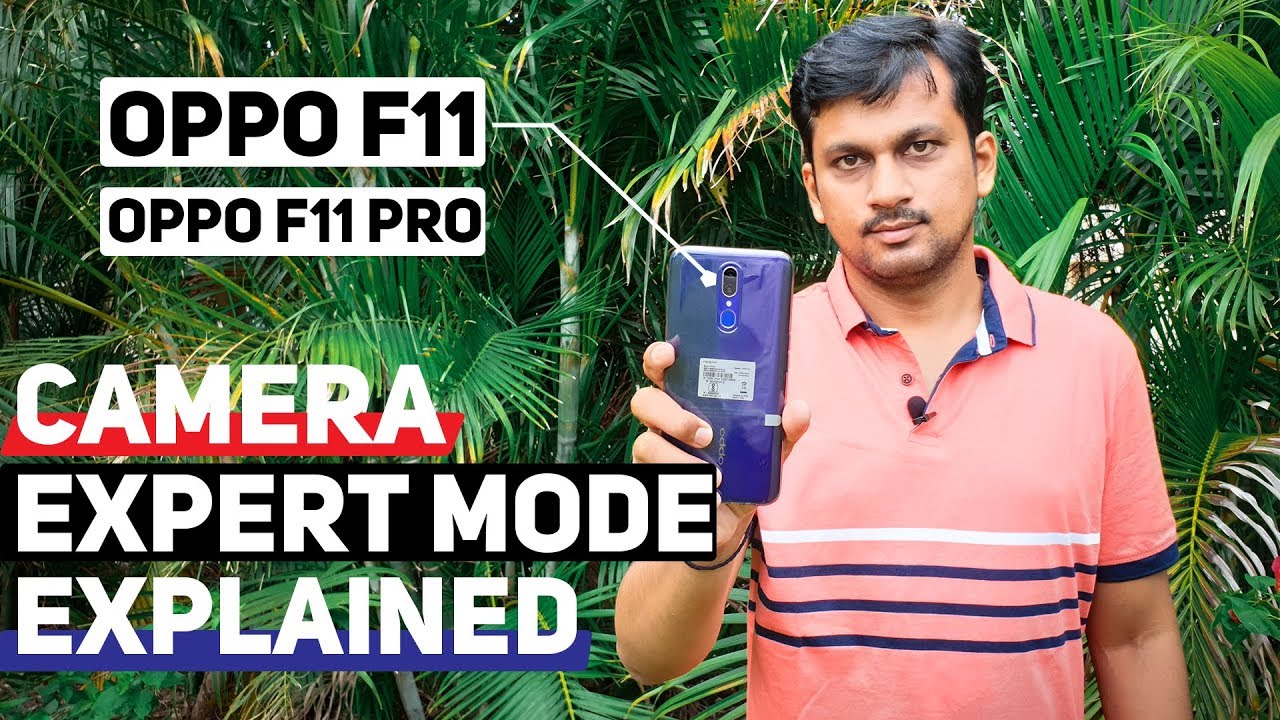
Hey guys welcome back to another video in this video I'm, going to show you a POI, f11 camera settings in detail. Now, a lot of you asked me to show the expert mode of this. Oh, boy f11 how to use the feature and, as you guys know, full expert mode is available on this open fluent and the settings that I'm going to show. You also imply to the OPPO 11 Pro, because similar settings have been shared in both the phones. So, let's look at it, and before we begin this video, as always, if you are new to my channel, don't forget to click on that. Subscribe button also hit that like button and share it with your friends all right guys.
Let's look at the oh boy filaments, camera settings in detail, so the first thing you want to do is to go to expert mode of course. So now there are so many options, customizable options here. The first one is white balance. Now white balance is used in order to get accurate, looking colors. This is basically temperature setting.
So the lower the number, the cooler it gets, the more the number the warmer it gets as you can see, especially in oh boy, flowing and oh boy, full of intro. They have actually given to customize the number. Usually you don't get this customization and there are only preset options, but, as you can see, complete customization is given. Sometimes the camera doesn't recognize accurate colors. At that time you can actually use and peak like this, and even you say that you want to get some cold looking images of any portrait, then you can actually tweak the number and just click the picture to get accurate, colored looking images or say, if you want some cooler, looking images, you can get that as well.
So this is the white balance, here's the exposure. Now they have divided into shutter speed as well as ISO. The ISO starts from 100 and goes all the way up to 3200, which is awesome and the exposure of setting, as you can see, 1 by 8,000 seconds now how to compensate as you can see, it got darker as soon as I tapped on the one by 8,000 of a second and one by a tune of a second, is very, very fast, shutter speed that mean if somebody is walking or somebody is running here- and you want to freeze that moment. You can capture it with this shutter speed, but you have to compensate the ISO, as you can see: 100 ISO I'm, just changing it to around 600 ISO. Now this is perfect exposure.
Then I'll click a picture now, even if somebody is actually crossing or if there is any movement here, movement of leaves or moment of persons fast moving objects, while changing the shutter speed. So this is the thing and, as you can see, it goes all the way up to 16 seconds. Now again, while you are keeping 16. Second, even if I keep the ISO 200, as you can see, it got completely bright. That means this setting is not actually preferred for this kind of environment.
Again you have to put the ND filters for this one. So, basically, if it gets darker here, then you can actually slower the shutter speed to get that accurate exposure to images. So this is how you tweak the settings with the exposure value as well as ISO. Now there is Eva here, as you can observe. This is exposure value.
Now, again, let's say by default. The picture is capturing here with highlights blown up right. So if even is there are some clouds, the dynamic range is not getting covered properly, then I can use Eva and under expose a bit and instantly. As you can see, the clouds are visible properly. So this is how you change the exposure value which is Eva.
The next one is out of focus usually for landscape images. You can keep zero point. Nine five, zero point, nine six, so that gives you proper, sharp, looking images and for the let's say you are capturing some close-up images such as this live, as you can see, leaves then I can actually bring it to like point. Five point: seven five, then click the picture for sharper results, so, as you can see, even if I click the zero or tap on zero, as you can see how close it can get so for close-up. Looking images just tweak the autofocus setting ? based on this in the end situation again in order to reset everything, as you are seeing, there is auto here, just tap on auto and everything gets reset.
So these are very important settings based on the scenes based on the situation, you can change and get exact, looking images you always crave for so this is the basic setting, and once you tap these settings here again, there are a couple of settings. As you can see, there is shot to sound. There is grid. I, always recommend you to use the grid mode here so that you get properly composed images. And similarly, you have location, GPS tagging there is Flip selfie.
There is watermark, you want watermark, you can enable watermark. Here again, you can actually write the name which is again awesome. Lot of phones skip that, so you can actually give your own name. So, let's say I type this just take back, so I have been able to watermark and when I click a picture now you'll see there is customized watermark here, oh boy f11, so copyright mark is here Wiki. So this is how you can enable watermark as well.
So this is the expert mode. There are a lot of settings that you can again change in photo portrait modes, so I'll be covering those in another video. This was just about explaining expert mode on the OPPO f1. Hope you like this video now go ahead, use the proper modes, proper settings just as I explained and take some awesome. Looking images all that guys see you all in another.
One don't forget to click on that subscribe button for more follow up, updates of videos about the Opp, so see you all in another. One till then take care everyone, bye, bye,.
Source : VickGeek
Phones In This Article

Related Articles


Comments are disabled
Latest Articles


