HTC One A9 LCD & Touch Screen Replacement Guide - RepairsUniverse By Repairs Universe
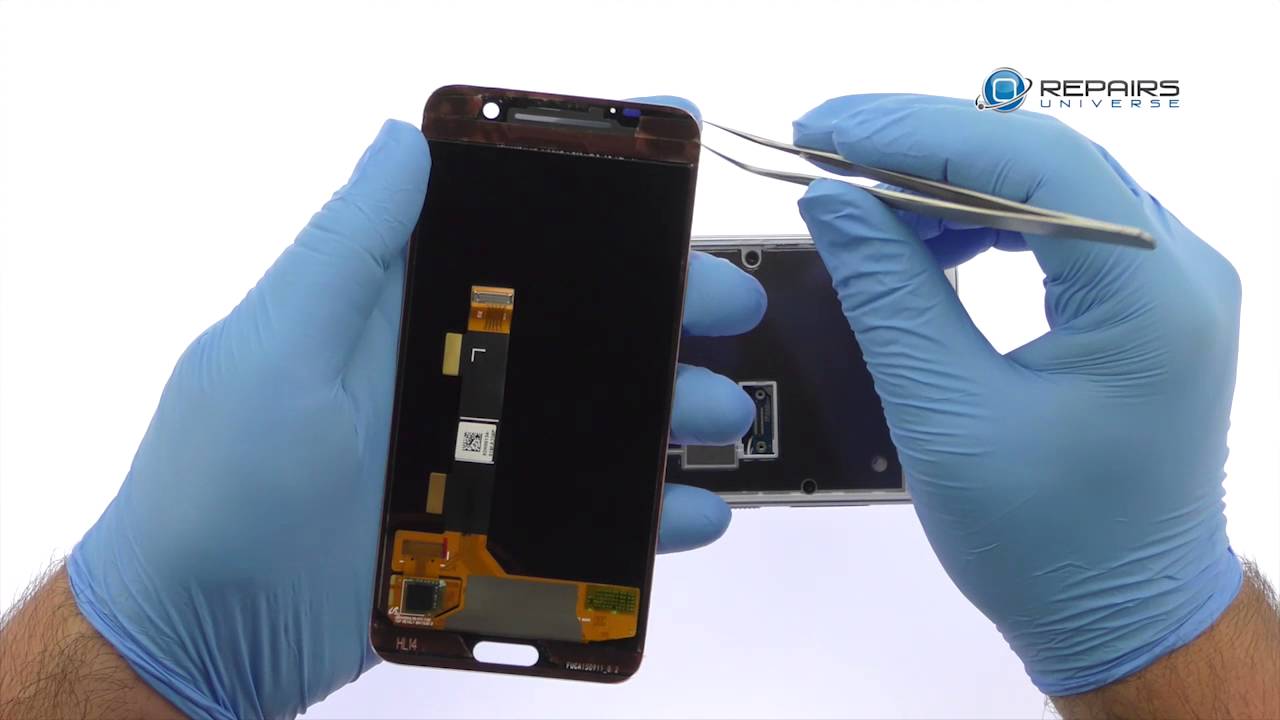
HTC One a9 LCD and touch screen replacement, guide warning. You are performing this repair at your own risk. We claim no responsibility for any damages that might occur to perform this DIY repair. You will need nylon, spider, SIM card ejection tool, fine tip curved tweezers precision, knife said premium: two millimeter red adhesive, roll multi-purpose, heat gun, professional Phillips, screwdriver, playing cards, power down your HTC One a9 smartphone, eject the NATO SIM card tray and then the micro SD card tray begin to free the HTC One a9 display assembly by using the heat gun to warm up the adhesive with the precision knife carefully, create separation and insert a playing card to start slicing through the adhesive. Take your time and apply additional heat as needed when attacking the adhesive, be mindful of the capacitive home button and figure print sensor. The HTC One a9 screen is still connected to the motherboard.
Do not try to remove it completely, or you will damage the data cable, connecting the display to the middle of the phone. Remove the following: 2 Phillips screws securing the bracket to the motherboard, remove the HTC One a9, display cable bracket, use the spider to disconnect the display, cable and remove the HTC One a9 display assembly. You make sure to take a look at our other DIY smartphone and tablet repair. Tutorials. Don't forget to subscribe to our YouTube channel like us on Facebook and follow us on Twitter.
Source : Repairs Universe
Phones In This Article

Related Articles


Comments are disabled
Latest Articles


