Galaxy Note 20/Note 20 Ultra - All The NEW Camera Features | One UI 2.5 By Jimmy is Promo
Hey everybody welcome back to jimmy's promo, and today we will be covering the brand's new camera features. It's a part of the Samsung Galaxy note 20 and the note 20 ultra now I do want to give a big thank you and shout out to today's sponsor, which is subcase with the unicorn beetle collection for Galaxy Note, 20 and the note 20 ultra there's two different series that you're able to choose. You have the to series, as well as the pro series and there's also a chance to win the giveaway of a Galaxy Note.20 ultra, so make sure you guys stay tuned for the details later on in this video, as well as the link below the video inside the description. So, let's head inside the camera and the first thing that I do want to show you is inside of single take so beforehand you had a fixed time frame. You were not able to adjust how long you're able to capture a moment, so single take is where, once you hit the shutter button, once it's going to record for 10 seconds, it'll bring back two or three videos and then anywhere between four and eight photos with different filters and also focal range now. The reason why it comes with different images, is it just kind of depends on how much action is happening within that time, so the cool thing that you're able to do now is once you hit on that 10 seconds, you're able to change how much the duration is.
You can go all the way down to 5 seconds. So if you know something is going to happen really quick, you don't really need to have that many photos or videos come from this moment. You're able to choose five seconds, take the picture, and then you get what you get and the reason why I mentioned that is just because, as I said from before, it depends on how much motion and how much activity is happening during that five seconds. So if there's a lot of different angles and a lot of things happening, you're, also moving, you will get more photos, and then you're able to go all the way up to 15 seconds, which is actually super dope, because sometimes maybe you're watching NASCAR or gymnastics, or you're watching somebody hit a golf swing, and you know that something's going to happen within 10 seconds, but then something additional happens within that five seconds right after you just captured that moment, you have a couple extra seconds and a couple extra photos or a little video of somebody falling, and it's just actually super cool. So again, you now are able to change how long you're able to take your moment with single.
Take now, let's move over into photo because I'm going to show you something inside of settings that again is new for the Galaxy Note, 20 and the note 20 ultra and that's going to be changing your pro video size. So this is just changing the size and the frames per second, when you do use pro video mode, so you're able to change it to 16 by nine, and it's going to be at 8k it'll shoot it at 24 frames per second, you can also move it to something: that's brand new. It's awesome 21x9 again at 8k. If you want it to be at the normal 16x9 ratio, which is basically the way that most phones are kind of set up, some of them are, you know a little longer, but now inside the 16x9 you can choose. If you want it to be at 4k, 60 frames per second, you can do 30 and 24.
Here's your full HD! You can shoot it at supper, smooth that 120 frames per second, you can go for 60, 30 or 24. , but for this section here of that 16x9 I'm going going to go to that 120 frames per second. So when I do switch it to 16 by nine it'll shoot that you can keep it at that 21 by nine for 8k, you go back to 16x9 for 8k. It will take up a little more storage, but again you can really put it wherever you want it. So I'm going to put it right there and, let's head on back now, to show you where your pro video is.
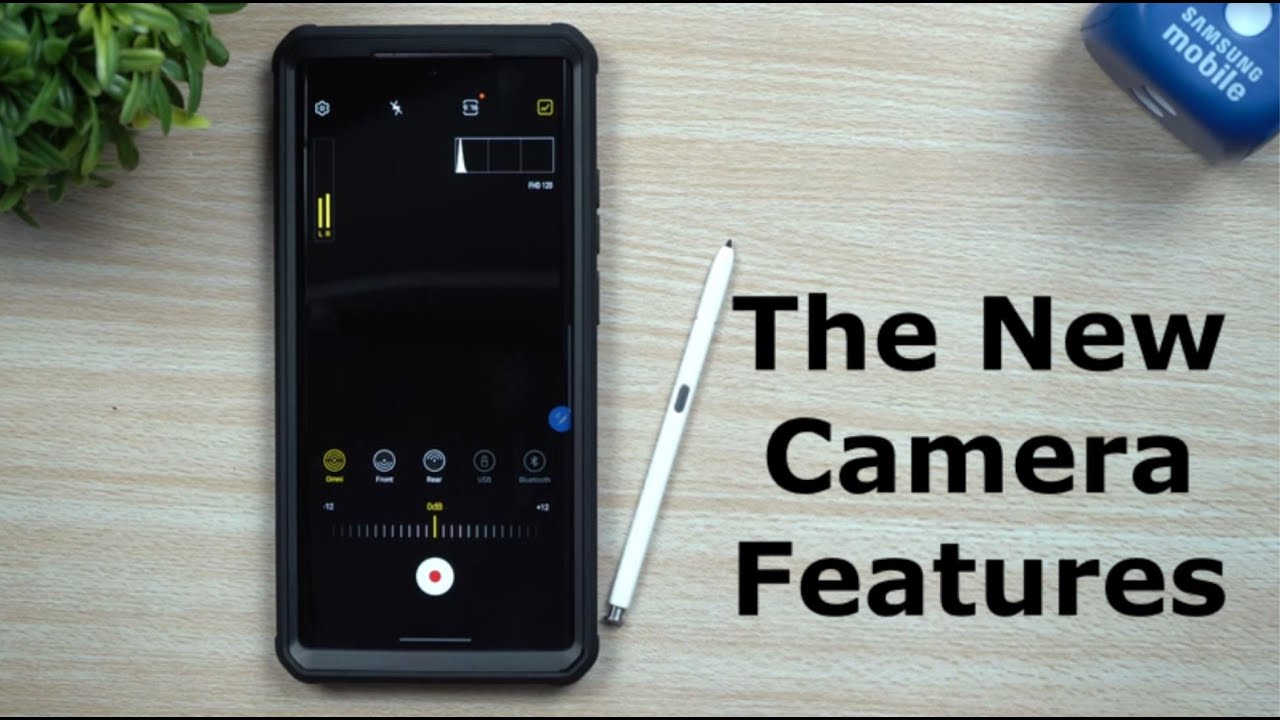
You will have to first move over into more it's going to be one of these modes right there. Once you find the one that you wanted to move down, which it's already down, so I'm going to move this one, so I'm going to bring down live, focus, hit on save and then now we're going to have it as our quick settings or changes on the bottom. So this is where a lot of really cool things are at inside of pro video with this one. You have your audio levels. You also have the histogram in order for you to turn on the histogram just turn on this little icon right there.
Now what the histogram does is its a way to make sure that you have a balanced video. So let's say that you wanted to look from the left over to the right you're going to have your blacks, it's going to move over to shadows as well as your mid-tones highlights, and then whites. So, if you're outside it's super bright out, and you see a lot of white going on, you have the sun in the frame you're- probably going to see a lot of lines over here. So what I did was I went outside, and I took a little of a video just to kind of show you some changes. So let's say that we just hit on the play button.
So here you can see that there's a lot of kind of like the highlights the mid-tones. When I brought it up, and it was pretty bright- you can see that now the highlights was there soon. I bring up my shirt just to kind of show you that now it's going to switch over into those dark and the shadows and the blacks. So if you notice that it goes all the way to the top like that right there, if I was to pause it, that line that's on the very top, that means that you are clipping. That means that there's too many highlights uh in whites, that's happening, and so, if you're trying to take a perfect photo you're going to be kind of blasting some quality, especially right back there.
If you were to make sure that the sun was down a little more, and it wasn't clipping you'd be able to have a much clearer photo in the background, as well as the front now down here, where you got some of those shadows and mid-tones these are mid-tones. You got some shadows down here, that's where these are kind of popping out. So that's why you have a lot of these shadows, and then it's going to move over to this mid-tone that's right there, and then you got all of this clipping of the brights and the whites. So that is how you're able to really read that histogram on the very top. So now we're going to head right back home and let's look over here at your audio levels, so for the audio levels, you can see that it's moving as I speak, and you can change your audio levels here.
So OFNI just means. If you want to read it again, capture sound quality from all directions, and it's going to be a pretty level quality. You also have the front, so it's best for capturing sound coming towards the front of the phone, which is right here, we're looking at the phone. So this is the front, and then this is going to be. The rear is basically facing the table, so it's best for capturing the sound over there.
So if you're capturing a waterfall somebody talking you might want to put it to rear if you're super close to them, and they're really loud, you can bring it over here change the decibel levels. You can see that the levels went down and maybe let's say you're further away from that waterfall. You want to capture that sound a little better. Furthermore, you can bring it up to that 12 plus decibels, so you're able to change uh how loud this is. Another really cool thing is USB, so it came inside the box, a little dongle that you could plug into USB.
So if you want to plug in an USB mic, you're able to do it that way with this one here, if you have any type of Bluetooth, headset that's connected. So this way, if you have a perfect headset that you're wearing- and it's perfect at blocking out outside noises and things like that, then you're able to have this one set up here. Maybe your cell phone is set up on a tripod, and you're quite a few feet away. Maybe 15 feet away from your phone. You want to make sure you get a really clear voice.
You are able to choose that Bluetooth option there. So really, there is no reason why you cannot shoot any YouTube videos or start a YouTube video today. This right here has perfect audio levels. You're able to take a look at your histogram, making sure everything is leveled, and then you can shoot this thing in your regular pro video settings, and you can also change your focus. You can go from autofocus if you want it to auto change as you move, which is really, really good.
If you need it to be fixed kind of like what I do right here, you can see how it's not changing. As I move my hand up, then you can have it. Uh set up anywhere along this line. So this way it's not set up on auto and so you're manually able to change it, and you can change it right here too, once you move it over there, it's on manual and then, once you tap manual, it's going to switch it right back over inside of auto. Now before we go inside the last thing, I want to show you, which is new for the Galaxy Note, 20 and note 20 ultra.
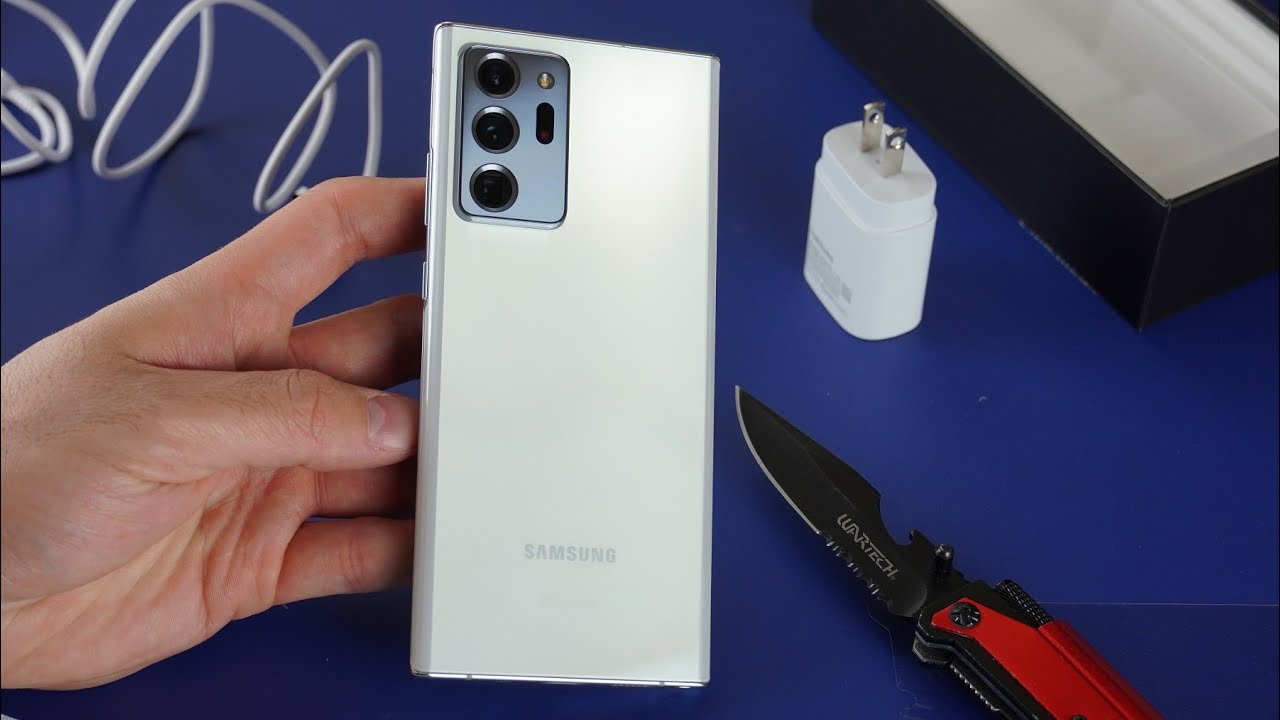
I do want to go back to the sponsor of today's video. So again, a big thank you to sup case for the introduction of the unicorn beetle collection for Galaxy Note, 20 and the note 20 ultra now, the one that I chose. My case of choice is going to be the to series. This one's actually really cool because it is thin. It makes everything feel perfect.
The phone actually still feels pretty thin, and with this little exoskeleton there is a couple different colors you are able to choose from so this one is black. You are able to choose between blue as well as red, and then, if you want just a little more protection as well as a clip, so this way you can put it on your belt. You can put it on your pants as well as a kickstand right here that you're able to kick up you're able to place your finger inside there. So this way you have a little better grip. You also have this one set up for kickstand.
If you want to watch it horizontally as well as vertically now this one is the pro series, and they just added in a few extra colors. So here we have black. You also have a purplish blue, looking color a light blue you have green purple and as well as red, so make sure you guys take a look at the link below the video inside the description. So this way you guys can take a look at their cases now for a chance of winning one of these cases, as well as winning a Galaxy Note.20 ultra make sure you guys click on the link below the video inside the description, uh sup case is giving away a Galaxy Note.20 ultra. If you use the special code, jimmy is 100 you'll be able to get 100 extra entries now this one does end on September, 2nd so click the link below the video.
So you can have a chance of winning a Galaxy Note 20 ultra now. The last thing that I do want to show you is it's its these settings that when you leave the camera application, it's able to save a lot of the stuff that you use. So let's say that we move on down over here and what you want to take a look at. Is this right here settings to keep, so you're able to keep your last camera mode, so you're able to start the camera in the last used mode, such as video, instead of always returning to photo mode so what they mean by that is. Let's say that we move on back right now, I'm on pro video.
Let's say that I swiped home, and again we closed out of everything right, so it was on pro video. Once I go back inside, it goes right back to photo uh. Maybe that's something that you're not really into. If you go to this one right here, choose the camera mode that is uh. You know last used so this time again we'll go to pro video.
Let's say that we close out of this thing: we even get rid of that application. We move right back inside camera. Pro video is still there as a selection. So if you always find yourself using pro video, you always use live photo. This is a way that you're able to save it.
So then, this way you don't have to keep going back now. This will be the same thing and I won't really demonstrate it's the same stuff for selfie angle and filters. Selfie angle. Keep the angle you last to use for the front camera, instead of always switching back to normal angle. So when you take a selfie you're able to have the angle go a little further away from you.
So this way I mean that's one of those things that I do actually use, and then this one right here is your filter, so keep the filters you've applied to each mode instead of removing them when you close the camera. So if you're somebody who loves to use filters, I'm not really one of those people, but when you do turn this one on, then it's a way that your filters will be able to be saved. So that is everything that is brand new. But one thing I do want to cover a lot of people sometimes ask hey: sometimes these things are grayed out. I'm trying to choose one of these things, I'm not able to select it, so the best thing that you should do is always go back to photo.
So this way, when you are inside a photo, every single option is there for you to toggle on or toggle off. If, for some reason you are a part of photo and one of these things is still grayed out, it could be just because you simply have you know one of these random ones turned on tracking autofocus, and it might gray out one of the other selections somewhere on the screen, but you are able to reset your settings this way you don't have to go inside the settings and all these different folders clearing the cache clearing the data. You can just simply do it right here it's going to reset everything right back to out of the box, but I hope you guys have liked this video, if you guys did please give this thing a huge thumbs up. Also, if you hit that like button, did you know that it turned blue and again a big? Thank you to our sponsor today's video, which is sup case and also, if you guys have not subscribed, already hit the subscribe button over here and if you like this video, then more than likely you'll. Also like this video, and I'll see you guys later, you.
Source : Jimmy is Promo
Phones In This Article

Related Articles


Comments are disabled
Latest Articles


