Best Camera Options in SAMSUNG Galaxy Tab A7 – Camera Top Tricks By HardReset.Info
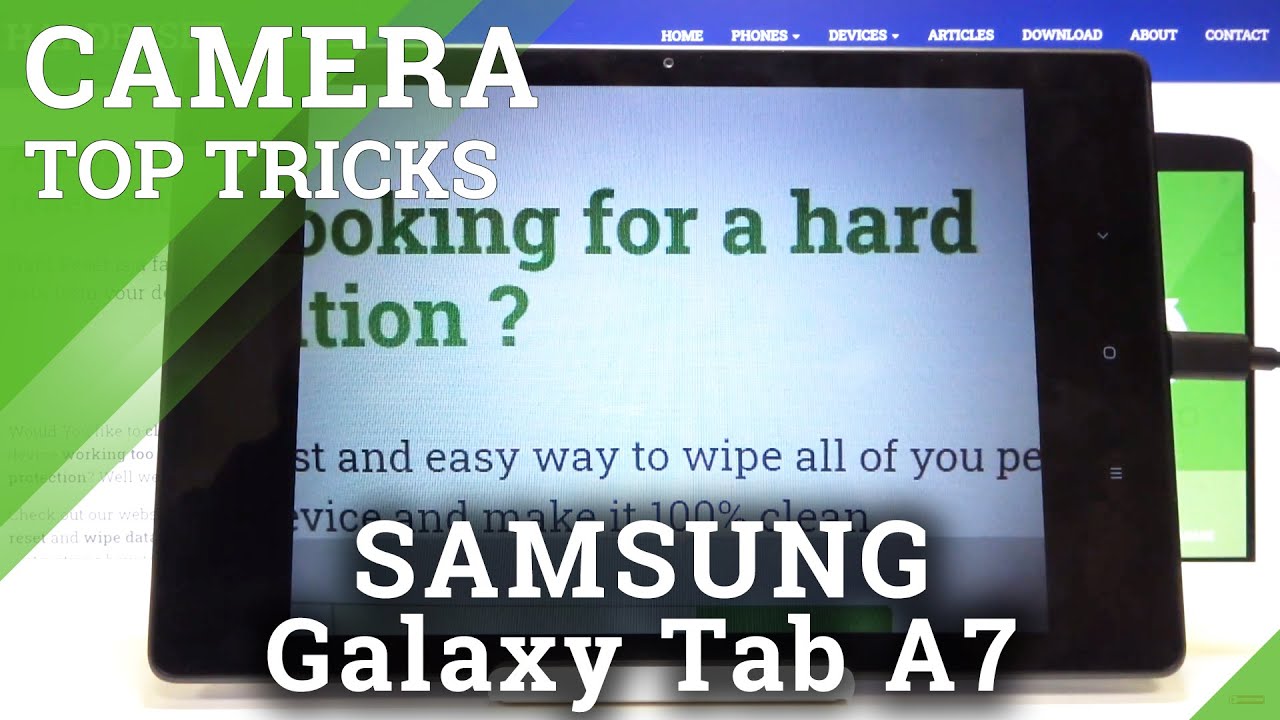
Welcome here I've got Samsung Galaxy tab, a7, and I'm going to show you the top tricks of its camera. So at first we have to tap on a camera button here to open it and for now we are in the standard photo mode. Let's see what we've got here. Let me start with this settings bar as you can see. By going to the left or right, we can easily change here, the mouse of this camera. We can pick the live, focus mode photo mode, video mode and by going to be more, we have access to other modes of this camera.
So this is a lot. I'm not going to speak about all of this now because I don't have much time, but I suggest you to making experiments with that and just have a good fun. You can also go here to tips when you tap on this. You can read about some of this mode, so you can learn from this. This is really cool that we have this now, let's go back to the standard photo mode, and let me start here by tapping on the screen anywhere like that.
As you can see here, we have this ring. This is refocusing, so we can focus anywhere. We need- and this is connected with this slider, which appears here. This slider is the exposure compensation, so we can control the light of the picture. By going up, we can make it more bright, and by going down, we can make it more dark.
So this is really cool that we have this here and now. Let's have a look at these buttons here we can manage the lenses of this camera, so we have standard lens and when we tap on the second button we get much closer. So this is, as you can see, connected with the zoom. So let me show you how to use Zoom. We can start by tapping on the screen by two fingers like that.
Now we can get closer to the subject. We have also this extra slider here now, so we can more precisely use this zoom and also this is connected with these buttons. So we can pick how close we want to be, and this is how it works. Now let me stay on the standard lens and let's move to these buttons here. Let me start from the right.
The first one button here allow us to add some filters to our picture, so we can make it more beautiful before we take it. As you can see, we have effects, and here by using this cider, we can add them like that. So we have the white spectrum of these filters and this is how it works for now let me stay unknown and let's move to this button here we can control the ratio of the picture for now. This is four and three ratios of the camera frame. Here.
When I change this to 16 and nine, we can see that here the camera preview has changed. This is a little longer one than four and three. The next one is one and one so the square, one ratio- and here we have also access to the full one, so we have full camera frame for now, let's go back to foreign free and let's move to this one button. Here we have the camera timer, so we can change the delay of taking picture. As you can see, we can pick from 2, 5 or 10 seconds for now.
Let me pick two seconds to show you how it works, so we have camera timer. Now let me take a picture, and here we have the countdown the picture was taken with two seconds of the line. So let me keep this tournament off and now, let's move to this button, when we pick this, we can open the advanced camera settings. As you can see, this is many of them, so I'm going to show you a few of them and now, let's focus on intelligent features at the second position here we have scanned qr codes option. So by using this button we can turn it off and turn it on.
I suggest you to keep this tournament on, because this is the easiest and best way to scan your codes at this device. So when you have this, you don't need any other app to do it. You can just put inside the camera up the cures and just scan them, and now let's have a look on the picture settings so hold shutter button too, when we tap on this, we can manage what our shutter do when we tap on this a little longer, so we can pick take a picture, take var shot or create GIF uh. So I'm going to stay on, take Bart's shot to show you how it works with this, because this is one of my favorite options at this camera. When we go back to the camera- and this is our shutter- let's pick this a little longer now, as you can see, I can easily now take a series of pictures, so I can take many pictures at the same time, this is really useful option.
Now, let's go back to the settings and let's slide to the useful features at the first position here we have auto HDR option, so we can turn it off and turn it on by using this button, I suggest you to keep the star net on, because the HDR helps to improve the details in the brightest and darkest areas of our photos, and it really makes our pictures stress more beautiful and delightful. Now, let's have a look at the grid lines. By using this button, we can turn on some help lines and also turn it off like that. So let me keep this turning on now and let's go back to the camera to see them. As you can see, it shows us discrete lines.
This is useful, for example, when we want to use the rule of 13 photography or making experiments with composition. Also remember that these lines are not visible at the real picture. So when I take a photo- and when I go here to this button, where we have access to the gallery, we can't see them at the read picture, so these lines are only to help us to take better photos and, of course, when we don't need this, we can easily go back to the settings in the left slide again to the useful features and tap on this button. So for now they are turned off, and here we can see them and now, let's go again to the useful features and let's move to the location text option here by using this button, we can turn it off and turn it on when we want to turn this on. We have some short information from the device that our pictures and videos will contain information about where they were taken.
So we have to be careful when we want to share them, and we have to agree to this so now. Let's turn it on also here. The important information is that to make it work correctly, when we want to save the actual location of the picture we have to be connected with the internet. For example, the Wi-Fi and we have to turn on the location of this device so to make it work. Remember about these two parameters.
Now let me keep turning it on all of these settings. Let's go back to the camera to take another picture and let's go again to the gallery. So this is our photo to jacket location. We have to just simply slide a little down and, as you can see here, we have more details, and we have the location with the map and the full address, so greetings from Krak?w, Poland. This is how it works here.
Now, let's go back to the camera and once again to these settings in the left, so now slide again to the useful features and let me focus on the shooting methods. Now, when we pick this, we get access to some settings about the shooting. At the first position, we have press volume key2 option. So when we pick this, we can pick from take picture or record video zoom or control the system volume. So in this standard devices' usage the these buttons with the volume allow us to control the voice and sound and with the camera we can pick from this so for now let me pick zoom to show you how it works and let's go back to the camera again, and let me try to use these buttons now and, as you can see now, I can easily get closer to my subject, so I can use Zoom by using this, and also I can go back.
So this is really cool option here now, let's go back to the settings to the useful features and again to the fitting methods and let's move to the floating shutter button, which is that the second place here by using this button, we can turn it on and turn it off like that. So this is also a really cool option, because when we have this, we have some extra shutter that we can move on the screen and take a picture anywhere. So let's go back to the camera. So this is the standard shooter, and this is the extra one. As you can see, we can move it at the screen like that and when we pick this, we can easily take a picture anywhere.
We need now. Let's go back to the settings, let's slide again and let's focus on the watermark the last position in the useful feature settings by using this button. We can be easily sorry turn it on quickly and turn it off. But, as you can see, when I tap on this, we get access to more advanced options about the watermark. We have the same button to turn it on and turn it off like that.
We have also quick preview. So this is how the device watermark looks like Samsung camera and shot with my Galaxy Tab a7. We have also one extra option that we can change the second line, so we can change shot with my Galaxy Tab, a7 to our own custom watermark. So this is really cool. Let me change this, for example shot for shots by hard reset and done so, as you can see here, the second line in the preview has changed and the Samsung camera stays now.
Let me keep this tournament on. Let's go back to the camera to take a picture to show you how it looks like on the real one. Let me use for this, this floating shutter button and let's go again to this button to the gallery. So this is our picture in the left corner at the bottom. We have this water remark, as you can see the device, Samsung camera and the custom short part by heart reset.
So this is really cool. Of course, when we don't need this, we can easily go back to the camera, then to the settings slide again to the useful features and tap on this button, for example, or just for this. So this is how it works. We can do it in both way like that and after turn it on and off all the settings. Sometimes we want to go back to the auto settings.
We can do it by using the last one option. I want to show you here the reset settings when we tap on this. All of this can go back to the outdoor settings so rest it and that's all thanks for watching, subscribe our channel and leave the thumbs up. You.
Source : HardReset.Info
Phones In This Article

Related Articles


Comments are disabled
Latest Articles


