Take Apart & Replace Screen - Samsung Galaxy S20 Screen Repair By Serg Tech
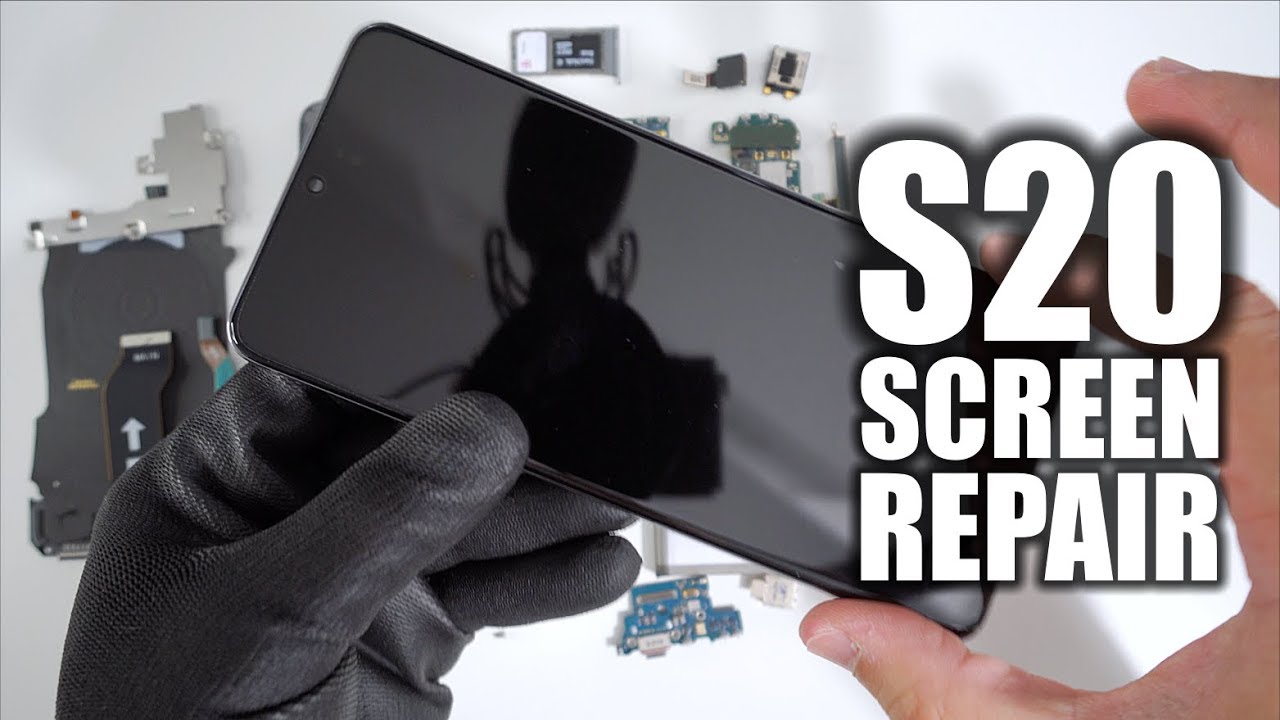
Hey there what's up in this video I'm, going to be showing you how to take apart to replace the screen assembly on your Samsung Galaxy s, 20 altar, alright, so you may have damaged your Samsung Galaxy s, 20 old truck, so in this video, I'm going to be showing you how to fix it before we get started. In order to do this, repair we're going to need a few tools. There's going to be a link down below in the description to this premium tool set so that you can perform this repair yourself, alright. So, in order to begin the repair, the first step is we're. Going to have to power off the device alright, once it is completely powered off we're going to need to heat the phone up, so we're gonna need to give it heat here on the back glass cover. It's going to have some adhesive holding it in place, so we're going to have to heat it up for a little.
You can use a hairdryer, a heat gun, or you can sit it on a hot plate, which is what I use. There's going to be links down below as well. In the description to all the tools and parts that I use in this video, so if you're going to use a hairdryer or heat gun, make sure that you move it around consistently, never staying in the same spot for too long so that you don't burn the inside of the phone continue doing that for about a minute until it is too hot to touch for more than a second I'm going to go ahead and place it on the hot plate, which is what I use it's this one right here, I set it to about a hundred degrees Celsius and leave it on there for about a minute or two alright. So what we're gonna need? Is these rubber gloves so that we don't burn ourselves when holding the phone? Alright so looks like the phone is hot enough now, without these gloves, I would be burning myself holding it. What we're gonna need is we're.
Gonna need this suction cup, which comes in the tool kit, and we're going to place it down here towards the bottom of the back cover where the charging port is, and we're gonna pull up gently on it. Until we see a slight opening, as you can see, it's slightly opening up once you see that opening we can stick a plastic pry tool in there or the card that comes with your tool set, which is gonna, look like this, and we can just stick it in there and start to move it around to remove the adhesive. That's holding down the back glass cover and another thing that you can do. If you don't have this card, if you don't get the toolkit, you can just use a regular business card just fold it in half to make it more solid. Gonna, look like this, and then you can use this side to get in there as well as this and then once so.
You have part of the back cover removed. We can go ahead and remove the suction cups place this card over here to hold it open on this side. If you feel that the phone is cooling down, what you can do is just place it for a little longer on the hot plate or use the hairdryer or heat gun for a little longer. To loosen up the adhesive all right, so once you heat it up a little longer, let's go ahead and continue. So once you see that the bottom part starts lifting around this much you're pretty much set, you can go ahead and lift on the back cover gently that, and it will come out completely in one piece: let's go ahead and remove this, and it's going to have some adhesive here at the top, so you can just go ahead and peel that off and there you go.
There is your back cover for your Samsung Galaxy s, 20 altar you're, going to see the gloves off now, since we're not gonna, be heating up the phone. So let's take a look at the back of the phone here so that we can take a look at all the components. So here we have the wireless charging pad, and it connects right here down. We're going to have the loudspeaker over here on this side. Charge report is gonna, be under the loudspeaker module right here and then here we have the four cameras.
The flash. So next step is we're. Gonna need to remove all of these screws holding down. These covers up here. So first off we're gonna, remove the screws holding down the top housing piece snores, which is leading us love, is all will ever trust, yeah and let's go ahead and remove the pieces down here for the loudspeaker and bottom portion of the phone all right there we go so next up we're going to be disconnecting this cable right here for the wireless charging pad, and we're going to go ahead and peel it back going to be held down by a little of adhesive, but no worries you can just peel it off and then next up we're gonna, be lifting onto the bottom plastic piece here for the loudspeaker, and we're going to gently pry up on it.
It is held down by some clips, but it should come off pretty easily and there you go- and this is the loudspeaker and the wireless charging pad. Let's place this over here to the side, all right. So next up we're gonna, be removing these two screws right here, holding down this metal bracket, and then we can go ahead and remove the bracket and there you go. It will come out very simply like that. If next up we're gonna, disconnect the battery flex cable to remove electricity flowing through the phone, which is this one right here.
So let's go ahead and disconnect it we're just going to pry up on it and lift it up, and there you go next up. We're gonna, remove this cable right here, which is for the screen assembly. You can see it goes in through right down here towards the bottom, and it fits in here. So we're going to go ahead and disconnect that, and this is the able that connects to the entire screen of the galaxy s 20 ultra. So there are two ways to replace this screen on your Samsung Galaxy s, 20 or as 20 ultra one way is too just by the screen assembly by itself without the frame and if you order that there's going to be links down below in the description.
But if you order that, then all you have to do is get up to this step, disconnect the screen cable right here, you're going to heat it up once again here on around the screen, you're going to remove the old screen. Do it gently? So you don't damage anything inside the phone, but you know no one need to worry about breaking the screen because it's already broken anyways, and you're, replacing it, so you're going to order. Just the glass screen assembly with the AMOLED display and you're gonna, stick the cable in through the small hole down here, and you're going to position. It correctly here on top of the frame and it's going to come with some adhesive that you're just gonna, give it some pressure and hold it down until it glues. The other thing we can do to replace the screen is we can order these entire screen assembly with the frame as well with the metal frame, and in order to do that, then we'll just have to take the phone apart completely.
So, let's continue so next go ahead and remove this upper plastic piece up here, lift high gently, and it will come right out- let's go ahead and disconnect the rest of the cables here connecting to the bottom charger port and let's go ahead and disconnect this flex cable right here and this one right here as well for the power button and let's go ahead and disconnect this one on this side as well. So now that also the Flex cables are disconnected we're going to go ahead and remove a couple more Phillips head screws holding down the different parts of the phone, so we're going to remove these two right here. We're going to remove this one over here, holding down this metal camera module piece, and we're gonna. Remove this one up here, holding this upper camera module and then now we're gonna. Remove these screws holding down the bottom charging port section.
So it's going to have three screws down here: let's just disconnect the cables completely to move them out of the way, so I'm going to put this one over here to the side and this one as well, and one more thing that you're going to want to do. Make sure you don't forget this is to remove the SIM card and SD card tray. We're also gonna need to remove this flex cable right here. This is for the selfie camera, and we're going to go ahead and disconnect this and then once you have that out and all the small Phillips head screws removed, we can go ahead and pry out on the motherboard, so how we're going to do this is with a plastic, thin prying tool, we're going to wedge between the metal frame here and the motherboard we're going to wedge it in there carefully and just pry up on it. Gently like that, and you're going to see that it's gonna lift a little once you see it, lift like that and go ahead and grab it with your fingers, gently and wiggle it around so that it will be released from the frame of the phone, so I'll, just wiggle it around carefully and there you go.
The motherboard won't come out completely in one piece with all of its cameras and there is your Samsung Galaxy S, 20 old troughs, motherboard. So let's go ahead and place this to the side. So next up we're going to be removing these small pieces here that are on the frame of the galaxy s 20 ultra. So let's go ahead and do the front camera the front selfie camera is going to be held down over here. So you're going to have to kind of give it pressure here, gently with a plastic pry tool.
We're going to have to give it some pressure here, and it's gonna lift gently like that, and then once you see that it's out of you can go ahead and grab it and wiggle it out with your fingers. It will come out in one piece: okay, so this right here is the ear speaker, so we're going to be removing this up next, so to remove it. We got a get under it gently on the side. Over here, there's going to be a slight opening where we can stick something under it there to gently pry up on it and when you pry up on it gently, it will begin to lift, and then you can just grab it with your fingers and finish up lifting it up from the adhesive, and it will come out in one piece, and this is the adhesive holding it down. So there are two more small Phillips head screws over here.
Holding down this antenna. These are the 5g antennas. It's going to have two of them, one on the left side and one on the right side. So next up to remove the antennas with the thin plastic prying tool, we're going to wedge under this little metal side. Piece right here that has a hole for a small Phillips head screw, can actually wedge under it and lift on it gently, and it will come out in one piece.
So that is one of the antennas here. Let's place that on the side and for the bottom antenna here, you can actually just grab onto the flex cable and lift on it gently make sure you do it very carefully. So you don't rip the cable, but it does come out fairly easily and let's put this one to the side. Next, up we're going to be removing the volume and power button. Rocker and you're going to have this flex cable right here, but in order to remove the rocker, we're going to need to wedge under the slight opening down here under the flex, cable, something plastic and lift on it.
Alright, so in order to lift it up, we're going to need something kind of solid and thin. So you can use a small Phillips head screwdriver and just wedge it under this corner right here of the metal piece, and you're gonna gently lift on it, and it won't lift. As you can see, it's lifting once you have it, lift it up a little like that. You can just grab it with your finger and continue lifting it up completely. There you go comes out in one piece put it together over here, nice and neat.
So next up we're going to be rolling the bottom charging ports, so the three screws are off, so it should be very simple: all you got to do is grab your plastic prank tool and gently wedge under it and lift on it, and then you can just pull it out and the charger port will come out super easily like that in one piece, and then we're going to have vibrator motor down here. We're gonna need to lift that up as well in order to lift it up. It's going to have a small opening right here on this side. You can stick something solid in their like your Phillips head screwdriver and lift on it gently and slowly, so it comes out in one piece. Then you can lift it up with your fingers and there you have your vibrator motor, so we're pretty much almost done.
All we have to do is remove the battery now in order to remove the battery. We're gonna need to give it heat here on the screen, because there is some adhesive on the frame here of the device holding the battery down. So we can do it with a hairdryer heat gun. Give it heat right here, moving it around or set it on the hot plate, which is what I like to do for about a minute or two. So let's do it we're gonna, go ahead and grab the device, and we're going to use a plastic prying tool to lift on the battery.
We're going to give it some pressure between the metal frame right here on the bottom of the phone and the battery, and we're gonna, lift it upwards, where you're gonna gently lift on it on all sides and, as you can see, it's already lifting so once you see that you can go in and grab it with your hands and remove the battery, and there is your battery for your Samsung Galaxy s.20 altar does have a little of adhesive right here, as you can see, so there you go. The phone is completely taken apart and if you watched up to this point of the video go ahead and smash that like button, it really helps me out a lot now. All you're going to have to do, is reassembled and put all the pieces back together in reverse order. So let's do that now. So, let's start with the 5g antennas over here, this one first go ahead and place the volume and power button rockers.
So it goes like this when you're putting it back together, make sure you put it back the right way. We're going to go ahead and grab the frame and place it in here, and then we're just gonna. Give it a little of pressure, let it can fall back in its place and then just make sure that the buttons click properly perfect. So let's continue next up the other 5g antenna go ahead and place the vibrator motor towards the bottom, which goes right here, place the loudspeaker up here, the front camera you might have to give it some pressure. Inward, so they can fall in its place and then just squeeze it down gently what else? So, let's go ahead and place the charger ports back in once you have all of these small pieces back on the frame.
We can go ahead and place the motherboard, so the motherboard move the flex cables out of the way, and we're going to slide it right in like this, the top portion first, and then we're gonna, let it gently fall, and then we're gonna just give it a little of pressure to push it downwards in its place and there we go. Then we can go ahead and place the battery back in its place right here, and then we can go ahead and disconnect all of these small flex cables back on, but don't connect the battery just yet go ahead and connect the screen flex cable. Then we can go ahead and place the flex cable that connects the bottom charger port to the main motherboard, and then this small flex, cable that also connects to the motherboard and then once you have all the Flex cables connected, then we can go ahead and connect. The battery flex cable, then we can go ahead and place top portion piece back on. So now we're just going to go ahead and place this metal bracket back on going to place.
It positions it where it was, which is right here like this, so we're going to go ahead and place. The small Phillips head screws back onto this metal frame here, and we're going to place the screws to hold down the antenna here as well. So next up, let's go ahead and place these screws on the bottom charger port over here, there's going to be three screws, so once the three screws are placed on the bottom charger port, we can go ahead and place the bottom loudspeaker and the wireless charging pad on here. So we're going to go ahead, and this black plastic piece on first give it some pressure so that I can clip back into place, and then we can go ahead and connect the wireless charging pad flex cable up here and then now. What we're going to have to do is just continue.
Placing all of these small Phillips head screws. Alright, once all of these small Phillips head screws are back on, we are ready to place the back glass cover back on once you have your back cover. Ready like this I just make sure that the adhesive is positioned properly around all the corners of the back cover so that it can glue back on to the frame. So once you check it out, make sure there are no screws or any pieces of glass on the back cover um, also inspect the back of your Galaxy S 20 device make sure there are no pieces of glass or anything around the frame here, then you can go ahead and just place. The back cover back on so just position it properly.
You can position one of the corners first like this, make sure that the corner goes in there as it's supposed to then the top and then the rest of the back, and then once you feel that it is positioned on there properly just give it pressure squeeze down on it on all sides so that it can adhere to the back frame of the device and there you go. Let's go ahead and place these demands, the back in the device, and there you go your Samsung Galaxy s.20 is now repaired, and you're ready to power it on I hope this video helped you out. That is how you replace the front screen assembly on your Samsung Galaxy s.20 poultry once again go ahead and give this video a like. If it helps you out that is it for this video I will see you in the next one and as always, peace.
Source : Serg Tech
Phones In This Article

Related Articles

![A PHONE MADE FOR GAMING?! - Sony Xperia 1 II [COD MOBILE]](https://img.youtube.com/vi/17LNIL8rth4/maxresdefault.jpg )


Comments are disabled
Latest Articles


