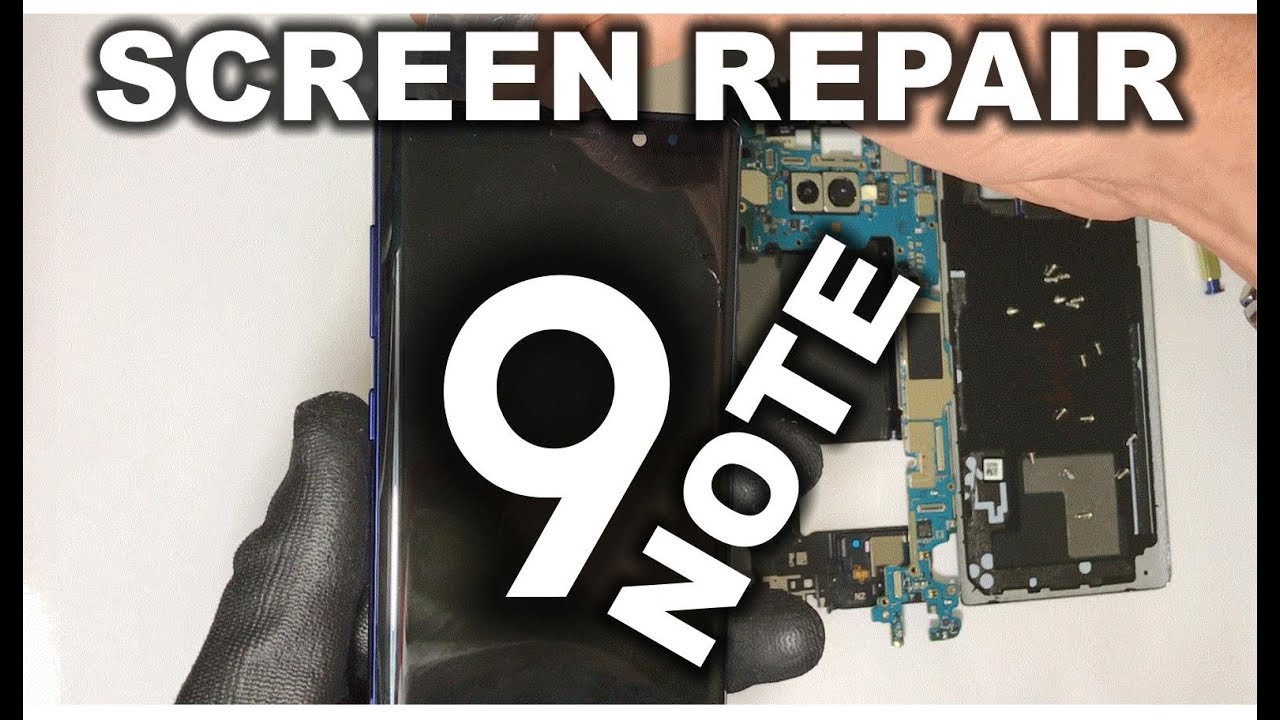
Samsung Galaxy Note 9 - How to Take Apart & Replace LCD Glass Screen By Serg Tech
Hello there hope you're doing great today in this video I'm going to be showing you how to take apart to replace the LCD and glass screen assembly on your Samsung Galaxy, Note, 9, alright. So here we have it before we begin the take apart, though, let's go ahead and give this video a like. It really helps us out a lot and also remember subscribe. If you haven't already hit the bell for notifications on future videos and also a reminder, we're going to have links down below in the description where you can get all the parts and tools used for this repair. So let's go ahead and get right into it. Here are some of the tools we're going to be using a small Phillips head screwdriver, some open prying tools and a suction cup.
If you can't get any open, prying tools, you can also use a business card by folding it in half. It will be much sturdier, so you can use it to pry up around the phone, and you can also use playing cards as well. So, let's get started first thing: we're going to want to do is remove the sim and SD card tray next up, let's go ahead and remove the stylus and get it out of the way and then the next step to begin the take apart is we're. Going to need to heat up the back cover, especially around the edges. We can use a hairdryer or a heat gun.
I'll always continue to move it around, never stay in the same place so that you don't burn the inside of the phone, because the heat gun is very powerful, so I just continue to move it around and heat it up for about a minute or two until it's too hot to touch it for more than like two seconds. You can also use a hot plate, which is what I prefer to use, and I set it to about 110 degrees, Celsius and leave it on there for about a minute or two as well. So you may want to use some rubber gloves so that you don't burn your hands and once the phone is hot enough, we're going to go ahead and grab it with the glove, and we're going to be using a suction cup. Let's place it towards the bottom here where the charger port is, and we're going to give it upwards pressure here gently until we see a slight opening and the glass coming up from the frame, as you can see, it's already coming up. So once you see that you can go ahead and place a prying tool in between and there we go so once we have it in there.
We can go ahead and remove the suction cup. So we're going to move the prying tool around the sides, gently loosening up the adhesive, and we're going to go down one of the sides. Here we can use the help of another prying tool as well to keep the top open. While we slide down the side with this prying tool, so we're gonna gently go around the entire frame of the phone all the sides to remove all the adhesive holding the back cover on to the frame. If the phone gets cools down, we're going to heat it up some more so that the adhesive can loosen up again, and we're going to continue to go around all of these sides.
Gently take your time, especially if your back cover is not cracked, because it can damage very easily here I'm, using the help of the business card as well to keep the top open. While we continue to go towards the top of the phone, now be careful towards the top. You don't want to stick the prank tools in too much because you can damage the fingerprint scanner. Cable. You can also damage the wireless charging pad.
So that's why plastic prank tools are preferred so continue to go around the entire back glass until all the adhesive is removed, and then, once you see it loosening up, you can grab it with your hands and wiggle it around and gently pull the rest of the adhesive off the small flex, cable for the Bring. Your fingerprint scanner should disconnect by itself and, as you can see there, it is, and next up we're gonna, be removing 18 small Phillips head screws holding the back frame together. You once all the small Phillips head screws are removed. We can go ahead with the prank tool and pull up here on the charging pad and the plastic, and it will come off fairly easily. We can peel it off put that to the side.
Let's go ahead and disconnect the battery to remove any electricity flowing through the phone, and then we can go ahead and disconnect the bottom portion here, where the loudspeaker is, we can put that to the side. So next up, let's go ahead and disconnect the LCD and digitizer cable, which is this one right here. This is what connects the screen to the motherboard. This cable here connects the stylus pad to the motherboard. Let's disconnect that as well.
Let's disconnect the front selfie camera and the secondary front camera as well up at the top, and let's go ahead and disconnect the charger port here at the bottom and pull the cable back a little. Then we're going to have three small Phillips head screws holding down the motherboard to the frame of the phone, so we're going to remove those three screws once removed. We can go ahead and pull up on the motherboard with the prying tool. We can lift it up here at the top and gently leg: wiggle it with your hands, move the battery flex, cable out of the way and any other flex cables and the motherboard will come out very easily as well and there we have the Samsung Galaxy note 9 motherboards. So if what we're replacing is the LCD and glass screen assembly we're going to do is we're going to have to give it heat here once again now are on the screen portion.
You can do that with the hairdryer heat gun or set it on the hot plate, so give it heat for about a minute or two till it's hot enough, then, with the prying tool, we're going to wedge it in between the screen and the frame are on all sides and break off the old screen. Then we're going to place the new screen in and place the cables in to do these slots right here, gently position it and place it on there. So let's go ahead and continue with the take apart. Next is the charger port at the bottom, so we're going to need to remove three small Phillips head screws, two of them holding down the charging port and one of them holding down the headphone jack and with the prank tool we're going to wedge under the charger port flex, cable pull up on it gently, and it comes off very easily. So here we have the note 9 charger port next up, let's go ahead and gently pull up on the headphone jack, and it comes off pretty easy as well.
So let's go ahead and remove the battery with a solid prying tool, we're going to wedge on the bottom part of the battery and pull it up gently. It is going to have some adhesive, so it is recommended to give it some heat. First, let's go ahead and remove the ear speaker with a screwdriver. We can pull up on it gently here and the slight opening that it has on the side of it gently pull up on it, and it will come off pretty easy as well. Just has a little of adhesive holding it on the vibrator motor at the bottom.
We're going to do the same thing with the screwdriver push it in and pull up on it gently, and it comes off very simple. So here we have the proximity and sensor flex cable up here, we're gonna with a plastic pry tool wedge under it, I try and get under it without damaging the cable. Very carefully give it some pressure upwards, and it will release as well pull that out, and it's going to have a little of tape here on the bottom, and it comes right out. So next up we're gonna, be removing the volume and Bixby button flex. Cable here we're gonna.
First loosen up the adhesive holding down the connector here so get under it with a prying tool, pull it up just gently to get it another way and then, with a more solid prying tool. We're gonna need to give it some pressure on the metal portion of it and lift it up, and it will come out, and then you can pull it out with your fingers and there we have the volume and Bixby button flex cable. Next up pretty similar. Is the volume button flex cable, same thing with the plastic pry tool, we're going to wedge under it to release. Yet he said, holding it down, I'm gonna, pull it up a little.
It's going to have some more adhesive up here towards the where the stylus is that, and we're going to get under there with the plastic prying tool to release the adhesive and then pull it out once more, very gently, because the cable is very thin, then, with a screwdriver, we're gonna, give it some pressure upwards, and it will be released. And then you can pull it out with your fingers and there is the volume button flex cable for your note, 9, alright. So now that the phone is completely taken apart, this is what the LCD, a glass screen assembly and frame, looks like. If you want to replace your screen, you can also order this entire piece, which will come just like this with the frame and everything it will be much easier to put back together, but it does cost more. So this is your Samsung Galaxy, Note 9, completely taken apart once you're ready, all you have to do is go ahead and place everything back together in reverse order.
Once all the small Phillips head screws are back on we're ready to place the back glass cover back on, so we're gonna position, the flex cable for the fingerprint scanner hold it down with one finger with the Flex connector here until you feel it click press it down once you feel it click. We are ready to go we're just going to position the back glass cover on the back frame of the phone here, align it correctly, and then we're going to give it pressure around all sides so that the adhesive can glue back on to the frame of the phone so go around all the sides giving it pressure. So there we have it. That is how you take apart and replace the LCD and glass screen assembly on your Samsung Galaxy note, 9 go ahead, and please give the video a like subscribe. If you haven't already and hit the bell to receive notifications and I will see you guys around in the next video peace.
Source : Serg Tech
Phones In This Article

Related Articles


Comments are disabled
Latest Articles


