Samsung Galaxy J3: Removing the SIM Card, Battery, & SD Card (8 of 8) | Consumer Cellular By Consumer Cellular
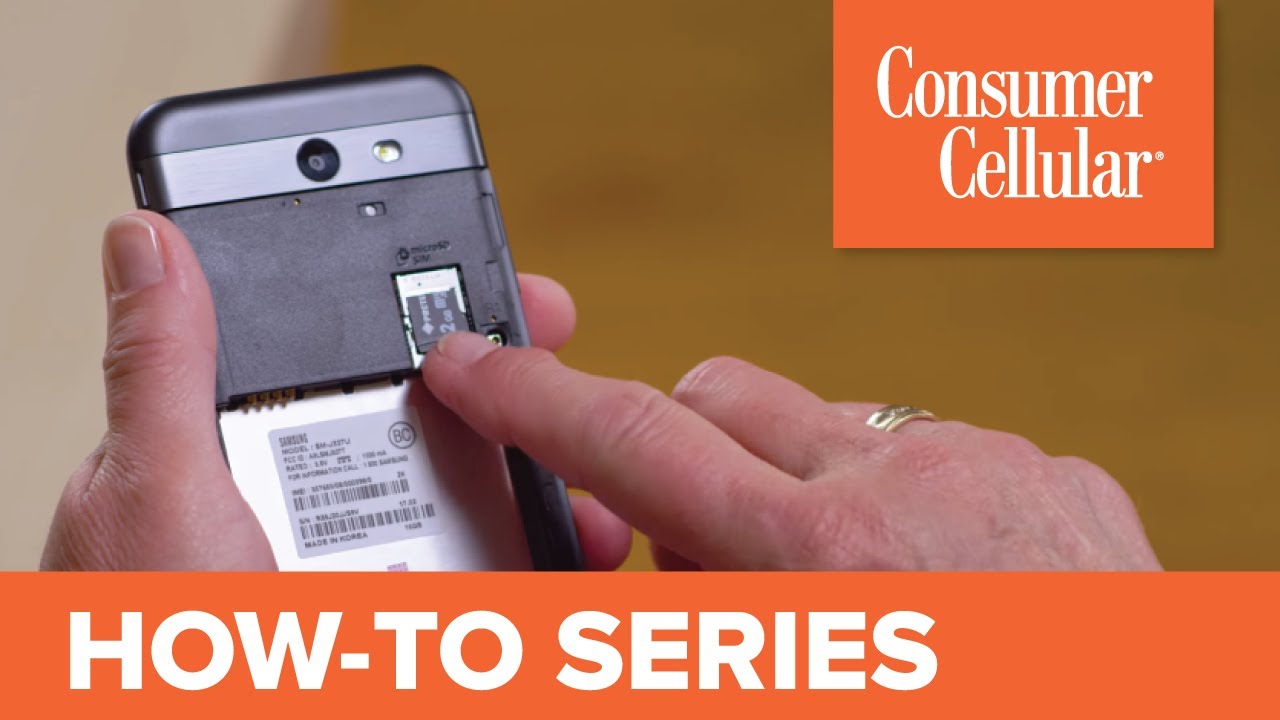
Welcome to Consumer Cellular how to video series in this video we'll show you how to remove and insert a SIM card the SD card and battery in your Samsung Galaxy j-3 smartphone. Today, we've brought along Kathy to demonstrate its just going to get complicated, not at all Kathy I. Think you'll be surprised how easy it is. Are you ready? Okay, let's give it a go excellent. Now, when you first receive your phone, the SIM card will already be installed, so you can begin using your phone right out of the box, but somewhere along the way like when transferring contacts, you may need to know how to remove and insert the SIM card or add an SD memory card, but first things first before you do always make sure your phone is powered off and that it's unplugged from the wall charger turn your phone over and find the notch next to the volume button then use your fingernail to begin to pull off your phone's backing here, you'll see the slots for your SIM card and your SD card to get the SIM card out. You'll need to remove the battery.
You can lift the battery out from the bottom right corner once the battery is out, you can push the SIM card out by pulling down the small metal lever on the left side of the slot. Once it's sticking out press down on it with your finger to slide it out the rest of the way when you slide the SIM card back in make sure the gold contacts are facing down, also always handle the card gently. So you don't scratch the contacts be sure to align the notch on the SIM card in the same way as the small image on top of the SIM slot, then simply push the card back into place. Okay got it now. What about the micros card? Certainly at some point you may wish to add a micros card for more storage on your device.
The SD card, slides right in above the SIM card, align the notch on the card to match the image and slide it into the space, with the gold contacts down again being careful not to scratch them now. It's time to put your phone back together. First slide the battery pack into its space make sure to align the four gold contacts on the upper-left with the gold contacts in the slot, then snap, the battery down to replace the backing line up the straight edge just below the camera and press down firmly to snap. It into place be sure to run your fingers around the edges, pressing down to ensure the backing fully locks into place. You were right.
It couldn't be any easier thanks for your help. Cathy, and thank you for watching today be sure to watch the next video in our series to get the most out of your Samsung Galaxy j-3 smartphone. You can find the entire collection of videos for this device by clicking the icon in the top right corner or under the playlists tab on our channel for additional information visit, the support page on our website or just call us at 888, 5 200.
Source : Consumer Cellular
Phones In This Article

Related Articles


Comments are disabled
Latest Articles


