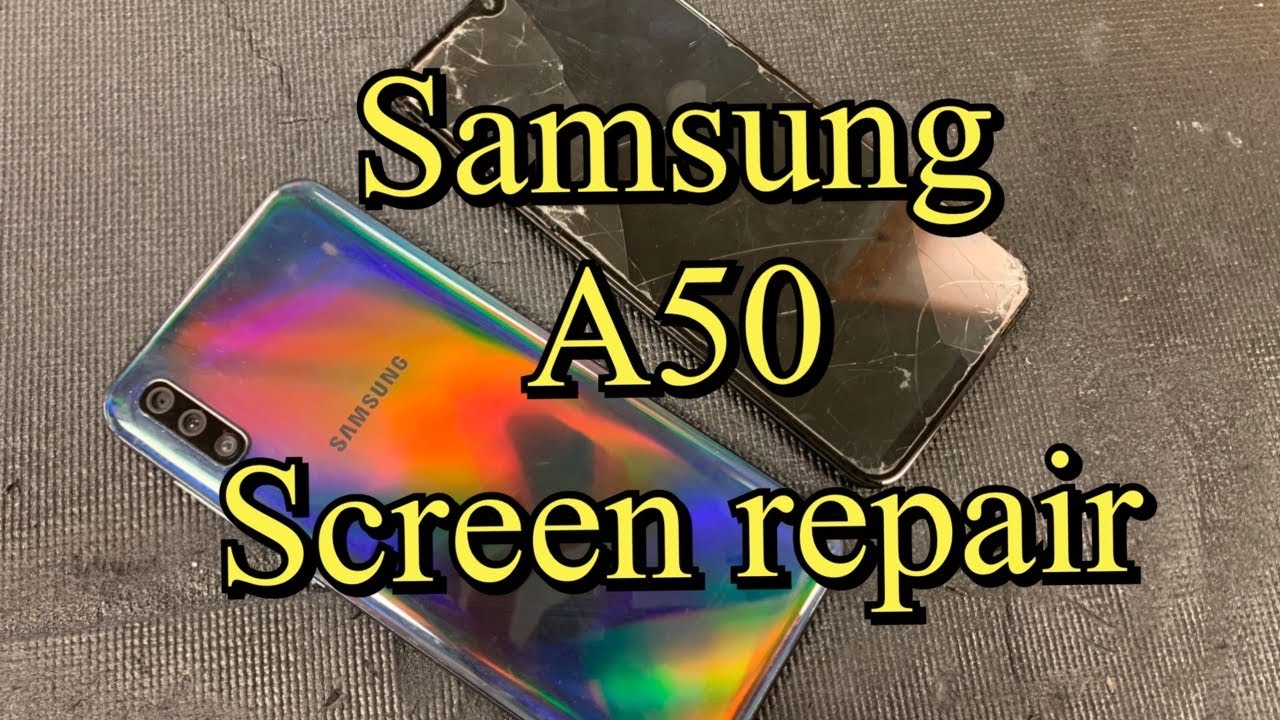
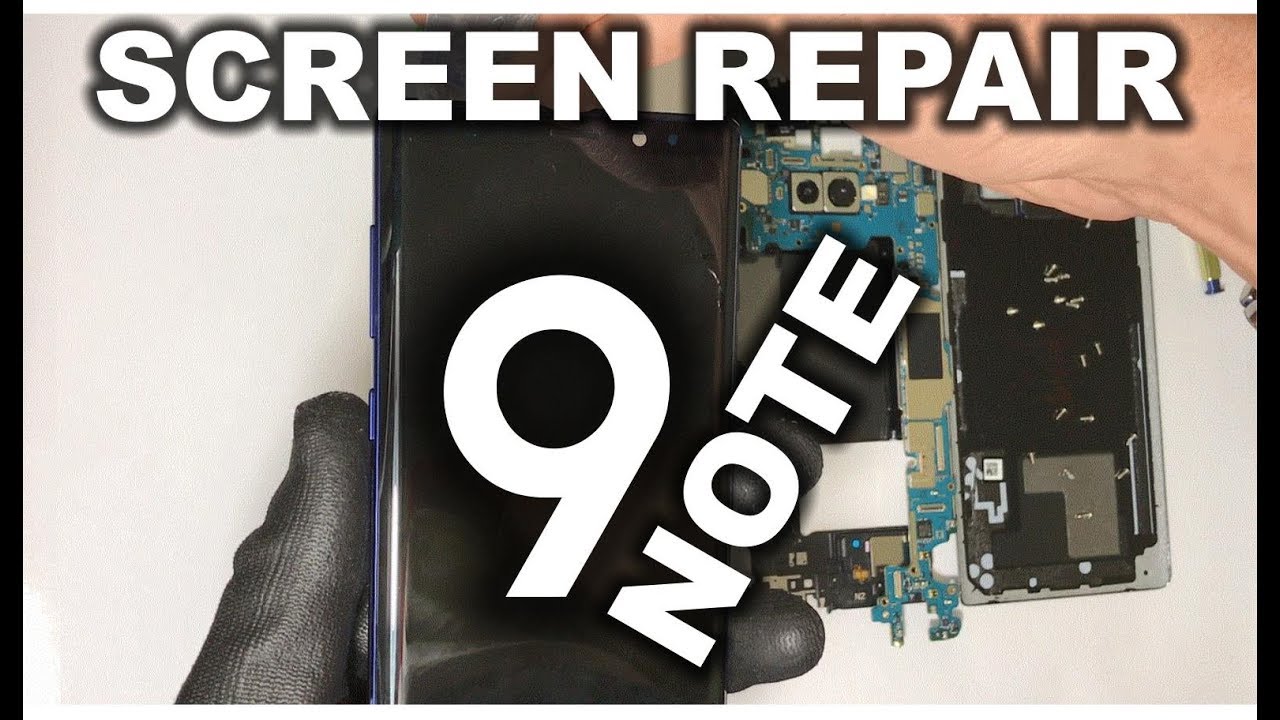
Samsung Galaxy A50 - How To Take Apart - Screen Glass Replace - battery no By Jose Morales
Hey guys welcome to a new video happy new years to everyone, and today's video I bring you the galaxy. A 15, I'm going to show you really quick right here. The model number it's hard to see, but it's right there sm8 five zero five here we have the new screen at this time is one can buy it with a with the frame, as you guys can see, you can buy this one with the frame or just a screen by itself. It's not going to come with all this I'm going to show you how to just remove this. In case you just bought the LCD without a frame. Ok enough talking and let's put our hand on this one.
Okay, so we're going to start this plastic by the way, so we're going to heat it up just a little, don't go too crazy. It could. You could like actually melt, may actually melt the plastic if you apply too much heat. So if you're using a blow-dryer, so it would be like a hairdryer. It would be like I, think it's fine because that doesn't heat up as much.
It depends. But anyways are we gonna heat up? This is a little, and then you have a few choices. I can use. These I can use that one, or I can also use a plastic one. Okay can use one of those.
Two I'm honest are using the eraser blade, and you know I always call like an upon the middle just to get some space in between, and then I'm going to use my playing card now, I'm going to slide in there, and I'm gonna just go around just kind of guiding that adhesive then ease all the way around. That's you guys, going to see just like that, and on this one we don't have to worry about it, because we don't have any actual cable on the back cause, as we see on our previous model like galaxy is 9 is 9 is as eight, so we're going to play our way all the way around. Just like that, I'm going to remove this and boom. This back is just going to open up. You see how flexible that is.
It's going to open up like this. Just like that, as you guys can see, we twist with the playing card, I think with I twist this a little, but don't worry about it. So going to put this on the side. That's how you remove the back, and I'll put it on the side. As we can see right here, we have a few screws, and we're going to remove all these curves, so we can get access to the motherboard all right.
We have removed all these screws if you want to. Maybe they just don't go up flying which just grab your tweezers and remove all of them, because sometimes when you pull this out, they kind of go flying and yeah I already read one comment of wanna, one of my followers saying like oh yeah, that was a game me trying the screws and then look for them. So alright, there is all the screws over there and what we're going to do now is remove this frame, which is I'm also going to use. The razor blade cos is the strongest thing I can use, and it's pretty effective, oh by the way, at least at this point before I. Do anything else I'm going to remove the SIM tray? Okay, we should have done that since the beginning, but right now we just go ahead and remove a synchro.
There we go so you guys can see. We have the sprint carrier. Let me just put down on the side, and we're going to keep on removing the middle frame, as you guys can see. We're going to go in between here. Just to keep your closet look I'm going to slide my eraser blade exactly in between.
So you see that's why I'd like to use the razor blade, because it's a strong and very thin, so it goes in between without damaging anything is not going to damage. Anything you guys can see. This is pretty easy, just hold by a few clips. If you just put the pressure it will get loose, you guys can see right here. That's how the phone looks in the inside spring interesting.
We have two of these cables going down to the charging port leader board right here. So us right now we are going to unplug all the cables, so I'm going to be probably explaining each cables. Basically, these just these two cables. Just give communication today from the charging port to the motherboard, so we're gonna both of them from there and next. What we're going to do is some I'm going to plug them from the bottom two just to get the these out of their way.
That's one and that's two next I'm going to remove this antenna, cable, and now I'm gonna. Remove these two screws right here. Those screws are holding the fingerprint scanner or sensor is two of them, and these girls connected with the Lego type connection right here, and it's going to come out like. Lets you see, that's the scanner as we can see in the little hole right here we have the in screen fingerprint. So that's what it that's.
What is that for so um another thing we're gonna, remove unplug the battery. This phone is completely dead. So that's why I didn't go ahead and remove the battery, but I'm gonna just put and I'm gonna just put right here on the screen. You should unplug the battery first, okay. So, let's just keep with on with the video, and I'm gonna.
Remove this cable completely because, like I told you, we bought the whole frame, and we're going to transfer every single piece from here to the new frame. Okay, so that's about it and on the bottom, we have the little charging port board, and I'm gonna just grab it with my tweezer and try to pull it out from its base right here there we go just hold, but a little of adhesive just try it be careful where you grab it, because you know we have a little component and sometimes, if you're, not careful, you might break those little components, and you know they're, it's going to come to trouble. You can heat these up a little if you want, because it's hold by some adhesive, and you don't want to twist it so much because you know this is a little board you might break, and then some functions are not gonna work properly. Here on the bottom, we have the headphone jack. So you guys can see right here we have the headphone jack and the charging port, the charging port.
If you don't want to replace the whole little board, which is it might cost you a little more money, you can just go ahead and replace the charging port it's soldered on, so you have to be aware of that, and here we have the microphone in case people can hear what you're talking over a call. This guy is gonna, be the responsible you see, does the microphone. So, let's put this little bar on the side. Keep going with the video I. Don't now I'm going to remove the motherboard.
Her mother board is not hold by anything. As you guys can see it's loose right now it doesn't have any screws or anything and right there. We can locate the three rear cameras and one single front-facing cameras that goes to the little match right here on the front. So that is the motherboard. Nothing else to see right here we have the flash you guys can see if you want to replace the camera every each one of them has its own connection so enter the scene.
This entry SIM card reader. Actually, you can go ahead and replace these in case you insert something and break the little connection, and these can be replaced done by soldering. So, let's put them all on the side. In what else do we have here? Okay, we have the vibrator gonna, remove it also cost everything on this housing is going today, new housing. All these little pieces are attached, stick with some double side tape, so be careful.
Sometimes, when you're removing you can break them or just use a little of adhesive. Okay, we have now the the earpiece on me. Okay, your phone gonna just keep this up a little, don't use much heat and if you're going to use heat, don't go so close because you can burn it. I might just use a little to dilute the adhesive that is holding that that earphone here from speaker, your speaker, if I'm saying in a room- but you know you guys- know what it is: okay, so I'm gonna kind of use my tweezers and trying to find a way to pull it up, and oh I hit the camera. Sorry about that.
Okay, let's go and, as you guys can see right there slipped him, so you have to be extra careful on this one because remember if you break it on half, if you break it on half, and you're going to have to travel, you're going to have to replace it. So there you go. That's they do the ear speaker. Some other things and we have to remove from here is the battery same thing with the battery heat it up a little again and then use a very strong says mode tool or flat tool like this, and you can start lifted from the panel. As you guys can see, this one I had a little loose previous to the video, but, as you guys can see, it has the adhesive.
That's how it comes there. You go we're pretty much done here on this one and what I'm going to do is, if you guys want to remove this screen, because you bought just the screen by itself. You need them, but you don't want to buy the frame. Furthermore, you want to save early like extra ten to fifteen dollars. Furthermore, you can buy the screen by itself and all you have to do.
If you did that, is you have to hit these surface? You have to get it this one. You have to get it actually really cool. Furthermore, you might want to use loft studies, but it's going to get really hot, then also going to protect you from some loose pieces of glass that might pierce your skin yeah you see, and to remove that you're going to use the same razor blade, then I always use, and you can't, you have to go behind the LCD, so you guys can see it's going to leave like that all the way around. If you got, if you have an opening like this, sometimes I like to put something in between. So it doesn't go back just this.
The same, the same double side tape trying to pull it back, so I like to put something in between just like that. You see you're going to go all the way around. Just splitting the LCD. You know if it needs more. If it needs more heat, you can just heat it up a little more.
What I do sometimes is doing this. This LCD, sometimes they are not as hard to remove them all ones, because on the sides you see is very little gap where they are actually holding the glue. So guys can see it's pretty easy to remove the whole thing too. If you want to save like extra 15 bucks, you can do so, and you see it does the LCD itself. Now that's how it's gonna look! It's just going to come apart, just like that so and from here what you're going to do is you go? We have to hold sorry my time you have to go all the way around and remove the little pieces left.
The guys can see like that. I will go with the razor blade all the way around and clean. This perfect make sure none of the little pieces are in there. None of them clean it really, really good. Okay, once you have all this frame clean and everything is perfect- you are going to grab some B 9000 and apply all the way around the frame and all the edges right like around here all the way around apply a good amount, and then you're going to mount your new screen and just kind of slide.
The cable in between there and you're gonna just apply the new frame right like that yourself put some clamps all the way around and just leave it dry and dry for about 10 to 20 minutes the longest, the better, but that's just if you didn't buy it with the whole frame. If you did buy it, just keep all that steps, but because you don't need to do that. I repeat, you do not need to do this step. If you did buy the frame like this. Okay now we have finished removing all the little parts from the old one.
Now we just have to install everything on this frame and our phone is gonna. Look awesome again: I'm gonna, remove all these little tapes and things. Then they put on these phones. Let's see something, this is like: oh that's, like heat, it's going to help for the heat, something like hip paste or something I'm going to remove everything from here. All this cable goes exactly right.
Here you see it's kind of like kind of falling between there. Next thing, I'm going to do I'm going to put the info on speaker. That goes right. There also the vibrator, the mist does by Vader because on our way. People are not going to feel that when they're calling on silent, okay, next I'm going to put all these things, they don't have like an extra screw.
So what I'm going to do I'm gonna just lay the model bar on top. Just like that. This thing doesn't have any clip or screw whatsoever. Then I'm going to put this little board on the bottom. Now, if you remember, we, we got the adhesive there.
All right, I'm not put up the bottom.1/3 is I'm. Gonna just lay the battery right here. I'm not gonna, connect it I'm gonna, just put it in there because remember we have these two cables that we have to install, so I'm going to connect these two cables. They go in order, so you see remember the main goes directly to the motherboard so, and we have one into from left to right, so we're just going to plug in these two cables and right there I, don't know why they don't like literally make this cable straight to here. So we have to deal with this extension.
To be honest, that's all what it is. So, as you guys can see, this one is very simple: that's all the cables we have available or that we have to basically connect, and I'm gonna, just plug in the battery last, because we're going to put this frame, so I'm gonna start from the bottom I'm gonna start from here, and I'm going to cover the whole thing and just push it just have to push it. This is going to click, so you guys going to see very easy. You don't have to do nothing else. It's good! Just going to click! At this point you can, you know you can test the phone at this point.
Let's see early I'm going to put a few screws before I. Do anything else, I'm going to put a few screws just to make sure that the motherboards died down all right, my old one here also because, as you saw, they the bottoms, they go into this frame that we put the last okay I just put the pond to chart a little, and I'm going to press the power button, yeah yeah Congrats, you just fix your phone. This is how it's gonna look when you finish so here we have the old screen just when we're gonna wait for this to turn on just touch the functions a little here we go and remember. All we got to do from here is finish and put all the screws and the SIM card and just glue the back, and if you have in the back, like this tape, damage later I, just peel it off we're going to put some B 9000 on it all right. There we go.
Let's light it yeah, let's go to emergency from now, yeah all the numbers seems to be working nice and smooth and yep. This is working I, so I'm gonna just leave it like that, and I'm gonna just go ahead and quickly put all the screws back there. We go just a few screws. This one doesn't even have that many screws, you know, but I like how they do now or they per day they power bottom and actually, they all the bottoms on the frames that kind, the kind of power solve a lot of problems cause those power buttons. Those are in problems for a long time.
So in this case people don't break them, I mean when I say people are also myself. So that's basically it. Those are basically all the screws on this device just kind of tight. It's perfect, and we're going to go ahead and put the sink are back on place. It's kind of weird has this extra space might be for different kind of models, but you know on like on our countries different countries.
They put, they actually have these phones like double SIM card and stuff. There we go nice and smooth and for the back, like I told you, if you have some damaged glue like this, you can just like ripped it off, wipe it out. Take it out, just remove it. You know so that way, this is going to seal smooth. It's not going to have like that gap in between.
So what we're going to do just to secure these, we can apply some to be 9,000 the same glue. You should have used if you just bought the LCD, so you see just put a little: don't go crazy, just a little to make sure the phone is. It's going to have some extra protection right here. Just in case you damage that glue, I mean the adhesive. Actually they all adhesive there we go, and this you know doesn't have any screw any cable just put on top in there and kind of press it, and these also, you know you can put some clamps and just go drink the coffee and wait for your phone to dry itself.
Relax as you guys can see guys. We have done the Samsung Galaxy 850, this kind of going for the newer model for the new models. Now I'm going to try to do some other models too, but that's it guys. Pretty nice phone nice build and pretty easy to work with you guys can see here we have the old part. Everything came out nice and smooth, and that's it guys not worth to say here.
We're going to wrap this up and finish. Thank you guys for watching. Let me know if you have any suggestion for a new video and don't forget to subscribe. I'll, see you guys in the next video bye. You.
Source : Jose Morales
Phones In This Article

Related Articles


Comments are disabled
Latest Articles


