Samsung Galaxy A11 Camera Tips and Tricks By H2TechVideos
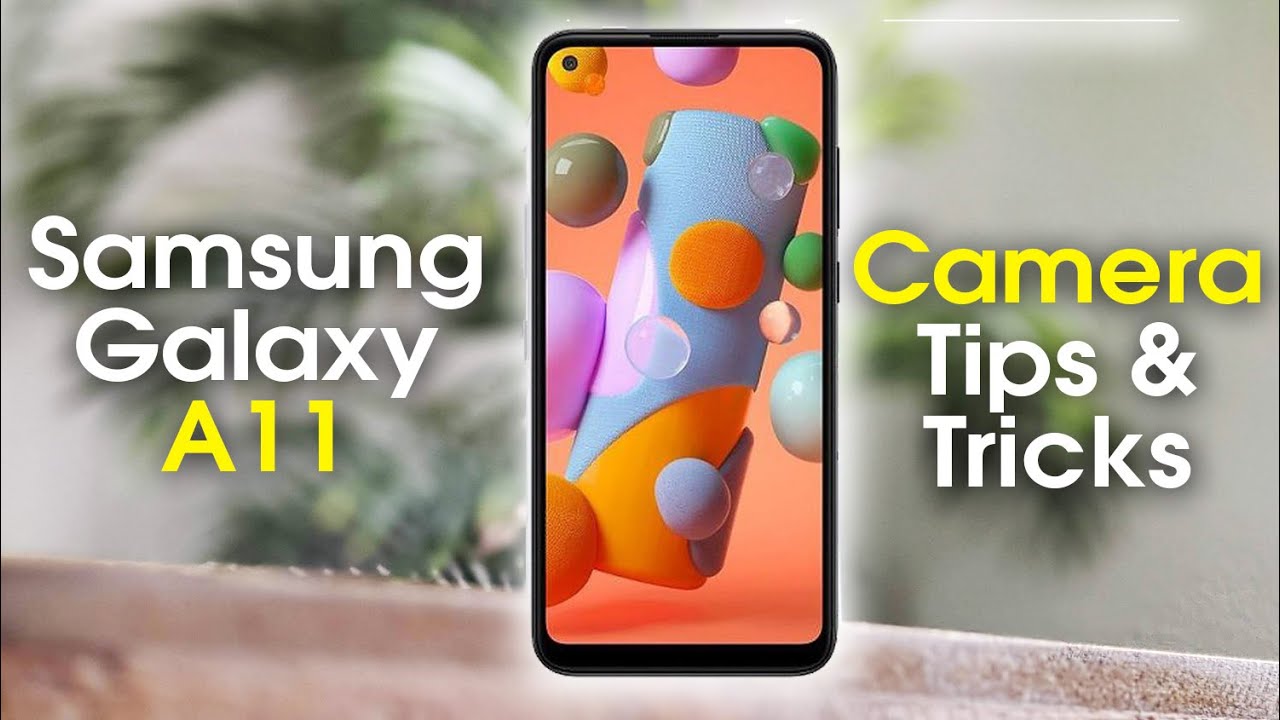
In, this video we're going over camera tips and tricks on the Samsung Galaxy a11, hey everyone! Thank you for joining us today. If you want to stay up to date on all the mobile technology coming out and learn, cool tips, tricks and hidden features, make sure you hit that subscribe button down below and tap the bell to turn on post notifications, so you'll be live every time we post new videos today we're going to show you some cool tips and tricks, and they're all centered around the camera. Let's go ahead to our camera app and, let's start learning some new cool things. So the first thing is a feature called a palm selfie. First, you want to check to make sure your palm selfie mode is turned on, so you're going to go to the settings well in the upper left corner, and we're going to go to shooting methods and show palm and make sure this is turned on. If that's turned on you're all set now, all you have to do is just take your hand, and you're going to put it I'm sorry lens here: let's do it like this, when the phone sees your hand, it's automatically going to trigger a picture, see that let's try again- and it basically does a two-second countdown, and then it takes that picture, and this is the picture that it took right here with my little forehead in the corner there.
This is a great feature for, if you're, going to take a selfie with someone, and maybe you're holding the phone at an awkward angle, no problem, you don't even need to tap the shutter button to take the picture, just hold your hand up, so that it sees your hand, and it will just begin to trigger that picture like that, and that is the palm selfie. Now our next tip go to the upper left corner, go back to the settings, look for where it says, grid lines and turn this on and now, when you go back to your camera, you'll have this little grid, these little white lines that go across the screen and what those are going to do are they're going to help you to size up your shot properly. So you know where the center of your photo should be, and you always want to try to get your main subject in that center area. It definitely will help you to take better pictures. Now you can size it up properly.
You're like hey, I want to get my main shot in the center to make sure that it's right in the middle of the picture here. So let's take that picture there we go, and we just have these lines that are going to help us to size up that shot in the best way and there we go, looks good all right for our next tip. This is going to be something that's going to help. You launch your camera faster. So if your phone is off, for example- and you see something you want to get a picture of, if you want to launch your camera, all you have to do is tap the power button twice.
It will automatically wake up the phone and take you right to the camera. Just like that. There you go, so this will work if your phone is off, it will also work if your phone is just in a different app, maybe you're in the play, store, and you're trying to look for a new game to download and something awesome, pops up just hit that power button twice, and it'll automatically. Take you right to the camera. That's called the quick launch camera feature.
I use it all the time and I love that feature for our next tip, we're going to show you a cool camera mode that we would recommend you using to take your pictures now when you open the camera, the first time you're going to see photo. This is the main camera setting now I like to take pictures in the live focus mode. Now, what this does are. It will focus your camera on the main subject of your picture, and then it will blur out the background. It gives it a really cool effect.
So what you're going to do is just tap live focus and let's try to get a picture of this leaf here now. You do want to zoom out a little. So let's move this right here, and you don't want to get too close, or it doesn't work properly. So the phone is going to tell you right here. It says effect is ready, so you definitely want to see that if I get too close, then it says stay within three to five feet, so you want to adjust until you see that that yellow writing and that's how you'll know you're far enough away.
So, let's try to size it up again. Up effect is ready, tap our shot, and now we go back and look at the picture and what it's going to do it's going to zoom in on our main subject, and if you notice the background is blurred out now. This works great with people. You'll have your main subject: nice and bright, and in focus, and you'll have the rest of your background blurred out. So that is the portrait mode setting, and it again will allow you to give you, so that was the portrait mode setting or the live focus setting if you've ever used an iPhone, it's called portrait mode, but on an android or on a Samsung, it's called live focus, so it allows you to just get a really cool effect with your pictures again, if you want to have one thing in focus and the rest blurred out, so that is live focus now.
The next thing I want to show you is you: have these zoom, these auto zoom options here? So this is a wide angle and this is a close-up. So, for example, I have this item here now. If I tap here, it's switching cameras so notice in the back earphone. We have three different cameras here right. So what it's going to do is it's switching the camera it uses, so you can get more in your shot, so notice.
This is the wide angle setting. But if I tap this one, it's going to be more of a close-up shot, so this is great for when you're trying to take a group picture, or maybe a large landscape picture, and you're trying to get more in your shot, toggle through those different options- and you know it might help you to size up your picture better. You can change the dimension of the picture by tapping this icon up here, where it says three four, and I can go to a nine six now it gives you a little more at the top and the bottom of your picture. You can also change it to a full now, in this case, it's better when you're going to take a large landscape picture. That's when you would want to make that switch now, if you're, trying to take a picture for Facebook or for Instagram you'll want to switch this to the one by one ratio, and it will shoot in a perfect square like this.
Now we're going to take this picture, so those were kind of a few different tips. I kind of rolled into one, and it's just going to vary it'll. Give you some options when you're taking your picture to make sure you're on the right setting, and you get the picture you really want by making those little adjustments there for our next tip, we're going to go to the settings and then tap on shooting method and then go to press volume, key 2 and switch it to zoom. Now what this will do is it will allow you to use your volume up and down buttons as a zoom function. So, if I want to zoom in on this picture, I can just simply hold down on the volume up, and it will begin to zoom for me.
Actually, it does really well getting a nice close-up shot here, so I can volume up to zoom in and volume down to zoom out, and you can also do this with your fingers too. You can just do a pinch to zoom, so it's up to you which method you like better, but I like, having the option of using the volume buttons to do that, and our very last feature back to settings camera mode or excuse me: shooting methods we're going to go to floating shutter and what this will do is it will give you an additional shutter button that you can put anywhere on the screen so depending on how you're, using the phone, maybe you're, holding the phone with your left hand, and you can't reach the shutter from this side. You can just tap from here. Take a picture because now you can move this shutter button just like that, so put it wherever you need to put it, and then you'll be right in reach of your thumb to get the best shot and obviously don't put your hand in front of the lens like I was doing. That was silly, but you can hold your phone and still reach the shutter button.
Just like that, all right guys. These were just a few tips, wanted to give you just some fun things to do to improve your knowledge of using the camera. Hope you guys found this helpful, make sure you like favorite and share if it was helpful, also uh below in the description of the video and in the comments section you'll see a link to a couple of things, one. We have a playlist of a ton of other a11 videos that might be helpful to you so check out that playlist, it says, learn my a11 and there's also a list of our best accessories for the a11 are recommendations looking for some cool accessories to go with your phone check out that link as well, and you'll, find some cool stuff to go with your phone like favorite and share if it was helpful, hit that subscribe button and stay tuned for more videos, thanks for watching, take care and, as always, have a good one.
Source : H2TechVideos
Phones In This Article

Related Articles


Comments are disabled
Latest Articles


