Razer Phone Teardown! - HUGE Heat Pipe - tiny vibrator By JerryRigEverything
The Razer Phone has survived my durability test and now it's time for the teardown and review from the inside. We had a vote over on my Twitter yesterday to name our new little mouse friend, and out of the suggestions in my last video came Mousey McMouse Face, Mr. “Moh'se”, and Jerry (from Tom & Jerry) ended up winning though. Good choice. I like that name. Let's call him Mr.
Jerry Moh'se, and I just hope he survives the teardown. Let's get started. Since there are no visible external screws on the Razer Phone, the only logical explanation is that they are hidden under the plastic speaker grills. And as with most adhesive, this stuff gets softer as you heat it up. I'll take a thin pry tool, or in this case, a razor blade, and pry up that bottom plastic grill exposing a few screws.
I'll repeat the process with the top grill by warming it up and putting my razor into the Razer and razoring it around a little bit. The camera lenses come off with that top plastic. I'll try to find replacements for these and link them in the description. But since this isn't a super mainstream phone, it might be difficult. I'll pull the SIM card tray out just in case that's important.
And then there are 6 screws at the bottom, a combination of Phillips and T5 screws. There are another 4 screws up at the top; one T5 and the rest are Phillips head. Getting the screen out of the frame was a little bit easier than I anticipated. It's held in place with friction and a few small clasps. So with a little leverage at the bottom of the screen and some gentle persuasion, the whole thing can pop up and out of the phone body... way easier than the OnePlus 5T.
Already we can see some pretty interesting things inside this Razer Phone, but we need easier access to get a better look. There are a billion different sized screws in here, so I am going to keep things organized. I'll detach the screen ribbon cable first by unscrewing the metal bracket connector – it's a Phillips head. And I'll peel back some of the metallic shielding over those connectors. First thing to unplug is the massive battery, and then the screen ribbon.
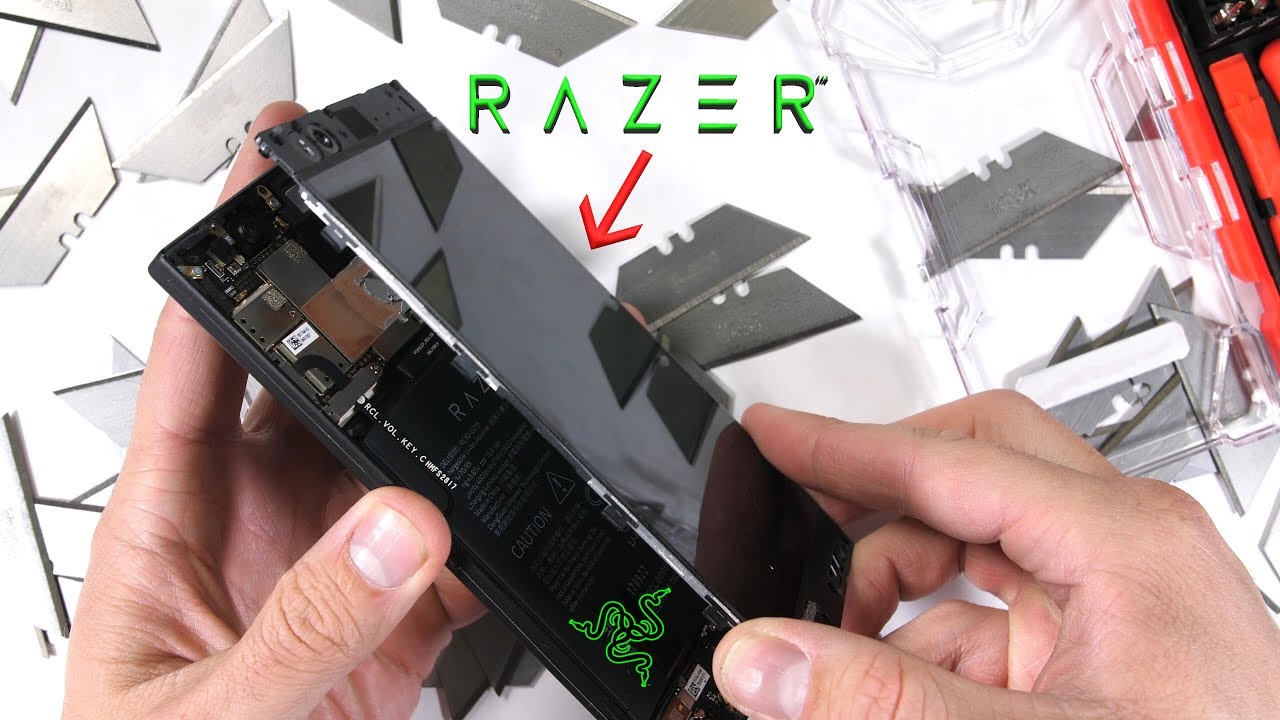
And now that the screen's free, let's look at this massive heat pipe. This might be the biggest heat pipe I've ever seen in a cellphone. It's also got the thermal paste right over the top of the copper so the heat dissipation will be more efficient between the copper and the processor. Under the black tape there's another sheet of copper thermally adhered to the copper below it. More copper is always a good thing.
The adhesive only sticks one time though, so I'll just, um, put that off to the side and it's good as new. This is the screen component, the 120 Hertz IPS beast of a display this phone is known for. If you manage to break yours unfortunately, I'll try to have some replacements linked in the video description for you. So far it's been a pretty straightforward replacement. Now let's get that gigantic battery out.
I'll unclip the fingerprint scanner cable from the motherboard. And then on the other side of the phone I'll remove the two screws holding down the volume ribbon bracket. I'll set that off to the side and then unclip the volume button connector just like a little Lego. This battery does have the magical pull tabs thankfully. And Razer was nice enough to give us a big enough tab to actually grab and pull on.
But wait, there's more. Unfortunately there was some premature decapitation, and now I have to commence the Pry of Shame. But still, pretty simple to replace the battery in this thing. A 4000 milliamp hour Razer branded powerhouse which is over twice the capacity of the iPhone 8. Pretty impressive.
Now for the charging port and vibration motor. This is where things get a little more complicated. There are a total of 7 screws holding this thing down, with a few golden frame attachments to that plastic antenna line. I'll disconnect and peel back that charging port ribbon from the motherboard and remove the signal wires, and then the whole thing can come free. The USB-C charging port has a little bit of rubber around the tip, but remember that this phone has no water resistance, so be careful.
Now for that vibration motor. In most smart phones we find an eccentric rotating mass motor, or circular coin vibrators, but Razer has stuck in a taptic vibrator, similar to what we've seen on the iPhones, but a fraction of the size. It's incredibly small. Marquez was complaining about his vibrator being trash. Sounds broken.
But it sounded that way out of the box since day one. And now we can see why. It's barely even there. I assume Razer is making up for it's small size by overpowering the itty-bitty guy and getting that blown out rattling sound like you would with a speaker. Apparently size matters when it comes to vibrators.
The bottom loudspeaker is on the other side of the phone and it's pretty interesting. Once again, no waterproofing, but the speaker cone is made from rubber, kind of like what we saw in the Apple Airpods. So even if moisture does get into the speaker, it won't distort or blow easily, and will wear out less with time. It's nice of Razer to put quality speakers inside of their phone. I'll toss the loudspeaker with it's golden contact pads back into the frame and make my way up to the top of the motherboard.
The dual camera system is hidden under that metallic tape. I'll peel that up and unscrew the one screw holding down the metal bracket over the connectors. It's a weird bracket with a little rubber doohickey keeping it from popping out on one side. The cameras themselves can unplug like little Legos, and there are 2 screws holding the whole thing down. One screw is tucked up underneath the camera connector.
This is not the most organized phone I've ever been inside, but it's still not as bad as the old HTC's. Neither the regular camera lens nor the telephoto camera have OIS, which is unfortunate. Optical image stabilization is pretty important when it comes to cameras and taking video. There is no side-to-side hardware stabilizing that we've seen on other major high-end flagships. There are 5 more screws holding down the gold antenna line brackets to the motherboard, and then one more screw hidden next to the front-facing camera.
The whole motherboard can lift up and away from the phone body after that. The 8 megapixel front facing camera is removable if you're into that kind of thing. Also, one more cool thing is that the front earpiece looks like it's the same size as the bottom speaker, so there will be equal sounds coming from both ends of the phone. It's just oriented in a different direction. The top speaker also has that same durable long lasting rubber cone that we talked about earlier.
And now it's time to see if our little mouse buddy is still alive. I'll get all those golden antenna line brackets back into place with those 6 motherboard screws. There's another 2 screws specifically to hold down the rear cameras. I'll get that silver bracket situated with it's one screw and funky white little rubber pad thing, and make my way down to the bottom of the phone. The charging port goes in with it's gold antenna line brackets and 6 screws.
And the long extension cable can run up along the frame to the top and plug into the motherboard. I'll tuck that massive battery back into place, and get this silver bracket with it's two screws back over the volume button ribbon. The fingerprint scanner Lego-like connection is next, and then I'll toss that metallic tape back on over the cameras and SD card slot. I do like saving the battery connector for last to be safe. So we'll get the screen lined up and plugged in, and then the battery.
The metal bracket goes over the top of all those connectors with it's one screw to hold it down tight. Getting the screen lined up and pressed down was easy enough. The kink near the power button from my bend test didn't mess me up too much. Since I am working with glass though, I was pretty gentle and careful getting it back into place. Cracking the screen at this point would be incredibly unfortunate.
And it looks like everything still works. This phone is currently available on Amazon right now, so I'll leave a link for that in the description along with all the parts and tools I used during this video. Hopefully you never break yours, but accidents happen. I'll get all the screws back into the frame and unfortunately, the speaker grills are not going to go back into place nicely. Once they've been peeled off, the adhesive is not reusable.
I'll probably try some double sided tape at some point, or just wait till I can find some replacements. Jerry Mouse is glad he survived the teardown and thanks you all for his new name. Come hang out with us on Twitter. Jerry and I thank you a ton for watching and we'll see you around.
Source : JerryRigEverything
Phones In This Article


Related Articles


Comments are disabled
Latest Articles


