iPhone Xs Max Camera: Top 10 Unknown Features! By Techisode TV
What's up guys, Eric here from Decca, so TV, and today we're taking a look at the top 10 unknown camera features on the iPhone 10s max now. Obviously, some of these features are also going to be available on older iPhones, so definitely check it out on your iPhone to see. If you have these features too. Alright, let's get started. So this first feature is pretty simple, but a lot of people do overlook it. Now, most people after they take a few pictures with friends, and they want to check to see if anybody blinked to make sure the picture came out good, then they would just typically just tap that and then scroll through their different pictures and then, if they realize you know what we need to take another one, they hit the back button setup take another picture again, but if you lightly 3d touch, this is like 3d touching halfway down, then you'll get a preview, and you can just drag across and see all of your previous photos.
You can let go, and it will snap right back into the camera application. So you can quickly check to see if anybody blinked and if they did jump right back into the camera application and take a few more photos. Everyone already knows that there is a filter option in the upper right corner. If you tap that you get a bunch of different filters for your pictures, so you can change the style of the photo, but a lot of people don't know is that you can also get to this menu by swiping up on your screen, and you can close it by swiping down now. This is especially useful on the iPhone 10s max, because the phone is so big that it's really hard to get your finger all the way up to the corner, to hit that icon.
One more thing that I'd say most people don't know about this- is that if you 3d touch one of the filters, you can quickly compare it to what it looks like without the filter. This is particularly useful for the filters in the middle, where it's really hard to scroll back to the beginning, so you can see what looks like without the filter and then scroll back again to whichever filter you were currently looking at if you've ever needed to scan a QR code either on a box or maybe on an advertisement. You saw at the mall you've, probably 3d touched the camera app and then went ahead and tap scan QR code picked up your phone, aimed it at your QR code and then grabbed the QR code off of that that's great, but what a lot of people don't realize is that you don't even need to do that. All you need to do is open up the camera app. So here I am on the lock screen.
All I have to do from here is 3d touch. The camera icon then aim the camera at the QR code, and it's going to go ahead and give me that QR code link again right at the top of the screen when most people want to zoom in on an object when they're taking a picture they'll do one of either two things, though either pinch into zoom like this, or they will tap the 2x zoom button and switch to the zoom lens. But if you don't want to just skip to the zoom lens, and you want to go somewhere in the middle, and you can only use one hand because maybe you've got kids, and you're holding one of your kids, and you're trying to get a picture of the other one. Now you want to zoom in there's no way you could even try to do like some kind of weird claw man. Oh, there we go, so you'd have to do this crazy, clown maneuver, while trying to hold a kid in one hand, who's squirming to take a picture of another kid who's running around.
That's just a complete mess. So what you can do instead and a lot of people? Don't realize is that if you touch and hold the 1x or 2x button, you can actually then swipe up and down from there to zoom in and out single-handedly. So this is perfect if you have kids, or you're, often in a position where you can't use your other hand, and you do want to zoom in on a picture. This is a really great way to do that, and this obviously also works with videos too. So, if I'm in video mode, even if I'm recording, if I swipe up and down on this I, can zoom in and out really easily, if you're taking a panorama photo by default, you're going to have to pan from left to right, there 's's no other option.
You have to pan in kind of this direction. However, if for some reason you want to start from the right and pan over to the left, all you have to do is tap in the center, and it will switch over now. This seems really obvious and really intuitive, but actually took me a while to figure out how to get that to switch, because if you tap anywhere else, even if you swipe on this, you can't get that thing to move over. It has to be a tap on it, and then it will switch across to the other side. Most people know that when you're taking a photo- and you tap on part of the screen, it's going to focus on that part of the image, and it's also going to adjust the exposure based on it.
So it's either going to get lighter or darker based on whatever it is that you tapped on, and even still people also know that if you tap and then swipe up and down on the screen, you can manually adjust the exposure to whatever you want. But what some people might not know is that if you long press somewhere on the screen, you'll get an auto exposure and autofocus lock. What this does are it locks your focus based on where you just held your finger down now you can move your camera around to different places and the exposure and focus won't change. So this is particularly useful if you're taking a picture of a group of people and there's something really bright behind them like the Sun, and you want the people to be properly exposed, use long press on the people to get your auto exposure, an autofocus lock, and then you could take a bunch of pictures without the exposure changing and making the sky easier to see, but the people really dark to get out of this autofocus and auto exposure lock mode. All you have to do is just tap somewhere else on the screen to refocus, and then it goes back into autofocus mode once that box disappears, if you aim the iPhone straight down or straight up, you'll get these crosshairs that appear and if you keep moving them, you'll see that the crosshairs at one point will become a solid, yellow color.
When this happens. This means that your phone is perfectly leveled to the ground. This is particularly useful if you're trying to get a product shot for something you're trying to sell so, let's say you're selling something on Facebook or Craigslist or on eBay, or something like that, and you're trying to get some good photos. You want to get a picture from above, and you want it to be nice and even in level. This is a great way to make sure that it actually comes out level and when you tip the phone back up, you'll see that the crosshair is completely disappeared.
If you're one of those people who typically take selfies or record videos instead of take photos with your phone, then this next feature is for you. If you go into your settings, and you scroll down to the camera, which is right here, tap that then tap this preserve settings option and then turn on camera mode. Here now what this is going to do is it's going to preserve your camera mode settings? So if I go to my camera right now, by default every time I open the camera application, it's going to go into photo mode with the rear-facing camera using the One X zoom lens. Now, if I switch this to the front-facing camera, now that I have this camera mode preserved every time, I open the application it's going to open back up to whatever I had open last, so in this case, it'll open in selfie mode, even if I close the application and I close out of RAM and I come back three hours later, it's still going to open back up in this selfie mode, because this is the last mode it was in. So this is a really handy feature for people who, like I, said you typically take selfies, or maybe you typically just take a lot of video, and you rarely actually take pictures.
Then this is a great way to make sure that every time you fire up the camera application, it's always in the mode that you want it to be in. If you use a lot of filters, you can also turn on this creative controls option which will also preserve your last use, filter, light and depth settings. While were the settings let's go ahead and take a look at another unknown feature, that's also in the settings. If you go back one to the main camera settings at the bottom here, going to see this smart HDR option. You can turn this on or off now.
Smart HDR is just Apple's way of trying to get an even exposure through the entire photo. So for those shots where there's a Sun in the background there's a person in the foreground, it tries to make sure that the person is properly exposed, that you can see all the details of the person, but also make sure that the background where the Sun and the clouds and all of that are also properly exposed, and it does that by taking a series of photos at different exposures and then combining them back together. Now this is basic. HDR technology companies have been doing this for a very long time, Apple included, but it has the potential to create some pictures that you may not like because of how it combines all the photos together. So what you can do is you can turn on this, keep normal photo option, and it will actually keep a copy of both the HDR photo and a regular photo as well.
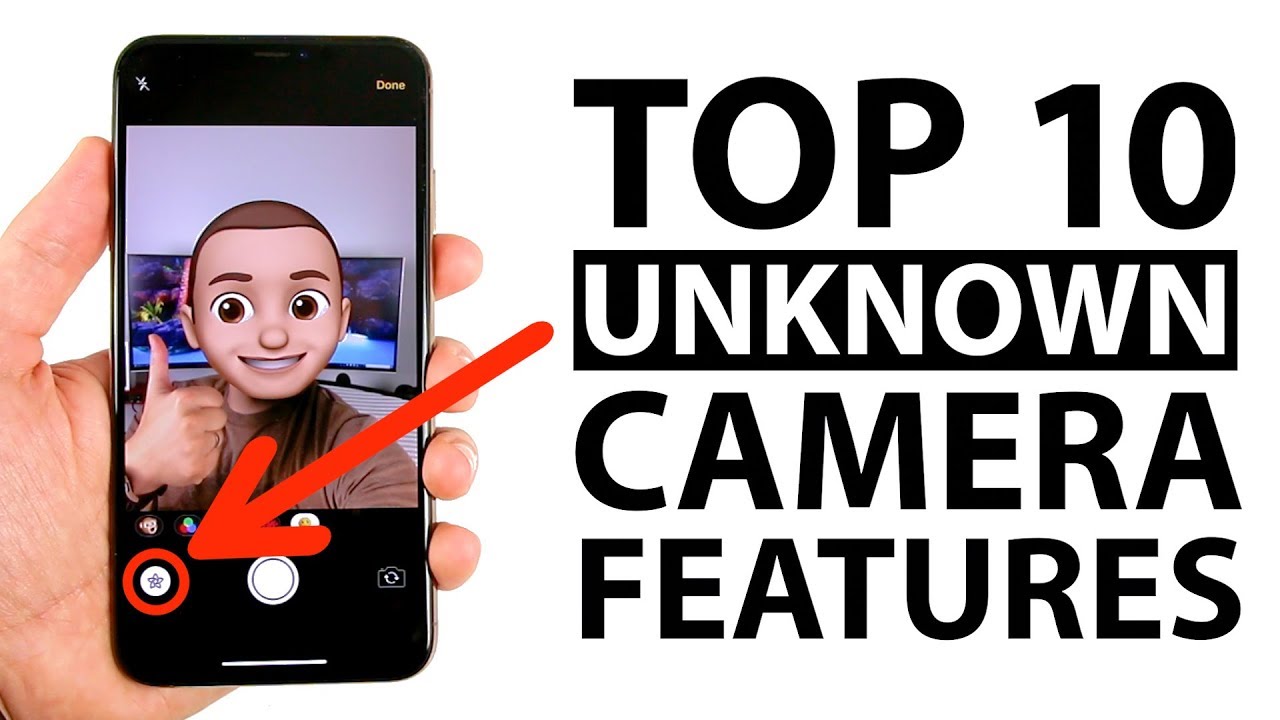
Now this will take up more space because you are keeping two photos every time you take a picture now. So I only really recommend doing this. If you have one of the larger storage capacities for the iPhone 10s max or if you're only going to keep it on for a little, because you're going to be taking a bunch of pictures outside in bright sunlight. Alternatively, if you decide that you just don't like the HDR photos at all, for whatever reason you can just turn it off, some of you are probably still wondering how I had the animated head at the beginning of this video, and it's actually really simple. All you have to do is open up the message.
Application then tap the camera' icon in the bottom left corner. This is going to bring you into the camera application, but it's a slightly modified camera application. You'll see that there's this new icon in the bottom left corner. If you tap this, it's going to bring up this special camera mode now from here, I can go ahead and tap this an emoji icon and pick any of these an emoji z' to go ahead and add to my face. So if I tilt the phone up to get my head in the frame, you can see that I now have this kind of lion head and if I tap this up an X button, you can see here that I can take a picture of this, and now it's going to not film anymore and then, if I tap this arrow here, then it's going to send this to this person here.
If you wanted to film a video instead of take a picture, that's also pretty easy to do. All you have to do is tap the camera button swipe over to video. Before you tap this special menu button, then you can go ahead and select. Another n emoji this time we'll go ahead and be the Fox get my head back in the frame, and so now you can see I have the Fox head. If I tap this X here, you can see that I have a red button now for recording, but before I record I want to show you guys a few other things you can do.
The first thing here is a filter and this will add a live filter on top of the video, and this will obviously be live. As you record, the video as well I'm going to go ahead and switch this back to original, so I can show you guys. Some other features. The next option here allows you to add text and there's a few different ways to add the text. As you can see, you even get this little thought bubble that you can add here.
So I'm going to go ahead and tap that sorry, long, press it and then drag it to where I want, and then I can go ahead and add whatever I want in for text. So let's go ahead and do hello, and now I can drag that around by long-pressing and dragging it to wherever I want and if I pinch in and out, I can also make it bigger or smaller. So let's go ahead and do this, and I'm going to move it up to here and that's going to track my head wherever I move it. So that's pretty slick! The other thing you get is a shapes option, and you get a handful of different shapes to pick from as well. Let's go ahead and just add this check mark, so I'm gonna long drag it up over here, and you can see.
I now have that checkmark tracking my head as well, and the last thing I have here- is a sticker pack that I downloaded these are smiley. Stickers are kind of animated. So if I pick one of these I can go ahead and drag that around, and again I can pinch out to make it a little bigger all right. So that's a little bigger than it was when it first came in and again same deal. You can long press and drag that around as well, and that's also going to track my head.
So now, when I start, recording you'll see that the check mark hello and the smiley face are tracking my head and if you look close, you can actually see that the smiley face is actually animating, which is pretty slick now. Obviously, this works with any sticker pack that you download. So if you have other sticker packs that you use you'll be able to use them with this, an emoji video when you're done, recording just tap stop. If you tap this blue arrow, that's going to share the video in iMessage. If you weren't satisfied with the video, you could tap retake and obviously there's a play button here.
So if you tap play it's going to start playing back your videos, so you can see it and if, at some point you decide, you know what I didn't want the Fox, an emoji I wanted a different one. That's fine! You just tap a different, an emoji, and it will now put that an emoji in the video. So if I started playing this, it's now using the ROG face instead and the same. Obviously it goes for all these stickers as well. So if I did the video and I realized, you know what the stickers not quite, where I wanted it to be.
That's fine I could long press it and drag it around the screen and again, I can pinch in and out to make it bigger or smaller, and I can even rotate it by moving my fingers around like this in a kind of rotating motion, so I'm going to go ahead and rotate a little and just stick it right back up there and, if I think that's better, then great I can go ahead and send that video instead. Furthermore, if I wanted to add something else like another sticker of some sort like this, let's say I want to add this red arrow. I. Could long press and I can add that arrow in here and that's also going to animate along with the video? So if I tap this X, and then I tap this, you see that red arrow is now in there, and it's tracking with everything else, just nicely. Once you're satisfied with the video as I mentioned earlier, you can tap this arrow to send it to your friend immediately, or you could tap the done button in the corner, and then it's going to start creating the movie once it finishes.
Creating the movie it's going to dump it into iMessage and then give you the option to send some text along with the video in case you're wondering if you 3d touch the send button, you can still send it with all of these different animation options that come in iMessage and obviously the same also goes for the screen effects. You can use any of those as well. If you just wanted to save the video to your photos' gallery, so you could share it through, like Twitter or Facebook or something other than iMessage. Then all you would have had to do is tap the X when it brought it into your iMessage, and it would have saved it automatically in your photo gallery, and even if you didn't hit the X and just sent the video long, it would still save a copy of the video in your photo gallery. I also wanna quickly point out that you can also film in landscape as well.
If you don't want to take a portrait, video, and you'll still be able to get all the same tracking features as you do when you're filming in portrait mode. So there you have it guys the top 10 unknown camera features for the iPhone.10S Macs definitely drop a line in the comments down below letting me know how many of these were new to you and, as always, don't forget to like it. If you liked it share it. If you loved it and subscribe to see the rest of my upcoming coverage and while you're at it smack that notification bell, so you can be the first to know when a new video drops. That's it for this Texas ode.
God bless guys and I catch you in the next one.
Source : Techisode TV
Phones In This Article

Related Articles


Comments are disabled
Latest Articles


