iPhone Xs Max Camera Tips, Tricks, Features and Full Tutorial By sakitech
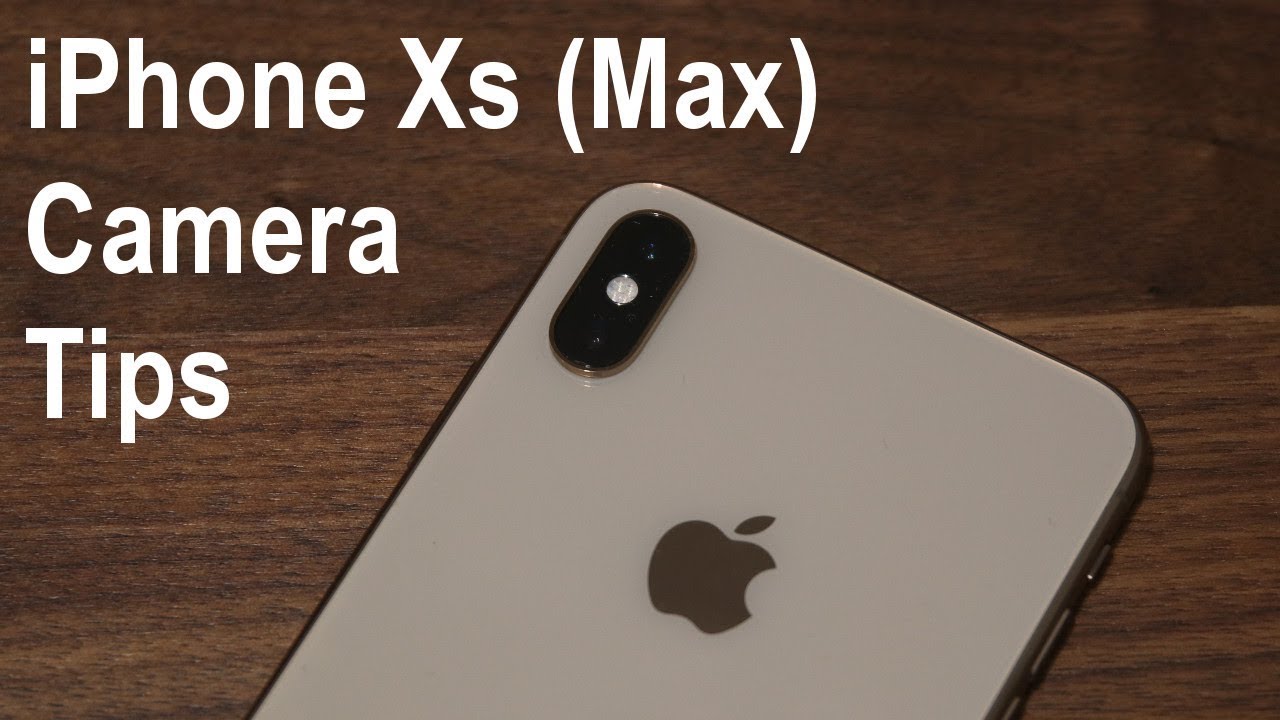
Hey guys sake her from sake ticket in today's video I want to give you a full list of iPhone 10s, Max and 10s camera tips, tricks and basically a complete tutorial. You paid over a thousand dollars for the smartphone, and it's best that you know how to use every aspect of its wonderful camera. So I am just going to go over every little thing. That I think you need to know to enhance your ownership towards the end of the video for the sake of people who want to get really serious. With this camera, I will show you how to get full manual control over the iPhones camera, which allows you to individually tweak the exposure by manually controlling things like the ISO value, the shutter, speed and manual focus such as like on a DSLR camera, but that's going to be all the way in the end now before I. Do dive in I.
Need you to fully understand that the iPhone 10s Max and the 10s camera is a dual camera system, meaning on the rear. You get two cameras. The first one is a standard angle camera. It is 12 megapixels, with an aperture of F 1 point 8, while the second one is a telephoto camera. It is also 12 megapixels camera with an aperture of f28.
Be aware of that, and the very first thing I will show you is the distinction between the standard angle, camera and the telephoto camera, let's dive in and discover all right. So let's dive right in and start talking about the camera, as you can see, I have the camera application launched, and it's at the photo mode now. The first thing you want to talk about is I want to actually make a quick and clear distinction between the standard lens and the telephoto lens that I talked about in the beginning of the video. The reason you have that secondary telephoto lens is for two reasons. One of them is to be able to zoom in optically two times.
So if I tap on this button, you get two times optical zoom, all right, so you don't lose the image quality which you can zoom in on something two times optically and if you tap it again, it goes back to one time zoom. Now in this 1x zoom, you are using that primary camera. But the moment I tap on this guy you're using the secondary telephoto camera. Just be aware of that. That's one reason you have that secondary camera.
Another reason you have that secondary camera is the portrait option. So when you swipe over you go to the portrait mode, the portrait mode allows you to basically focus in on a subject and object, a person it's actually designed for people. It gives you sharp and crystal clear focus on the primary subject in this case I'm using this lens over here and then everything around that lens kind of blurs out into a creamy background and that's what's called both effect. So, basically, that's the only reason you have that secondary telephoto lens to get 2 times optical zoom and to be able to access the portrait option. So when you are using this mode just remember you are utilizing that secondary camera and the good thing is.
You actually have five different modes you can play with here. So if you tap on this icon, it says natural light. If you tap on this I can get a wheel. You can actually switch over to studio light, contour, light stage light and also to the stage light mono. That means monochrome right and basically make sure when you come to these two options here, the last two options that you put the face of the person in the middle here to get the appropriate effect again.
It is designed for people not objects, I'm, just using this right now, because it's easy to demonstrate, but you can use all these different options and play with them to get different and nice studio effects. Bottom line you're using the secondary camera just to get this option alright, so that's it with the primary and the secondary lens. Now you know what they're there for. Let me switch over and give you other tips and tricks now. I know that some of you guys are not expert.
So I'm going to give you a couple basics to swipe between modes. All you have to do is this, so you're going to go to portray, can go to square mode, I can go to panorama mode, and then you can go back the same way. If you want to record a video swipe over, and now you can record a video, you have slow motion, and you also have the time-lapse option, but we're going to go back to photo. I'm going to give you one tip here that I'm sure a lot of people are not aware of so the first thing you can do is you can tap on the screen to focus on a subject, so I'm focusing on the lens, and let's say that you're looking at that picture, and you think the picture doesn't look quite bright, or maybe it's too dark. What you could do is you can simply put your finger like you can focus on the subject and simply swipe up and down to actually darken the picture or make it lighter.
What you're really doing is you're changing the exposure of that photo. So if something is too bright, you can bring it down, you can darken it and if something is too dark, you can bring it up to bring in more light and get a better exposed photo. So that's one tip you can use on the camera directly and the other thing you can do is you can actually press and hold on a subject and what you can do is you can get it says over here: AE, +, AF, lock, so AE means out to exposure and AF means autofocus. So basically, what you just did was you disable the automatic expect, and you lock them in place so right now the exposure and the focus has been locked. So all you have to do.
Are you have to press and hold? You can do this on any place. You can press and hold on the table here boom. Now the focus is locked right here, and so is the exposure based on the area. Alright, and if you want to cancel it, you just tap anywhere else, and it gets cancelled, but the biggest thing really is just to do this to brighten or darken your photo just to get a better shot. Alright.
So, let's move on to the next tip again: I'm, just going to give you some basics. Just in case we were dealing with some beginners, not everybody's, an expert. So on the top here we tapped this guy, and you can actually effect apply and effect life. So you can see an effect how it's gonna. Look before you even take the picture.
You have a bunch of these guys, so you can always do that. If you tap it again, it disappears over. Here. You've got the timer, you can set it to 3 seconds. So if you take a picture, it's going to do a count-down to 3, and then it's going to take the actual picture.
So let's disable that- and this is something off- and this is the live photo mode. This is something I always disable. Basically, what it does is when you enable the live photo. When you take a picture it records three seconds before and after the photo, giving you a live effect now. This is something I do always disable and, of course, you've got the flash err Auto on or off, alright, not a big deal, some basics.
Now the next thing I want to talk about is the video mode, video mode, and also I want to be talking about the slow motion mode. So you bought the iPhone 10, and it's got incredible. Video recording capabilities such as being able to record at 4k at 60 frames per second, but right now, when you first buy the iPhone, it's not set to record at 4k, you can, you have to go in, and actually you have to tweak the settings now. If you look on the top here, it says HD and 60 what that means is you're recording at 1080p, which means high-definition at 60 frames per second, so you're getting a little hint on the top here. So what if you want to go to 4k at 30 frames per second or 4k at 60 frames per second? What you want to do is you actually want to go to the settings? Alright, and you want to scroll down to the camera option tap on that camera option and then over here it says: record video, you tap this guy, and this is gonna.
Allow you to change pick between different modes. You can do 720 at 30 frames per second 1080p at 30 frames per second 1080p at 60 frames per second, and then you have these four options for 4k at 60 frames per second. Now let me go back into the camera to show you one thing really quick go to the camera you're back in the video mode. Now, if you look on the top, it says 4k 60, so you know that you're recording at 4k at 60 frames per second, and let me go back into the settings now. Let's get rid of that go to the settings over here and then just one thing to realize here is: it says: 4k at 60.
Frames per second is only available in high efficiency mode. So if you go back here to the camera, and you go to the format's, as you can see, I have the most compatible enable now that's not gonna. Work for 4k at 60 frames per second I would have to go to a high efficiency. Then, when I go back over here to record video, it doesn't say high-efficiency anymore: it's actually enabled it is going to work. Okay, so just be aware, you do have to use the high efficiency mode to record at 4k at 60 frames per second.
The reason is that high efficiency less takes less space on your smartphone and 4k videos can take a lot of space on your phone if you're, not careful. So let's go back here. Let me go back over here for one second, if you look over here, it does tell you if you were to record a video for 1 minutes under 4k at 60 frames per second, it will take 400 megabytes of space. That's a lot in comparison if you record at 1080p at 60 frames per second, you get the only waste 90 megabytes of space for 1 minutes of video. So just be aware of these things as you're recording the video and as you're recording choosing from these different options, but the biggest thing I really want to share with you guys was when you do go back in here.
You should be able to see what mode you're recording it by looking at the top corner over here. Alright now the same thing applies to slow motion video if I scroll over right now it says nothing. That means, if you see nothing, it means it's default. Okay, so let me go back here. Go to the settings, go back, go to slow motion, and it set the default setting, which is 1080p at 240 frames per second.
But if you choose this guy and go back to the camera and look on the top you're going to see high-definition at 120 frames per second for the slow motion mode. Alright, now, let's go back to the settings. I'm gonna talk about a couple more things. One more thing I want you to do is make sure you enable the grid it comes on enabled. So when you go to the camera, you will not see lines on the camera.
If you have the lines it's easier to align subjects better within the cameras frame, so always go there to the settings and make sure that grid is enabled. So when I go over here to the camera, you'll see these lines on the camera. That's going to help you align photos, bad or subjects better within the frame of your phone, all right, a couple more things in here that are important all right. So let's go back into the camera settings. I'll show you a couple more things here that are important.
We talked about all these guys here. This one is very obvious. You can use the camera to scan QR codes. If you disable it, the cameras going to lose that functionality. If you enable it, the camera is not going to lose that functionality.
Now here's something a little more important. It relates to photography directly. You can enable or disable auto HDR mode. Now HDR stands for high dynamic range. Basically, if you enable this you're going to get pictures that look more vibrant, more colorful and richer overall.
So let me go back out here. Let me launch the camera now. If you look at the top here, you only have four options and normally would see the HDR option here too, but it's not there, because we have it set it to automatic mode. So if I go back out to the settings, if I disable this, you do have the option to actually turn off the HDR. You can turn off on, or you can keep it at Auto all right now in the settings.
If you put it to auto, you never have to worry about it. Every single time it uses the HDR mode, which I personally recommend that you keep. You will get the best possible shot by having HDR enabled at all times now, if you're, somewhat of a professional- and you want to you know- you want to have a non HDR photo for some reason. You can do that as well. Just disable that from the settings menu all right, so that's basically all the little settings you have to worry about within the camera.
The other thing you can worry about is, if you launch the camera, which you could do is you can take burst photos, so I can press and hold, and it will take photos as long as I press that button, if, if I keep that shutter button pressed so as you can see and what I could do is I can tap on select and select from any one of those 15 photos, so I can do. The point of this is: let's say: I go out to the camera right, let's say I'm taking a bunch of pictures of something I can press and hold. He will take a bunch of pictures, then I launch that picture and I see the select option, I tap on it, and now it's gonna. Allow me to pick the best picture. I can do it manually.
I can pick the best picture from that burst mode. That I just did so. Let's say I thought this was the best I click, this guy and I click done, and then I can keep everything or keep only two favorites. Now I did pick two I have one. So let me just do one here and let click done so keep everything meaning do you want to keep all the seven burst photos, or do you want to delete one of them? I can just say, keep only one favorite.
It deletes the remaining seven all right now, as you can see, you don't see select at the bottom anymore, but if I go back in here and take another burst photo if I go to the preview, I'll see the select now I have five photos. I can choose from. Let me just cancel for now. I'm going to show you one more thing, so I'm sure you are aware that every time you take a photo, it gets saved in the photos. Library here there's a couple of things you can tweak with the library.
Also, so what you want to do is you want to go to the settings and instead of going to the camera, go to the photos tap on it, and then you have a bunch of options. The very first option I asked people to enable is the iCloud photo library, so you do get five gigs of storage on iCloud, with your with every purchase of an iPhone. So if you want to make sure that all your photos are saved backed up to the iCloud, you can keep this enabled. So every time you do take a photo or take a video shoot, a video it gets uploaded to your iCloud photo library, and also it's available across all your Apple devices. The only problem is five.
Gigs could fill up really quickly. So just use this with care. Okay and then the other things you can do now. You can allow Siri to search for photos. So if you want to use Siri to look for a photo that was taken today, you can actually ask that from Siri.
So let me do that right now, hey Siri show me the photos that were taken today. So, as you can see, these are the photos I'm showing today that I just took with you guys as I was making demonstrations. So if you want that option enabled make sure that you go in here, go to the settings and Siri and search is in fact enabled under photos all right, very simple, and the other thing here is, as you upload, if you enable this iCloud 4th, if the iCloud photo library is enabled meaning you're uploading your photos to your iCloud library, you should go here, and you should make sure that you don't use your cellular data for uploads only use Wi-Fi. The reason is that if you have a limited data plan, it's gonna actually waste your data, so make sure you only do this when you are connected to your Wi-Fi and not you're, not by using your cellular data alrighty and that's basically, all there is to it. There's nothing special going on here.
If you do scroll down one more thing, I want you to enable. Is this guy right here it says view full HDR. So, at all times your photos look as good as they could all right. Let's go back to the home screen and talk about the remaining tips and, of course, a very simple tip that again, a lot of people don't know especially beginners is the fact that you can use. Are the volume controls to take a photo.
So, instead of pressing this button, you can just press this guy, and I'll take a photo, or you can press the volume up. It'll take a photo, absolutely fantastic, and finally I'm going to talk to an audience that might be into a little more advanced photography, and maybe they're desiring a full manual mode, meaning that you want to control I. So you want to control exposure, and you want to control other things like the shutter speed manually, as opposed to the camera, app doing everything for you just in case. You want to do some advanced photography now with the Android phones, such as the galaxy s 8, or the some LG phones you're, getting these apps built in to the phone, and you can do manual photography with the Apple. You can do that, but you could download apps, and I'm going to recommend you to apps I.
Actually, just want to be honest, you can either get camera plus, which I don't use that often, but the pro camera is something that will allow you to allow you full manual control over your camera as if you were using a DSLR camera. So let me tap on this guy and, as you can see, this is a camera app, but it's much more advanced than your regular application. The camera application that comes with your iPhone first at the bottom immediately have an exposure meter. So you can actually change the exposure. You can make the picture brighter or darker based on your needs.
But if you tap this icon here, you have all these options. You have the ISO and the shutter speed you can control this stuff manually. You can tap this guy here, and it says manual mode is now enabled on the top. Furthermore, you see the shutter speed, the exposure value and the ISO value. Now, if I tap this again, it goes away, and I can tap this guy's I can change the shutter speed manually, so I can have it at 60 seconds or whatever 60 seconds.
I. Can change the ISO, so I can change the ISO to 320, perhaps and then take a photo that way manually again. If you want full control over your camera, you can download these apps and, as you can see, there are so many options. You can even do focus lock. You can have all different kinds of grids, but you can change different grids.
Furthermore, you can have a tilt meter here if I tap this guy, it shows you how level your camera is and all that good stuff again I'm, not gonna, give you a tutorial on this actual app. But if you want to explore it, it's called pro camera I. Think it's a couple bucks, but it's worth it if you're into serious photography, but if you're not into serious photography. You still have an amazing little app here. It just simply doesn't give you the manual recording options, and that brings us to the end of the video make sure if you have any questions, comments or concerns to drop a comment down below and, of course, make sure to subscribe to sake, tech and give this video a thumbs up.
And finally, if you do use Instagram, Twitter or Facebook, follow me on all at sake, tech online have a fantastic day.
Source : sakitech
Phones In This Article

Related Articles


![Galaxy Note 10 Lite - FULL REVIEW! [The Best Note For Most People?]](https://img.youtube.com/vi/Wgzx2sPNKWc/maxresdefault.jpg )


Comments are disabled
Latest Articles


