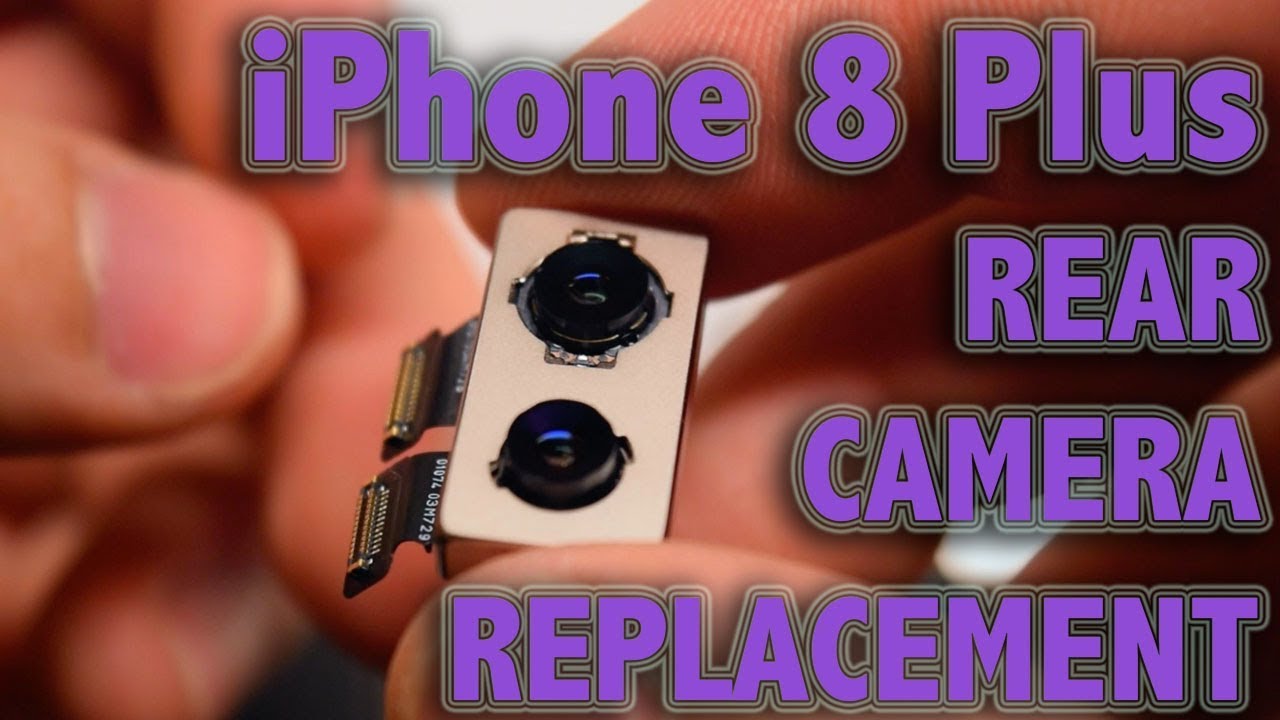
iPhone 8 Plus Rear Camera Replacement By Save Apple Dollars
? 8 plus rear camera replacement guide, the tools were gonna need are a Y double zero, also referred to as a TRI wing screwdriver a proprietary pantalone screwdriver that has five teeth: a standard, double zero Phillips head, screwdriver tweezers for managing screws, a plastic prying tool also referred to as a spider for disconnecting connections, a suction cup for pulling the screen apart. A triangular plastic pick tool for separating the screen from the phone, also a metallic tool for separating the screen from the phone before we begin make sure that the phone is powered down completely near the Lightning charging port. There are two pantalone screws: go ahead and use the pantalone screwdriver the one, with five teeth to remove the two screws. Would the two pantalone screws removed? We can go ahead and start separating the phone. Here's a tip if you have a crack screen, use a piece of plastic packing tape to put over the screen, so you can get a good, solid suction with the cup. The suction cup should be placed as close as possible to the home button, go ahead and place the suction cup in the following orientation.
Flip over the phone and as you tug on the suction cup and pinching, the phone frame with your thumb and middle finger, go ahead and insert the metallic tool right underneath the home button. Once you insert it tip it back, ? back and forth left to right to create a separation. Once you create the separation, you want to insert the plastic prying pick into the crack, like you see here now, go ahead and tip back and forward again and then slide left to right to cause the separation to enlarge now, go ahead and slide it down the side of the phone. Like you see here on one side all the way to the bottom, then flip the phone and slid on the opposite side. Just the same way, all the way down to the bottom, with both sides separated.
What we want to do is we want to separate the top now so just start at the top here going around the corner, nice and gently and just slide it all the way down and separate the seam, but they completely separate it. You can just fold it open like a book to access the rear camera. We're going to have to remove a couple of the brackets that are covering the connections, go ahead and first remove two white tip screws that are guarding the bracket that connects the camp front-facing camera to the logic board, remove the two Y screws and remove the bracket now go ahead and remove the two white tip screws that are guarding the bracket right above it that guards the connections to the actual rear camera. Go ahead, lift that out of the way now with a flat head, go ahead and remove the standoffs screw right here on the right side right under the camera. This standoff screw has one male end and one female end now go ahead and remove the Phillips head screw on the left side of the camera.
Now you can remove the shield that holds the camera in place. You just move that out of the way now with the plastic prying, so we'll go ahead and disconnect both of the cameras gently prying, underneath it and pulling up when those two cables are loose, you can go ahead and grip them both at the same time very gently and gently tug upwards, moving the camera out of its socket. Here's. What the camera looks like up. Close reassembly gently leave the camera down into its socket and the following orientation: make sure that it's nicely inside and there is no play it's tucked in all the way down in this slot, now go ahead and align the camera connectors to the sockets on the logic board and just press them in firmly make sure making that they click in both connections both ribbon cables.
Once those connections are made, go ahead and cover the cameras with the cover secure, the Philips head screw on the top left first and then on the bottom right, insert the standoffs screw that you will need a Flathead screwdriver to secure once those two screws are secured, go ahead and place the cover bracket for the camera connections. First, go ahead and secure the two screws one on the right and that's a white tip screw and on the left, a white tip screw now the bracket on the bottom. That's also a white tip screw bracket, secure the screw on the right and then the screw on the left. Alright, we're ready to clamp up the phone just go ahead and close it up like a book start in the top left corner and start applying a little of pressure. Closing the scenes clip it over on the other side, make sure that any of the waterproof adhesive is out of the way and that you get a nice sealed edge.
All the way across go all the way around apply some pressure now reinstall the two pantalone screws near the charging port just place them in and secure them with the pantalone screwdriver. Now go ahead, power on and test the phone thanks for, watching and check out more awesome videos at Apple, dollars. com.
Source : Save Apple Dollars
Phones In This Article

Related Articles


Comments are disabled
Latest Articles


