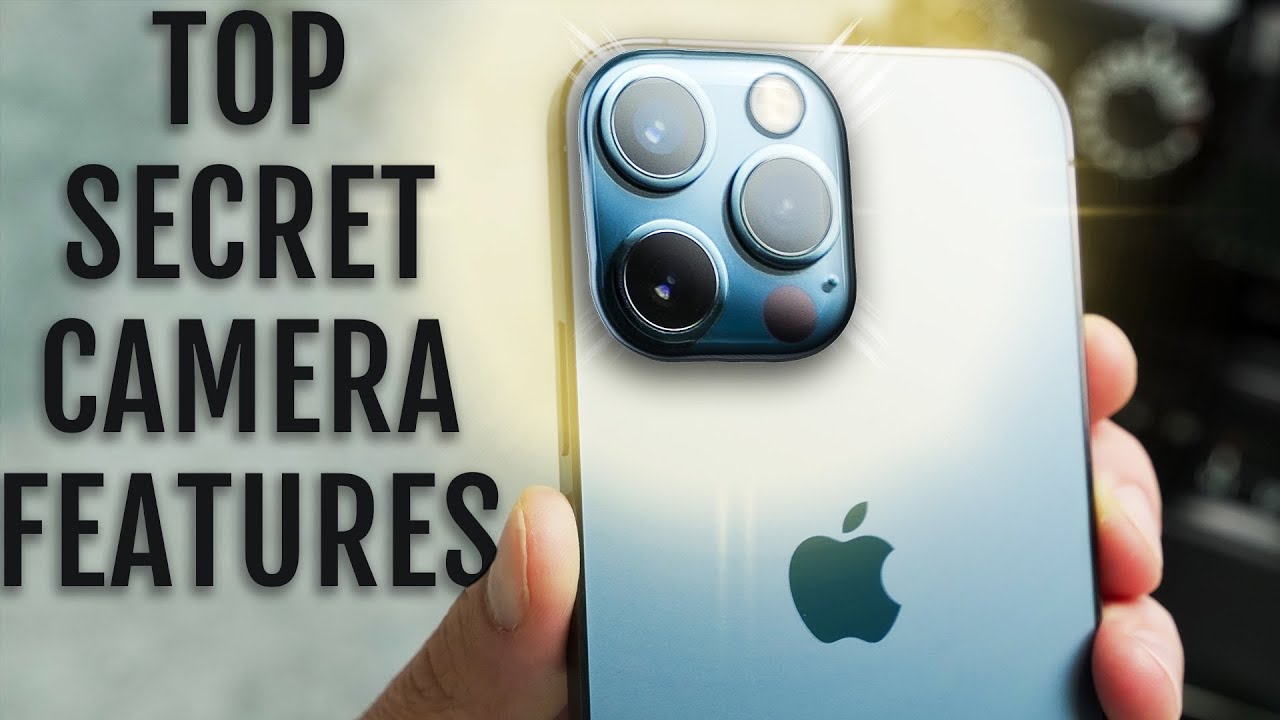
iPhone 12 Pro Camera: 10 Things You Didn't Know! By Jonathan Casey
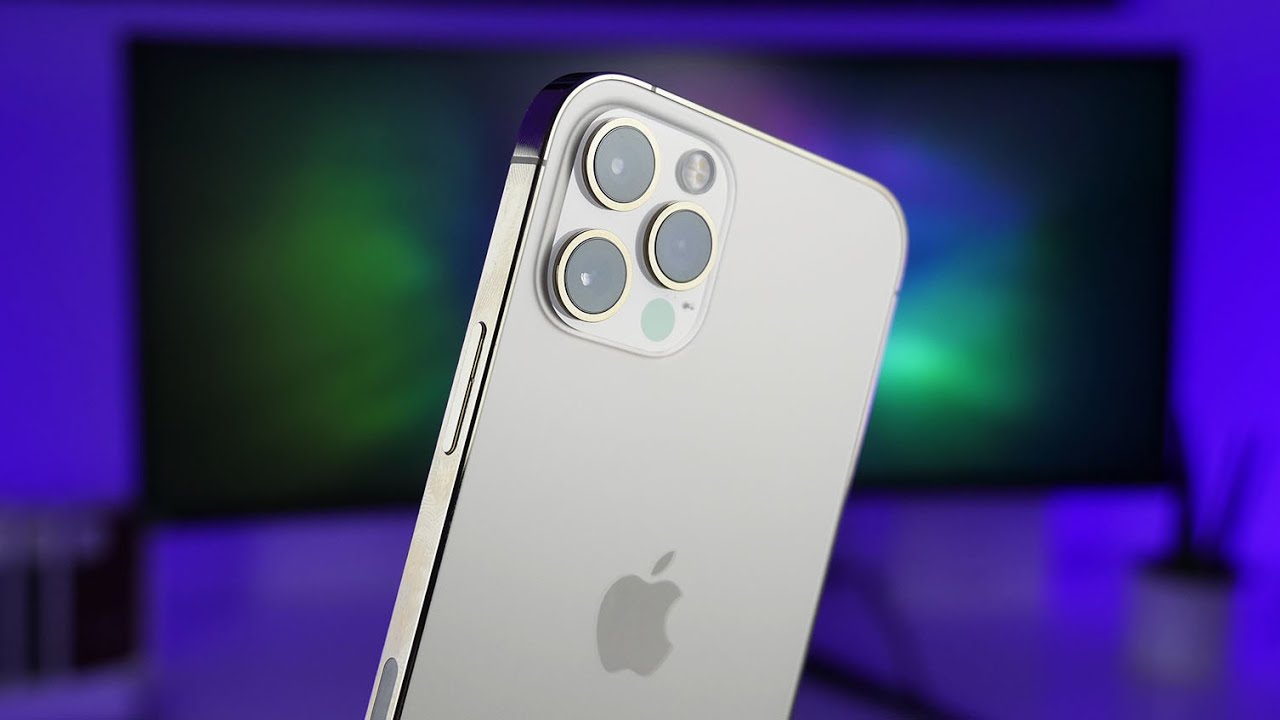
Hey, what's up, everybody hopes you guys are good today we're going to be talking about the iPhone 12 Pro, and we're going to go over several tips and tricks to help you get the most out of your camera. Now before we dive into the video, if you're not following me on Instagram, please be sure to head over there and give me a follow. I post stuff like this and this with a little of this sprinkled on top, and it's always nice to have people like you guys to support me on other platforms, because you guys are awesome. So if you can head over there and give me a follow with that being said, quick shameless plug out of the way, let's go ahead and dive into the video with tip number one, and that is to enable a HDR toggle right inside the camera app. So this one's pretty neat, what you're going to do is go into the settings scroll down until you see camera and then tap on camera go down and where it says smart, HDR just toggle it off. I know it seems kind of counter-intuitive, but watch now that smart HDR is toggled off.
If I go into the camera app there's a HDR toggle right here in the top right. If you notice that your pictures are coming out a little funny, maybe your colors are a little off-white balance. Isn't looking so good, you might have an issue with scene detection, which is a new feature inside the camera, app well, the camera settings. Let me show you so: let's go ahead and dive back into those settings, we're going to go under camera right where we just were and right here it says, scene detection, and it does this by using machine learning to automatically improve the photo depending on what you're taking a picture of. But if you notice that it's not working correctly, whether it's your colors, your white balance, maybe the image is too sharp.
You can just toggle it off retake the photo, and then you can go back into these settings and then toggle it back on. If you want to do so, if you're recording video in low light- and you notice that there's a lot of noise in the video there's- something that you can do- that might improve it, you're going to go into the settings. Go back under the camera right here, tap on record video and right here, where it says: auto: fps, you're, just going to toggle that off and then record the same video. You might be shocked when you see how much it could possibly improve your video. If you notice that it doesn't improve your video, you can always go back into those same settings and adjust it back to auto 30 frames per second or, if you had it on auto 30 and 60 frames per second, you can toggle that back on as well, but I'm telling you based off my testing and from what I've seen toggling it off, gives you the best.
Looking video in low light. One thing: that's really impressive about the iPhone 12 Pro is the fact that it can record 4k up to 60 frames per second in Dolby Vision, HDR. That's really impressive! However, when you're sharing that video clip you might notice, depending on the machine you're trying to play it back on, it's really overexposed and doesn't look right. Well, you can toggle HDR video off that way. You can record a video clip that is more universally accepted, and you don't have to worry about any issues when trying to watch it on a different machine until everything is fully supported.
That is so. What you're going to do is go under settings you're going to go under camera, like we've, been under you're, going to tap on record video, and you're going to make sure HDR video is toggled off and that's it. Exposure compensation isn't new to any smartphone, especially the iPhone you've always been able to adjust it in photo and in video. However, you can pull up an exposure meter if that's something you're more comfortable with, even though it's not as good as a histogram. It's still something.
Let me show you how to pull it up. You're going to go into your camera app, and then you're just going to swipe up and then tap on the exposure compensation button right there, and you'll see a little area right up here in the top left and that's your exposure meter. So you can see I'm going into overexposure and if I keep it at zero, it's going to. Let me know that it is perfectly exposed right now, at least according to the metering. Now this might not be new.
Let me know in the comment section am I an idiot? Have I just been blind and not seen this or is it new to iOS 14 into the iPhone 12 I'd like to know, but what's really nice is the fact that it's not just for photos? So if we go under video and then swipe up tap on the exposure compensation button, you can see the meter right there. It's really, really neat motion photos. Aren't anything new they've been around for a while. In fact, I always disable motion photos. Every time I get a new phone, but there's a lot of people out there.
That are like huge fans of motion. Photos and for those people did you know that there's a few things you can convert a motion photo to right inside the stock gallery or photos app. Let me show you so if I pull up a motion, photo right here me being goofy, not sure what exactly I'm doing, and then I swipe up on the photo you can see. I have different effects here. I can do a loop to where it's going to constantly loop the photo.
Furthermore, I can do a bounce, so you can see it bounces back and forth. Furthermore, I can do a long exposure, which is just going to be a huge blur and that's it. So if you wanted to do a boomerang, you could pretty much do loop or bounce and then upload it to Instagram and that's how you can convert a live photo to a boomerang. One thing I really miss is being able to hold down on the shutter button to take a burst shot. That's been replaced now with holding it down and recording video, which is still really neat and useful, but I like the burst shot.
However, you can get that back. We're going to go into the settings, and then we're going to go under camera, and then we're gonna look for volume up for burst, toggle that on now, if I go back to the camera app and then press on the volume up button and just hold it down, you can see it's now taking burst. So basically it replaces the shutter button for burst with the volume button, and I really, really like that. One thing to consider when doing burst shots is that the quality of the photos may decrease. I don't know how much they're going to decrease in quality, but they will decrease, especially if you're doing like 100 shots like you can get kind of crazy with it, and then you're going to get lower quality images because it's prioritizing the faster shooting speeds.
If you want to prioritize quality, let me show you're going to go back into the settings, go under camera and then, where it says, prioritize faster, shooting, you're just going to toggle that off, it's still going to do a burst shot, but it may not be able to keep up that burst shot for as long as if this toggle was turned on so now, you're going to get higher quality photos at the cost of possibly less burst shots, or just not as fast of shooting. The next two things I want to share with you aren't exactly inside the stock camera app, so we're going to have to download two third-party apps, the first one is double take. You might have remembered back when the iPhone 11 was announced. Film pro came on stage, and they demoed the ability to record from all four cameras, and we didn't really see that make its way into the stock camera app. However, there's a separate app from film, and it's called double take, and you can download it and gain the ability to record from multiple cameras.
At the same time, it's really sweet. The second app- and the last thing I want to share with you- is how to scan your environment in 3d, space for 3d, rendering or 3d modeling, and you can potentially even record 3d models and the app is called the 3d scanner app super original name. I guess the 3d scanner app utilizes the LIDAR sensor to scan your environments and objects in your environment in a 3d space, and then it gives you all of that information. You can export it. You can mess around with it, there's a lot that you can do and there are other apps that are similar to this one inside the app store.
I encourage you to explore the app store and take a look at some of the apps that will take advantage of the LIDAR sensor, and you know, create some 3d models and do some fun stuff. Well, that was several tips and tricks for your iPhone 12 Pro camera. Let me know in the comment section which tricks were useful to you and if none of them were useful to you, let me know that as well, I'm trying to perfect these videos and only deliver information that is useful to all of you. I really hope you enjoyed the video if you did consider giving it a thumbs up subscribe for more videos just like this, and I will see you beautiful people in the next video you.
Source : Jonathan Casey
Phones In This Article
Related Articles


![Chromebook vs Laptop - What Is The Difference? [Simple]](https://img.youtube.com/vi/P1DOP5fhyl4/maxresdefault.jpg )

Comments are disabled
Latest Articles


