Insert handwritten notes with the Chromebook Tab 10 | Tips and Tricks Episode 10 By AppsEvents
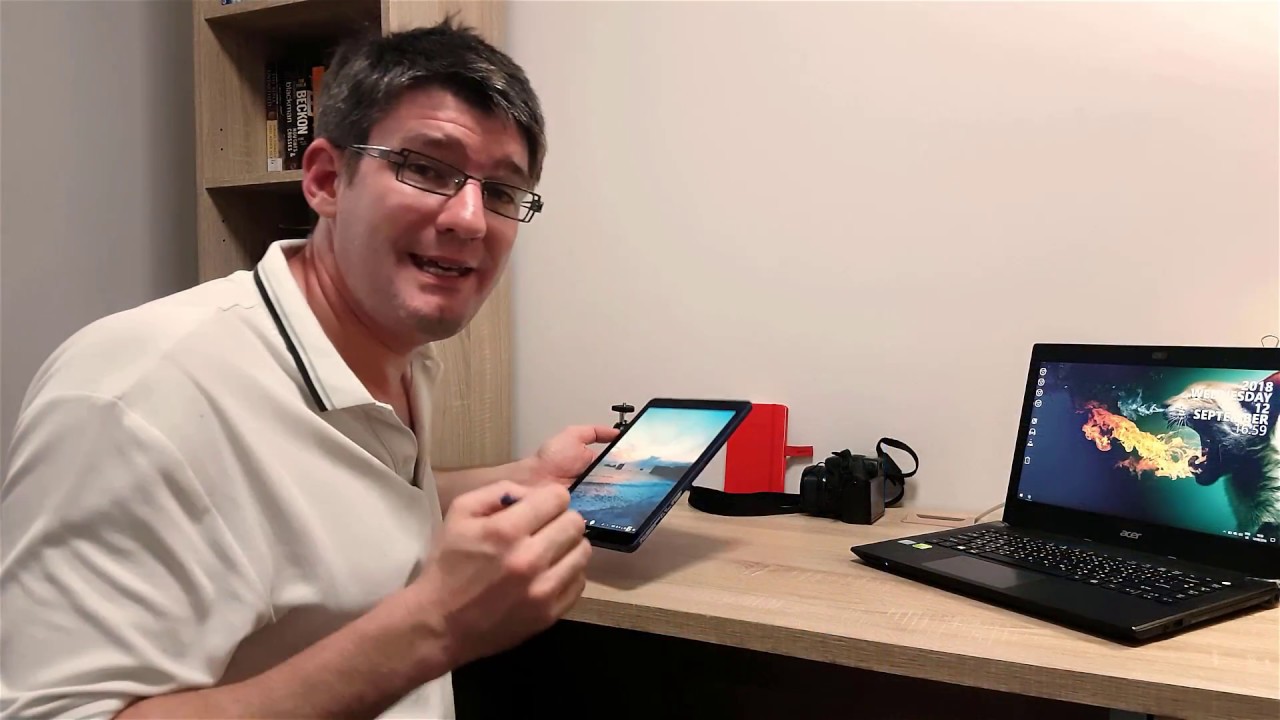
Hi, my name is city, and today I'm going to show you how you can add custom handwritten notes into a Google Doc using the Chromebook tab, 10, let's dive into it. As you can see, we are now in our main screen now I'm just going to slightly adjust the brightness and volume to make it more workable and the next step will be to navigate to our apps. As you can see, there is a number of different apps. We also have access to the Play Store, but today we are looking for Google Drive. So let's go ahead and open up Google Drive. Now once this is fully loaded, the first thing we'll do is create a folder now go ahead and click on the plus icon and create a new folder there.
We go we're going to title this folder, so we're going to put Acer and demo there we go and as soon as we click done, we are now going to go into this folder now. I want to create a Google document, go ahead and click on plus a Google Doc, and we now have an empty blank: a Google Doc. Now the first way most people would think of inserting in handwritten drawing or notes, is by going to the insert menu and using the built-in Google drawing insert functionality. So let's go ahead and show you what that looks like so go ahead and select the Google drawing from your insert menu going to go to our insert menu and Google drawing now this works best when selecting a specific line type. The line type we are selecting is a scribble, so go ahead and select the scribble, and you can see that as I draw using this amazing stylus, it is creating vector lines.
Now that is both the power and limitation of Google drawings. You can see it's not as smooth as real handwritten notes, and it looks a bit chunky now. The second way is using the built-in stylus functionality. So, let's pull out our stylus one more time, and you'll see, there's a little pop-up menu that will pop up, and we are going to click on. The keep notes brings us to Google keep and now using the built-in stylus.
We can write a much more realistic text. You can see I'm writing here, testing the stylus and, as you can see, it is natural. It just feels natural. It looks better and once you've completed that click on those three dots download the image that this will give you again three options, and we want to copy this to our clipboard, so go ahead and do that return to your Google document and all that's left to do now is simply insert and paste your image there. We go we're going to zoom out and just to make it better and easier to see what this looks like I'm going to change my orientation from landscape to portrait mode.
So let's flip the Chromebook tab. Ten there we go, and you can now see what this looks like. So, overall, a very powerful functionality. It's all built into G Suites and using the built-in stylus of the Acer Chromebook tab. Then it is made easy for you, students, teachers and anyone else.
So I hope you found this very helpful. If you did don't forget to come back for more of these videos, because there will be a lot more tips and tricks with Acer and AB savants and there you have it easy. Quick and a great use of this amazing stylist see you in the next one. You.
Source : AppsEvents
Phones In This Article
Related Articles


Comments are disabled
Latest Articles


