How To Use The iPhone 11 & 11 Pro Camera Tutorial - Tips, Tricks & Features By DHTV
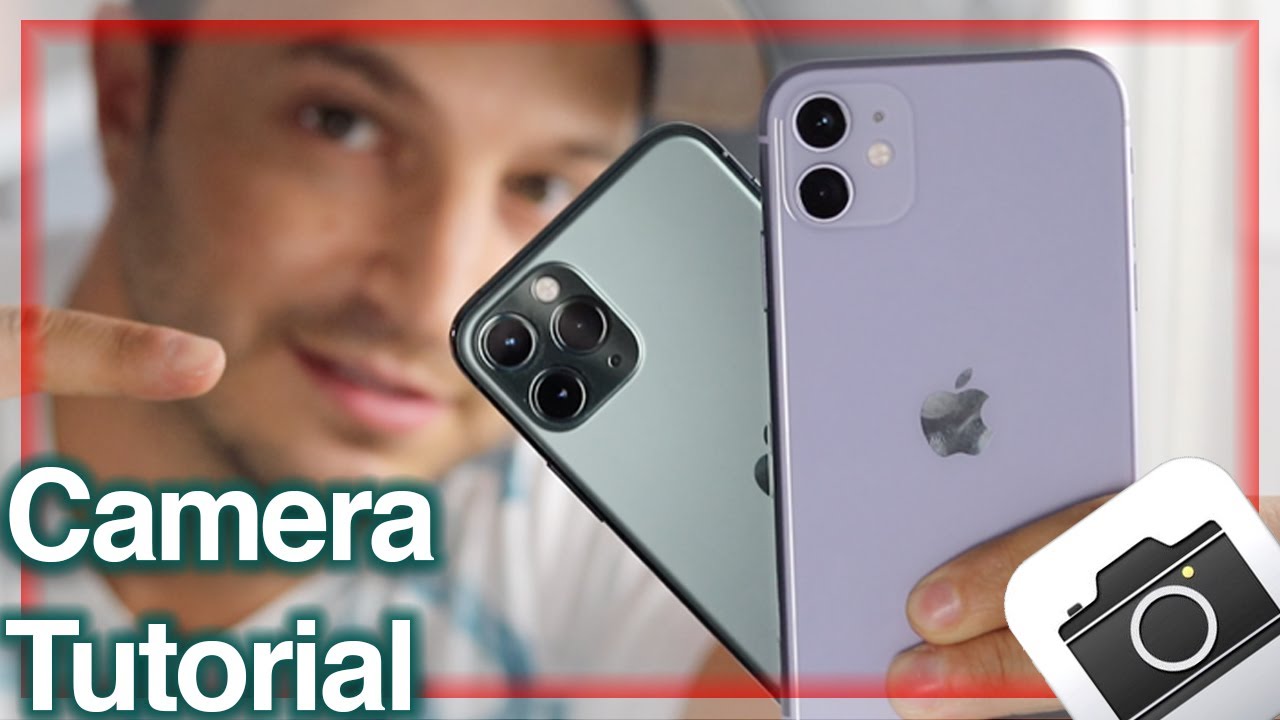
Hey everyone welcome back. This is Dan from D H TV and today, I'm going to be showing you how to use the iPhone 11 and iPhone 11 Pro cameras now I'm going to be going through everything you can do with them. So definitely watch all the way to the end of the video and as always, if you're looking for more iPhone tips and tricks, there's a link to the full playlist in the description. Let's get started so for this video I'm going to be using the iPhone 10 Pro, but I'll. Let you know which features are not included with the iPhone 11. So we'll start by just opening up our camera app and by default it's going to open in your photos section here.
The new options here are the zoom. So we now consume by tapping on the 0.5 to zoom out, and you can tap the two times zoom to zoom. In now, with the iPhone 11, you won't have the two times zoom option: you'll have just the one time zoom and the 0.5 you can still zoom in by pinching. You can zoom out by pinching outwards, but you can also use this new slider here, which will allow you to zoom right in all the way up to 10 times or zoom right out back to the 0.5. It's totally up to you how it works.
Just keep in mind the more you zoom in past the two times. The quality is gonna, go down a little now to access more options, there's a little arrow, it's hard to see, but it's at the top. If you tap on that it'll open up all the different options you can use within a photo, so the first one is your flash. You can have it set to auto on or off I, usually leave it on auto. The second one is live photos here, so it's on auto as well.
You can set it to on or off just to show you how it works, we'll leave it on auto I'm going to take a quick photo of live, so anything that's moving. If we tap on the preview and hold on it, the live photo captures a second before and a second after and that's good, especially if you have photos where there are groups, or you're taking photos with people, maybe somebody blinks, you can actually edit those tap on the live and then choose the exact position where it was perfect and then save that key photo. So you always have the perfect photo. Also, they look really cool when you have things moving around, and you can also listen to what was going on as well. The next option is the size, so you can set it to square.
You can set it to four by three, or you can set it to sixteen by nine. So we have a few more control options with the size of the photo as well beside that we have a timer. So if you have, let's say a group photo, and you have it set up on a tripod or leaning on a wall. If you take the photo you'll have the timer, you can run into the photo, get everybody placed and then take your photo, so zoom back out, and we have the last option here, which is our filters, and these are live filters, so you can see how they're gonna look before you take your photo and there's quite a few. So if you used Instagram or anything like that, it's very similar to those and to exit any one of these options that you're in just tap on the option on the left now at the top, if you have options enabled you'll be able to see which ones you have on or off so this one right here is the three-second timer.
Just so I don't forget it's on. You can actually tap on it from the top when it's there, and it'll bring up the options, and then you can turn it off. Lastly, when these options are closed, so we'll tap the arrow again, you always will be able to control your flash and your live photo on and off. So at any time. If you want to turn it off turn it off.
If you turn it back on it'll go to the setting that you have it set to either on or Auto same with live, and it'll just pop up live off now when taking photos and videos, it's very important to focus in on your subject, so you can always tap to focus it'll. Give you this little square, so you can see exactly where it's focusing in on and that way whatever you're taking the photo of is always gonna, be in focus, keep in mind. If there's movement, the autofocus will then come back into play. So if you want to lock focus on a certain area, you can always just hold on it. Let's say this iPhone here and when the focus is locked, you can always swipe up and down will darken the photo up will brighten it, and then you can take your photo like normal to undo the locked photo just tap anywhere else.
It goes back to that autofocus. You can also use your side buttons to take photos, so you can use the bottom, or you can use the top volume rocker, and it'll. Take the photo. You'll see the preview at the bottom and when you're taking photos, this is the portrait mode. Look so you're I'll.
Have this angle I recommend, though, for most photos to be taken like this, unless there's a specific reason, especially video try to take all your video like this, unless it's her Instagram or something like that taking it like this ends up with those black lines across the side when you're trying to view it on most devices, so try to keep your phone in the landscape mode when you're using it. It also looks a lot better, and it's easier if you plan to print them out and have physical copies of your photos now navigating. If we swipe to the left, we have our photo options. If we swipe to the right, we have our video options, and we have time-lapse slo-mo video, the regular photos, portrait mode photos, and we have the panoramic photos, so we'll move over to portrait, which is a huge selling point for these iPhones, giving you those photos that look like a professional photographer took them so for this example, let's just use one of these guys here now I am getting the notification at the top to move my subject further away. That's okay, I'm going to show you the options you have.
You can use your finger to tap on them, and we have natural light. We have the studio, light contour light. We have the stage light, we have stage light mono and the new high key light mono. So these are the options that you can use within portrait mode. You can also edit and change those options after you've taken the photo.
So maybe you took one in this option. You can always switch it later now. One feature: that's not available with the iPhone 11 is the two time zoom option that we can see here with the 11pro. If we tap on it, it'll zoom back out to the one time zoom. This is how it'll work with the iPhone 11, but with the iPhone 11 Pro.
We have the two x OOM with that third camera, so we could utilize it taking the photo works. The same you tap on the shutter it'll, take the photo. The arrow at the top will bring up the options you have with in portrait mode they're all the same, except for here when you tap on this one. This is going to allow you to control how much of the light you can use within each one of these options. So let's say this light it's hard to see on camera, but it is actually changing a little.
So you can control the light for those specific modes you're in, and you can also control the focus. So how blurry the background is gonna, be you can swipe that way or that way. Unfortunately, I don't have a live person behind there, so it's not picking it up, but I did take this photo of my ROG and this does work with animals. So if we tap on him and tap Edit, you can control all those options as well. After the fact we just pack the F at the top, and now we can control how much focus is going to be in the background, or we can lower it right down to the lowest option.
You can also control the light right here as well. It might be a bit easier to see here, and we can still switch between these options. So if I wanted to switch it over to this, I could still control everything here. So no matter what, whatever you take your photo in here, you can always modify and change it later in edit. So it's not a huge deal.
If you make a little mistake, or you took it in the wrong focus, you can always play around and fix it later, moving over one more to the panoramic option here- and this is gonna- allow you to take a wide photo that you can sort of drag from one side like so to the other and capture. All of that in one crisp clean photo, it's a little hard to use, and you'll notice. We have focus options here as well so 2 times 0.5, you can use those now with the iPhone 11 again 2 times you will not have so. Let's do this with the 0.5 we'll start here. So what you want to do is tap the shutter and then as stable as possible.
Try to turn as much as you can and then tap stop once it's stopped. You have your preview at the bottom. If we tap on that preview, look at how much it captured in that photo compared to what we saw when we had it open. Lastly, in the photos option there's a night mode and by default it turns on only when it gets too dark. You saw that feature appear there.
It deleted. There appears remove so when it's too dark you'll see that appear now with our options open here. So at the bottom, when you see dark mode at the top, you can control it down here. If we tap on it, we can choose how much or how little it's going to try to pull light and use that in the dark mode, and it works extremely well. So, looking at a photo I took of my ROG in the family room with just the TV on this is traditionally how you would take a photo, but when you turn night mode on it really brightens it up, you can see how clear it is, and you can even control in an edit to make it look super clear, and you can zoom in on these, and it doesn't lose a lot of quality.
It's shocking! How it does this to me, but it's probably the coolest feature built into this camera, and it's gonna. Allow you to take some amazing photos in very low light situations moving over to our video mode. It's very similar, the shutter option at the bottom. Your record button is at the bottom. You just press on it, it'll record.
You have the zoom options again, so you can go two times or point five zoomed out we'll leave it at the one time zoom to time. Zoom will not be available for iPhone 11 at the top. We have our light, so by default it's set to auto. If you tap on it, you can turn the light off. So even in dark situations, it won't turn on, but just to show you when you're in a dark situation, it will turn on automatically the option.
Then you can still turn it off completely. So that way, whenever you're recording, and it gets dark, it'll turn itself on automatically now recording again, you can use all those same focus so tap to focus, hold to lock the focus, and then you can also play around your with your exposure options there as well tapping creates your recording and then, when you're recording, you can take a photo of anything. That's happening just by tapping that shutter button there as well, and that way you have that photo saved for you with your video. So when you're editing video here, you can see it plays at the bottom. If there was anything moving when my hand comes in you'll see it.
So it's an autoplay format. You can edit the video right in your Photos app just like you did in the past works very well. You can trim things up like, so you have options here for different brightnesses and shadows, so you can really play around with it and edit. It really well right from your photos up the same way. You do with your photos, so we'll go back since we're talking about video, we'll move back to photos.
This is a quick tip here. If you are taking photos, or you open your Photos app, and it goes into the photo mode, you can quickly take a photo by pressing on the shutter and pulling it to the right. It'll automatically start the video, and you'll have a video there. You can press stop it'll record that video as well. So that's just a quick tip moving over to slow motion now this is going to take some really cool, slow motion, videos, and you can customize the slow motion settings which we'll talk about in a little, but just for this example, we have the one time zoom we hold on it.
We have up to three times zoom. Now keep in mind after 2 times zoom it's going to be a little of a loss of quality, but it's there for us now with the iPhone 11. You pretty much have the same ability to go all the way up to three times, but after you move past one time, zoom you'll lose quality. So it's not recommended to really touch that. So we'll take a quick video of slow motion video here.
So we've got our duck as the center of attention. We just tap the shutter and stop it when you're done, and we can preview it right here, and it looks really cool. So if you are creative, or you have a lot of sporting events and things like that, you can take some really cool shots with the slow motion camera here and the quality is perfect, as I mentioned, we'll go through some of those options later again at the top. Your light is available to you on or off, and then the last option here is time-lapse. Now, if you're not familiar with what time-lapse is it's basically going to take a video of a certain duration and speed? It up and that's really cool, because it allows you to take unique videos like let's say you set your camera up in the morning, and you have it on all day: it'll be able to change morning till night in a matter of seconds like the example you're seeing here, it's just the clouds, and you can see how fast they're moving over a certain amount of time.
Now. The last option is the front-facing camera. So this pretty much allows you to do everything you could do with the rear-facing camera just using the front-facing camera. Obviously, the quality and its abilities are going to be limited because the camera is not as good. The one feature you won't is the panoramic option.
If you switch to it, it'll bring you back to the rear-facing camera, but for all the other options it's available there as well, so you even have portrait mode with different options as well. You have photos video, slo-mo and time-lapse. So again, if you want to bring up any of those options, the arrow at the top gives you all the abilities each one can do, but it works just as it did with the rear-facing camera. So now that we went over how the camera application works, let's open up the settings, and we'll find the camera section here, and we want to open that up. This is where you can configure your camera to work a specific way or to film in a specific way, first off at the top preserve settings, so, like I, said by default, the camera is going to open in photo mode, but you can have the last mode like if you were taking a video automatically open so that way it opens in the last mode you've used if you swipe that on that's what'll happen, if it's off it'll always open to photo mode.
The second option is to preserve creative controls. So aspect ratio light depth settings rather than automatically resetting back to the defaults. Whatever you have set up, you can preserve those and that way it stays on. You don't have to configure them for each photo and the same thing live photos so that way whatever setting you have it set to it'll use that, rather than automatically resetting to on the grid I like using the grid. Actually, when it's turned on, if we open the camera app, you can get a grid it's hard to see, but you can see a few of those lines I like to use it for centering.
It has another use more professional use. But for me, it's really easy to keep things. Centered know if you're on level as well, but it does have a professional use as well. These scan QR codes. So if you do have anything with a QR code, you can now just automatically open your camera app scan that QR code, and it'll open up the website.
Next is our recording settings so the recording video by default. It's set to 1080p HD at 30 frames per second, but these are all the options you have so up to 4k at 60 frames per second. Obviously, if you go that far you're going to use more memory on your device, you can see all the options or what it'll cost you in data at the bottom there, the auto low-light, so it can improve low-light videos. You can also lock the camera so because these cameras have multiple. You can lock it so that it doesn't automatically switch between the cameras on the back, while it's filming typically for myself, I, usually leave it exactly how it is sometimes I'll use, 60 frames per second in 1080p and for the odd time I'll use the 4k at 60 frames.
Furthermore, you can test it out, see if you like it, but these 60 frames per second isn't for everyone same thing here with the slow-motion settings. Again, you have two options so 1080 at 120 frames per second or 1080 at 240. What we saw in my example was the 240 frames per second, so it was pretty slow if you want it to be a little faster, it'll be at 120 frames per second I. Typically leave it here, the slower it goes, the more data it will use now. Formats again, I leave mine on the high efficiency mode.
You can read right here what it says, but typically the high efficiency reduces the file size. One downfall with this is that when you're trying to transfer files to a computer or something sometimes they have to convert that could be annoying, otherwise just move it to the most compatible. That way, it saves in more compatible formats like JPG, that are familiar for most computers and things like that. I do leave it on high efficiency, but if you have a bigger phone like 256, gigabytes or higher, you might just want to go down to the most compatible. Just to save yourself a headache.
A little later right here, composition photo capture outside the frame. If you turn this on, you can read down here what these features do, but video captures outside the frame Auto apply adjustments and things like that, so basically in the Photos app when you see that it was had this outside area, where you could see it, it's going to capture that and try to use if it's best as it can to try to edit the photo or auto adjust it, and if it doesn't use any of that space on the outside it'll delete it after 30 days, I'm, not a hundred percent on how it justifies or works. But that's what this says here, and we can just take apples word for it. Moving down is the smart HDR. This feature has been around for a while, and it works really well.
It combines the best part of various exposures that it takes the photo with and in your photo it just tends to look better. This is a great feature. I leave it on all the time. If you want to see what HDR actually does just search online for HDR photos versus non HDR, and you'll definitely see the difference. So those are these settings, so that's the iPhone, 11 and 11 pro cameras with a ton of great features built in use.
What you learned today to take some awesome photos- and let me know if you have any questions in the comment box- don't forget to hit that like button subscribe to the channel and hit that Bell notification box to be notified when I post new videos I have a ton of iPhone videos coming out in the very near future, so stay tuned for that. Thanks for watching I'll see you in the next one.
Source : DHTV
Phones In This Article

Related Articles


Comments are disabled
Latest Articles


