🔧 How to Boost Nintendo SWITCH Internet speed - Faster downloads, Lower Ping (WiFi & Wired) 📶 By Panjno
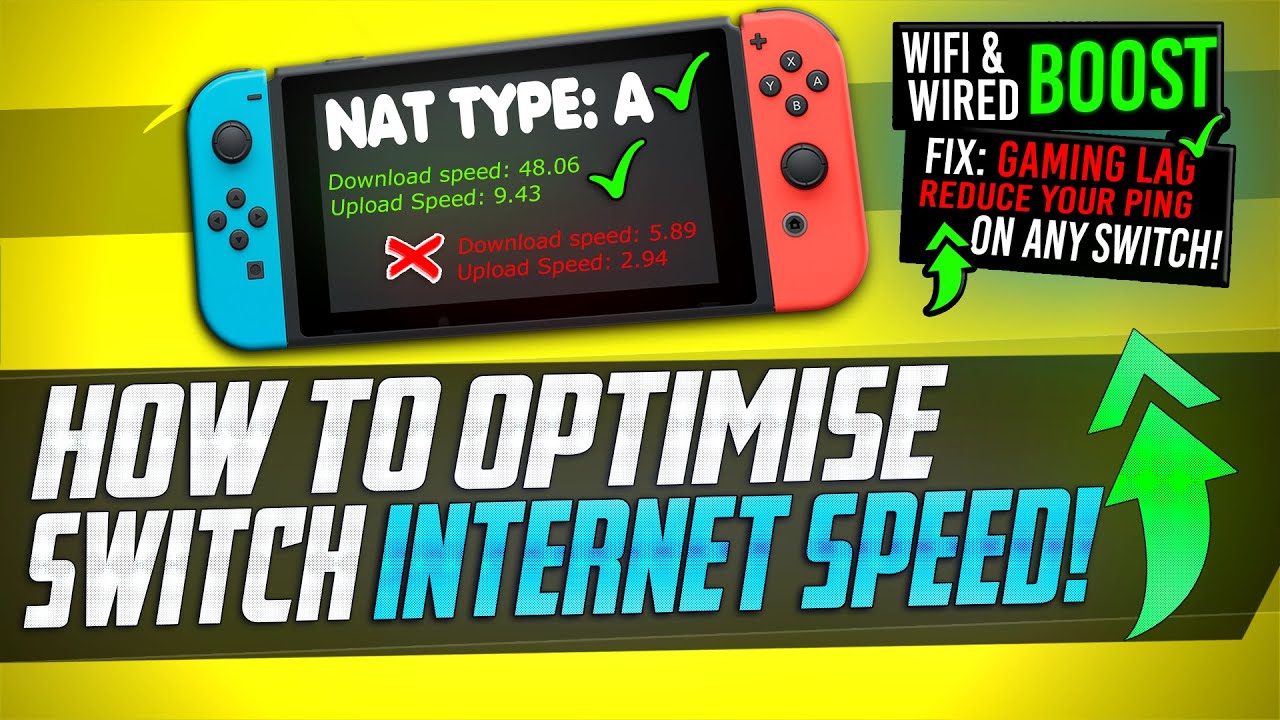
How's it going everyone, it is panino here, and today I'm going to be bringing you guys, the ultimate guide to improving your network, speed and connection on the Nintendo Switch. This will be working for both wired and wireless switches, alongside all models and setup of the switch, whether you're using the standard switch console in docking mode handheld mode or if you have a switch lite. This video is going to be helping you achieve the fastest and most stable, download speed possible alongside achieving the best ping and, more importantly, helping you guys achieve that type. An on your switch helping you connect with your friends and to online services more reliably and achieve even faster downloads. So, regardless of the model of console, you are playing on the country you're living in or your networking situation. This video is going to be providing you with some quick, easy and effective optimizations to your networking speed with inside the Nintendo Switch.
If you guys do enjoy this video and are happy with the results, please do let me know of them in that comment section down below, as it is always fantastic to hear from you guys and see which games you've got and if you are happy with the results. Please do leave a like on the videos. It does help me out tremendously and if you guys do enjoy this sort of content, please do consider pressing that subscription button alongside the bell notification to be notified instantly whenever a new video goes live on the channel. All that's said and done. Let's get straight on into the video, but inside this video I'm going to be applying these optimizations on my Nintendo Switch light.
But again, these optimizations work on every single model of the switch, and even if you have it in docked mode with a wired connection into it, so simply follow along with the steps shown on screen for the best results to start off, go ahead and press the power button and wake up your switch go ahead and log in we're then going to navigate down to the six options at the bottom of your home screen navigating over to system settings within the side of it we're going to scroll down to internet. We're then going to be going into internet settings and after a few short moments, all the networks in the local area will then be provided. If you're running a wired connection, this will automatically bring you inside your internet connection. Settings for those of you running on wireless. Simply, click on the internet connection which you're currently connected to we're, then going to go down to change settings.
But inside this tab, we're going to start off by going down to our DNS settings. Click on DNS settings go to manual and on screen now, and also in the description down below you'll, be seeing some recommended DNS settings in which you should input, depending on which country you're living in you'll see around about one to two options. If you don't see your specific country or region go for the closest region to you and input those settings into the DNS settings so going off the settings on screen now and in the description down below I'm going to be clicking on primary DNS, and I'm going to be putting my primary DNS to 8.8.8.8 once you've input your primary DNS navigate over to the ok button. Select. Ok, then navigate down to your secondary DNS server.
Once again clear all information with inside here and input the secondary recommended DNS server. For me, that's going to be 8.8.4.4 once your secondary DNS has been completed, navigate over to ok once again, select. Ok, we're then going to proceed to scroll down to MTU. Go inside this tab. Remove the value which is currently inside here and set the value to 1500 just like so go ahead and press.
Ok, once again, once all the settings have then been applied and never get over to the right hand, side do the save option. Select, save then press, ok upon completing that we can then navigate up to connect to this network once again. Select connect. We'll then notify you that you've successfully connected to the network press. Ok, we can then once again come down to test connection.
You can run a quick connection test to see what your improvements are from using that DNS server if you've seen a decrease in your download speed, or you haven't seen as much of an increase, as you would hope for, go backwards inside those settings and try out some different DNS settings which have been provided in the description down below as finding the most optimized DNS server, for where you are is vital in ensuring that you're getting the best and most stable connection possible. Those are the basic optimizations in which we're going to be applying to our networking. We're going to be coming back with insider feel for some useful tips and tricks on how to achieve a better download speed on the internet. Connection which you're currently on later on in the video, as for now we're going to be going ahead and achieving that type, an on our switch and showing you how to unlock that in order to achieve that type, an on the Nintendo Switch, we do need to change around some settings with inside our router. These are very simple, easy and safe to do, but you will need to have access to a smartphone or computer on the network in which your switch is running on, but inside the switch we're going to be going to our basic internet information, go back into the system, settings of your switch scroll down to internet with inside it on the right hand, side we're going to be looking for where it say sip address.
This should start with 192.168.0 point and then a different number. This number is going to be different for every single person watching this video, as this is your local IP address, which helps identify the Nintendo Switch on your local network. So it's recommended to simply jot this number down or take a picture of it. So you know exactly what this number is we're going to be needing this. When we go into our router settings, we then need to jump onto a PC, smartphone or tablet which is running on the same network connection in which your Nintendo Switch is running on open up into your favorite browser, go to the search bar, and we're going to be typing in 192.168.0.1 press enter. You should then be loaded into your internet or router settings to enter your settings panel for your router you're.
More than likely going to be prompted for a password. You can typically find this password printed on the bottom of your router to simply flip over the router look at the sticker and see if you do have password information in there or otherwise just input the model and make of your router into google and see how to find the password for it. My router's password is printed on the bottom of the router, so I'm going to be putting my password in now upon logging into your router settings, they're more than likely not going to look anything like mine as most router control panels are completely different from one another, but 99 of routers out. There will support the feature in which we need to use to unlock that type. A with inside our connection.
It might be called something different, but you might have to go into a few different sub menus to find the option. The option we're looking for is going to be titled, something along the lines of port forwarding or open ports. For me, that's found under my advanced settings under security, then port forwarding once you've found the port forwarding tab with inside your router. We're then going to go ahead and click on create a new rule. You'll then be prompted for your local IP address or the device's IP address.
This is going to be the IP address in which we noted down earlier on from the switch so simply input the device's IPM, which you noted down earlier on. We then need to select our start and end ports to port forward. Now. For me on my router, I have local start pool and external start ports for most people, you're more than likely only going to be seeing your local start port. You might not have four options like I do so.
If you only have two options, you do not need to repeat these settings just put them in for the first two boxes, and you're good to go. We're first going to be changing the protocol down to UDP. Once that's been selected, we can go to our start port input, the value of 45 000 then going to go down to our end port and put a value of 51 000, and because I also have external ports as well. I'm going to be setting those up, just like I did with my local ports, and I'm going to be choosing to enable this. Switching this to on going down to the bottom right hand, side and clicking on add rule once that's then been selected and enabled we're then going to be going back up to create a new rule.
I'm going to input the same values once again for the local IP address. This time, we're going to be going over to our start port inputting a value of 52 000, then coming down to our end port and setting a value of 65535 or 65535, and then going to repeat that step for my external ports once again coming down to the protocol. Ensuring this is set to UDP, enabling this going down to add rule on the bottom right hand, side after a few short moments that should be refreshed, and you should then be seeing the new ports which you've added to your poor forwarding list upon doing that, ensure that you save or apply the changes on your router. For me, I can do that by going to the bottom right hand, side and clicking on apply changes and those ports should now be open. We then need to go back inside our switch once again go over to system settings go down to the internet, tab go down to test connection, and you should now be seeing that your Nat type is now running on that type.
A and in some cases you can also be seeing an improvement to your download and upload speed as well now, for any reason, you're seeing any different nut types within side of here. Besides that type, a or Nat type b. If your laptop is completely different to this, you might just quickly have to restart your settings for this to take effect. If this is the case, you need to go ahead and press back go up to your internet settings. Go back over to the router in which you were connected to click on the connection, then navigate down to delete settings and choose to delete these options, then simply do a quick scan for the network or plug your Ethernet cable back in then just simply set up the connection as if it's the first time in which you're connecting to it input.
The password then test the connection, and you should now be running on that type. An after applying all of those optimizations and testing them out. You've now successfully optimized your network from a settings standpoint ensuring that everything is completely fine-tuned to achieve the best possible internet connection and stable internet connection possible, and I'm now going to be sharing a few brief tips in which I'd recommend doing if you're, still struggling with slightly slower download speeds. If you're looking to download any big updates or install games from the Nintendo store- and you have a relatively slow download, speed live in a big house or are quite far away from your router alongside the settings in which you've just set the best way to ensure that you're getting the best download speed possible is to simply take the switch right over to where the router is set up to and leave it next to it. Whilst it downloads as most homes, have their internet and router set up, tucked and hidden out the way, often under TV cabinets, tucked away in the corner or sometimes even under cupboards.
Wi-Fi frequency signals have a hard time at penetrating brick walls so being in an open airspace. With a direct line of sight with the router is the best way to ensure that you're getting the best internet speed possible. So if you're not particularly busy- and you want the fastest download to be possible, set the item to download, take the switch over to the router and leave it to rest next to it and come back when the download is complete for those of you that are running on a switch light and would like to get a wide connection, and you often play in the same space or if you're next to the router, it could be worthwhile looking into obtaining an USB-C to Ethernet adapter or just an USB-C hub with an Ethernet adapter as well. This will allow you to simply plug in the USB-C into the bottom of the switch. The other end can then be hooked up to an Ethernet cable which can be hooked up directly to your router to ensure that you're getting the best and most solid download speeds.
Obviously, this step is completely eliminated. If you do have a normal switch and where you can just put it into docking mode with an Ethernet cable plugged into the back, but that's another useful tip for those of you who are running on a switch light. It's also worthwhile looking into seeing if your router supports 5, gigahertz and 2.4 gigahertz, Wi-Fi bands for those of you that tend to be quite far away from the router, whilst playing your switch you're more than likely going to be seeing a much more stable internet connection, going with a 2.4 gigahertz connection to the router and for those of you that are relatively close to the router, whilst playing five gigahertz is going to be your best bet in achieving the best connection possible. Just setting it to five gigahertz, because that number is bigger, won't always mean that you're getting the best results possible. It does come down to where you're playing in conjunction to the router's location and there you guys have it.
That is my ultimate guide to achieving the best internet connection possible with inside the Nintendo Switch again. If you are happy with the results, please leave a like on the videos that does help me out tremendously and do let me know of your results in that comment section down below, and it's always fascinating to see the gains in which you guys have achieved and remember. If you do enjoy this sort of content, please do consider pressing that subscription button alongside the bell notification to be notified instantly whenever a video goes live on the channel. Thank you very much for taking the time to watch this video, I'm Manjaro, and I'll, see you in the next one.
Source : Panjno
Phones In This Article
Related Articles


Comments are disabled
Latest Articles


