Best iPhone 12 Camera Tips for Video - How to Shoot Better Video on iPhone 12 By TechZG
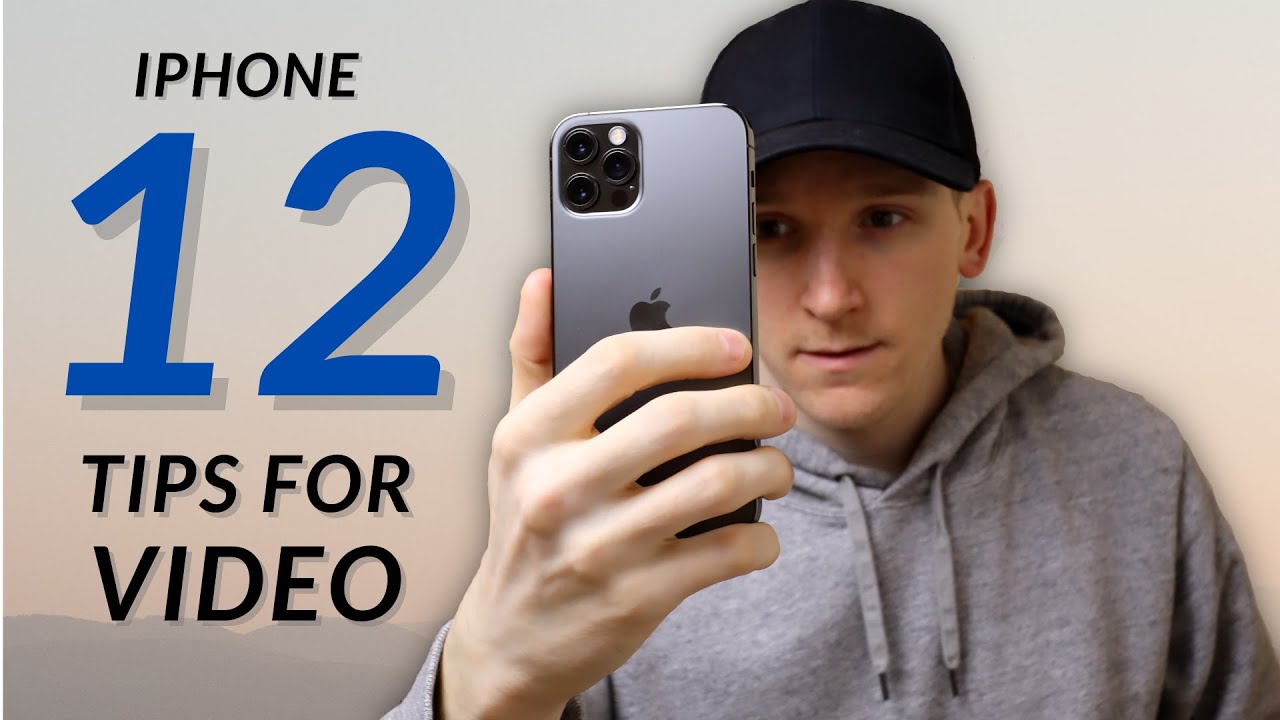
In this one you're going to learn the best simple and easy tips to help you shoot way better videos with the iPhone, and they're going to help you shoot better home movies or even if you just want to get a little more professional with your videos. Here's some really easy tips to up your game that I've found have worked. For me, the first one is to manually change the exposure and the focus point when you're recording video- you can really easily do this by pressing and holding on the screen on the area that you want to focus on most of the time you're going to want to let the iPhone do this automatically to get the best exposure overall. Sometimes, though, if you want a specific look, then you might want to change it manually. The way that you do, that is literally just get the area of the screen that you want to focus on press hold, and you'll see this focus lock, but also importantly, exposure lock as well. This really does work if you want to shoot maybe indoors, or you want to shoot talking head like this.
It's going to be really important that you lock off not just your focus, but also your exposure. That will mean that the phone isn't changing the exposure throughout the video which can kind of look like it was shot on a camcorder, not very professional. Some instances where this isn't going to work, though, is if you're moving your phone around a lot. Maybe the subjects that you're recording are moving. You can't lock off your focus here.
You're going to have to let the iPhone basically focus on those subjects that are moving around, but you can definitely play with the manual focus and exposure locks to see just all the different types of video that you can get with those styles. The second tip is to understand slow motion, or at least choose what you prefer. So there's a couple of options when it comes to the iPhone 12 and pretty much a lot of the modern iPhones. So you can choose 120 frames a second or go up to 240 frames. A second slo-mo 240 is obviously double the slow motion, as opposed to 120, so you're going to get twice as many photos per second and 240 frames is super cool, but it actually doesn't have that many use cases if you're making some movies most professional movies.
Actually that you'll see in the cinema when they do slow motion, it may just even be 60 frames. A second, maybe 120 frames, a second almost never 240 240 is actually super slow, also with the iPhone, and this goes for the iPhone 12 as well. When you go up to 240 frames, a second, the resolution goes down to 720p that's kind of not acceptable these days. It's definitely on the lower side when it comes to resolution and quality, and you can notice a difference, especially if there isn't enough light. So just keep that in mind for most people actually switching to 120 frames.
A second will give them perfectly fine slo-mo. You can slow that down a lot when you come to edit. Your images and you'll just get a slightly better image, because you can go up to 1080p the resolution's better. You get a little more light into the sensor and overall, you might just get a better looking slow motion. So when we're talking about frame rates, slow motion and resolutions, this is a huge tip and when it comes to resolution, 1080p, 4k or different frame rates like 24 frames, a second 30 frames, a second 60 frames, a second there isn't really any right and wrong.
It's just different styles. So as long as you understand the styles, then you can pick the one that suits what you want to do so, firstly, I would just suggest everyone to shoot in 4k video 4k. These days have kind of become the standard, especially if using an iPhone. That's really what apple want you to use and 4k just records in a higher bit rate as well. So that's just how much information and the file size that it's actually going to capture 1080p is absolutely fine, but these days 4k is kind of the standard, and when you go up there, there are no drawbacks.
You get the really great image stabilization as well, really great colors, just a better higher resolution, so you're going to get crisper images and overall there really are no drawbacks when it comes to shooting 4k these days, except for the file size, it is going to be a bigger file size as compared to 1080. Now when it comes to frame rates, this is absolutely up to you, there's no right and wrong. It's just a personal choice. Now I personally film in 24 frames a second and that's the same- that you'll get in movies, essentially 24 photos every second 30 frames. A second obviously has six more images per second of film, then moving up to 60 frames a second.
Obviously you get twice as many. This will shoot a super realistic. Look, it's definitely a certain style, so movement of people and of the camera is going to look way different from 24 frames. A second. I personally don't like to look at 60 frames a second too much, but it is possible.
You can shoot with it. No problem just understand that when you shoot more images per second, the amount of time that the shutter is open, gathering light has to be shorter, of course, because it has to take more, and so, if you do go up to 60 frames a second, especially in low light, the phone may struggle a little and may introduce more noise. Some really cool time-lapse. Features have been added to the iPhone 12 series, in particular from the mini all the way up to the pro max. You can actually get night mode time-lapse now, which is really cool, but there's a few things you have to do to activate it.
Firstly, you definitely want to lock off your exposure. That first tip that I told you at the start of holding on the screen, making sure that your focus and exposure is locked off for a time-lapse. Otherwise, the phone is going to keep changing the exposure and the end result just isn't going to look professional at all, so make sure your focus and exposure are locked off. Secondly, to get that really cool night mode time-lapse on the iPhone 12 series. Phones, you're gonna- need to put it on a tripod, or at least get this thing locked off only when the phone is absolutely still and locked off- and it knows this thanks to the gyroscopes inside, then it will activate the night mode time-lapse for you, if you're holding it.
If there's any movement at all, even if the wind blows it a little, it's going to look awful, and you're, just not going to get good results, so you're going to need to lock this thing off. If you want to take some time lapses, if you want to shoot time lapses, if you want to shoot better family portraits or anything you're just going to need a proper tripod, also, some perfect phone mounts that clip it in place. It's going to be super easy, and it's going to save you a ton of time trying to balance it on books or anything like that. I'll leave some links in the description to some tripods and other accessories that I use in that middle range. Good value, good price, they just work they're, not too expensive, and they do the job for me anyway, and the next tip deserves its own section because, as I don't recommend buying too much stuff, this thing is really the thing I recommend more than anything else, and that is to invest a good amount of money in a proper audio setup.
Just to show you how much a microphone does improve the quality of video, I'm using a microphone on a stand and the microphone is just here above me, it's a good quality one, it's pretty expensive if we switch to the audio directly from the camera that I'm filming with, which is only maybe a meter away from me. I mean it's terrible right. You can hear it, it's just absolutely awful, and it makes the video just almost unwatchable straight away, but when you switch back to the actual microphone, the video hasn't changed at all, but the quality it just sounds better, and it is better, and I haven't changed the video I've changed the audio again I'll link to some that I use now below. There are some cheaper ones that you can use with wires. There are some more expensive ones that you can use as completely wireless clip it on yourself and onto the iPhone, perfect, really useful, and you will instantly make your video like 10 times better.
Just with good audio next tip is to shoot more videos with the ultra white camera, so all the iPhone 12 phones have an ultra-wide. Now the iPhone 11 does as well, and it just gives this kind of different look. Firstly, the stabilization is awesome, because it's such a wide angle, but also it just gives this unique kind of perspective you get more in the scene and because you're shooting in 4k you can edit this crop into it. As you want one tip here, though, as well that ultra-wide works great in daylight and good lighting conditions, if it's dusk or low light, you may want to switch back to the main camera. It's got a better lens, and it's going to gather more light that ultra-wide can get a little grainy.
If the light isn't good, so just see what works for you, I'll put a video in the description below on how to level up your photo game with the iPhone 12, more information, plus those links to the tripods and microphones that, I think, are just good value and also good quality. That's it for this one, though thanks for watching thumbs up. If you liked it, and I'll see you in the next one.
Source : TechZG
Phones In This Article
Related Articles


Comments are disabled
Latest Articles


