Sony Xperia 5 II Protection. Xtreme Skins voucher code, Spigen Stocking filler By Tech It Out
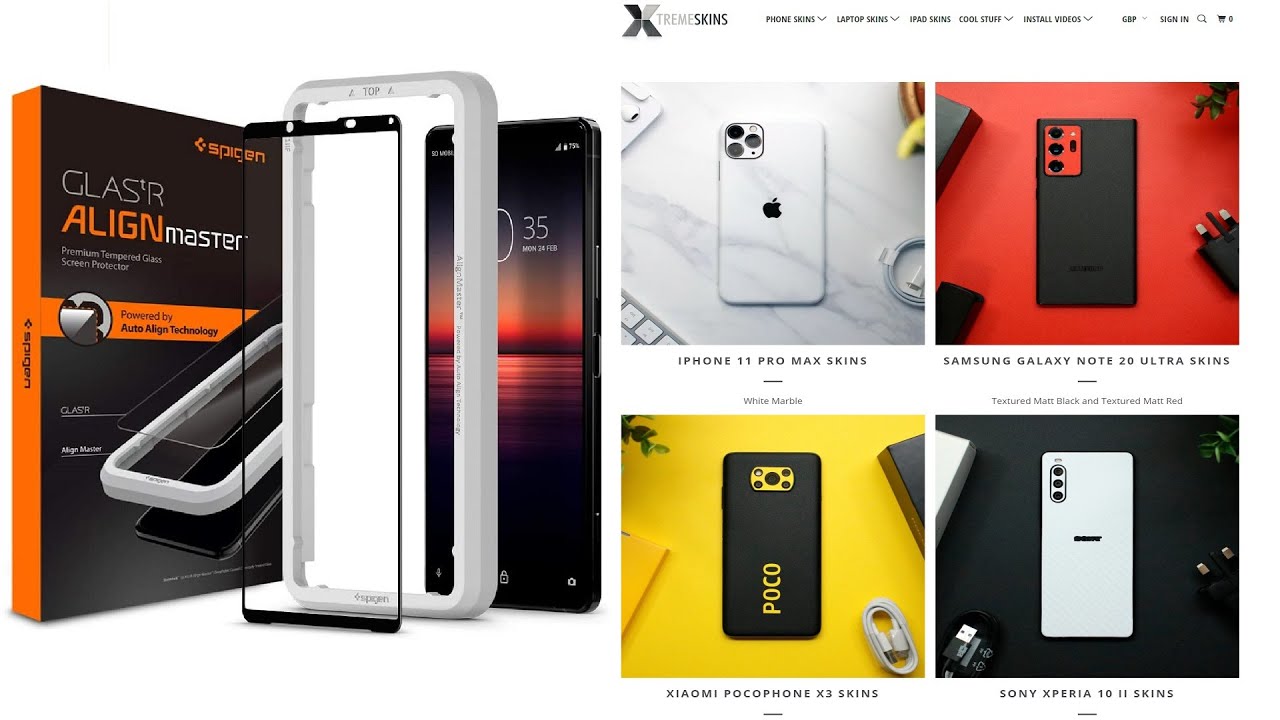
Hi and welcome back again to take it out the products that I've bought to do this with are all set out here, the first of them being the pigeon. It's a screen protector glass line master system and I have had to wait a little while for this to come back into stock because it was sold out. So that's the first one. It's a glass screen protector, and it has all the cutouts needed to fit the phone cameras and speakers and so on, and also it supposedly has a foolproof fitting system. I've never been good with fit in screen protectors. If either have bubbles or a little tiny bit of grit or something left underneath the screen protector and anyway, it never seems to work for me.
So I'm hoping this will be a product. That will help me in fitting it properly. The second one from pigeon is just a crystal case. It's a clear case, a bumper case, basically a very nice quality, one of course coming from pigeon, but still just a plain ordinary, clear case, and the reason I wanted the clear case was the third product I'm using is extreme skins, it's a skin to put on the back of the phone, and we'll come to that. A little later.
All these products I bought myself I've paid for myself, I'm not indebted to anybody. I did, however, reach out to extreme skins to ask them if I could include their video for fitting the skins in this video- and they said yes, and on top of that they were very, very kind and gave me a discount code. So if you look in the description below, you should find a discount code for the extreme skins, and they do almost every phone out there all the new ones anyway. So, let's get on with this then and uh first things. First, let's fit the screen protector.
So let's get this opened up and see. What's inside it all comes out into one little plastic tray and put that to the side. We have a little rubber, spider or whatever you call it um, that's nice. Actually, you could use that for a lot of things inside here we have the cleaning wipe and a cloth. My fiber cloth I've laid this out by the way to try and alleviate as much dust as possible um, because it's always a little of dust.
I use this for my workshop as well and there's always bits of dust flying about. So let's get rid of the plastic packaging, and we'll check that there's going to use that at the moment, and then we have a little diagram about how to get rid of the air bubbles with the splinter, so we'll take that. But there then we have a little sticky pad to take off any last little bits. I can see them already settling on the phone screen uh of dust on the screen, so we have dust removal sticker, so I'm going to be needing that. No doubt, then we have the alignment tool itself now it seems to be one way fitted.
It's got top at the top, which is handy. So that's the alignment tool and then inside here we have the fitting instructions so line it all up, set it out, press the button and away we go apparently after the draw of obscurity. With that, I do like trying to do things without looking at instructions if possible, and then we have the protector itself now, as I understand it, this goes in there you pull off this, put it on top of their put your finger on their slide it down, and it's done all like magic. So, let's see if it actually works for me, so that's in there it's a little loose that isn't it. I wonder if it's supposed to be in the other side.
No, it's definitely that side it's going to be in it does seem very loose. It's not as tight as I was expecting it to be fitted in. Am I missing something? Let's just turn it over again. As you can see, it does slide back and forth quite a bit. Okay, then haven't had a second look at it.
It's not the same as it is for other phones. You do this one slightly differently, so the first thing I need to do then before we get back to that, because this goes on after this. This goes onto the phone. This goes onto this, and then it sticks down perfectly. He says so.
The first thing I need to do then, is to just get rid of this bit of paper. Get the little wipe out and give it a good wipe over gone are the days when we used to use a little of soapy water on the screen and then move the screen saver screen protector about until you got it into the right place. Okay, I think that's about as clean as I'm going to get it. I can't see any bits on there at the moment, so the next thing is to fit this onto the phone making sure the top is at the top click it down, and already I can see a little spot again of dust. Aren't they terrible these things? You think you've got them all and another one turns up.
So I'm going to need that this is this little sticker several stickers on here. There's a large chicken there's lots of little stickers. So let's try and get any last bits of dust. It's not actually that clean at the moment. I don't know where that mark came from there.
Maybe I touched it with my finger. Okay, can I see any more bits of dust? I think we're okay, but I can still see a smudge there. I'm trying to give this the full treatment. Really. Furthermore, I don't want uh anybody saying that I didn't try my very best to do this properly, can't see.
Oh, there's another one there every time you get rid of one another, one pops up: okay, hopefully that's it! Next, we take the back cover off, trying to be as careful as possible. With this, that's the back cover off I'm going to check again, because I'm sure I can see another bit of dust there already. Where do I see that is? Can I see anymore? I think that's it, and then this goes on here like that and then finally, you press and hold slide your finger down and hopefully, there are no bits of dust, but I can see a little spot there already just there. I don't know if I can get rid of that with this little spatula or if there's a spot of dust under there. If there's a spot of dust under there, there's nothing, you can do you've got to lift it up, use one of these tapes again to take it out and start again, which is always the annoyance with these.
Well, that was really easy. To do. I've got to say got to admit now. I can see air under there as well. Is that just under the tape here? Yes, it's just the tape on top, but I'm fairly certain that little spot there may be a piece of dust, so I'm going to have to check that, so you leave it take that off and I can see just there.
I don't know if you can see on the camera, but just there are two little dots, and I'm not sure if that's just air bubbles or dust, I think it's dust, so I've not succeeded with my first try as easy as it seems on all these videos. You see on YouTube. Mine is not one of those videos. So now I have to lift this up again to get underneath with my little sticker. Try and find those bits that were so.
I finally got this all done at last and uh. It's fitted all the little bits that were under the screen and now gone with that little of sticky paper that came with it. It's worth checking the instructions on this particular version, because it is slightly different from other versions. With other versions you put the screen protector inside the frame and then put the frame on top of the phone with this one. You put this frame on top of the phone, then the screen protector inside the frame.
So it's the opposite way about so do check the instructions. On that I didn't, and I failed uh well semi-failed. I got it right in the end, I checked the instructions- okay, so that's on there. The next thing that I'm going to be fitting is the skin. On the back now I bought the skin from extreme skins, who are an UK company and, as I said at the beginning, I bought them with my own money.
Ordered it got it delivered. Then I emailed them and said. Can I use your video to show others how you say to put the skin on, and then I'll try it myself? They said yes, so here's the video on how to fit the extreme screens. So, okay. So having watched the video, let's see if it is really as easy as that uh for me to do it doesn't count on it.
Uh. First, though, in the packet that you get from extreme skins, you get, of course, some isopropyl wipes. You get the skin itself. This one is the titanium skin, and it comes with a camera cut out there, but I'm actually going to be using a clear camera cut out, because I want the mass logo to be visible, and I think it looks a little better with the black against the titanium skin. Maybe it's just my preference, the thing with these clear versions- and it is only for the clear you do- have to use a little of liquid and they actually supply a little spray bottle of liquid for that purpose, but that is entirely, and only for that particular part of the skin, the other skins, all the other skins, apart from clear skins, are self-adhesive.
You don't need to wet them at all. First though, we do need to clean the phone down, I'm just going to move this card out of the way so that the phone is held a little firmer, I'll give the phone a little wipe off before we start one thing about the Xperia 5: I've noticed I'm not sure if it's the same on all the one and the 10 as well, but around the edge of the camera, it does seem to catch a lot of dust, so make sure that's all cleared off first clear off the work area and then get the isopropyl and wipe it over. You can already see little flakes. They seem to land everywhere, give it a good clean off all around and around the edge as well on the camera and use your nail to get in around the camera with it. Just to make sure you got all that dust that collects that out, I'll put that back in the packet just dry, that off with a microfiber cloth, and now it's ready for the fit in now to fit it.
As in the video you peel off, you slide up, and then you actually fit on now. I've got to take the camera cutouts out. So let's try the peeling off bit first, so you peel off I'll turn it around. So I can see the camera. Cutout is and put that back on.
There push up the camera cutout. This is really sticky, so that's out um. Where can I put that I'll tell you what I'll do is I'll put it at the bottom there? The other thing to get as well is the camera flush there's two little holes there. So let me just grab a screwdriver, and then we can push those out. This one is too and just take them off.
Try that again, it's going back in there's one push that one out there's two, so just a little more work than is in the video, but now I think we're ready to line it up. This is a bit I usually get wrong as well, so I will line up the camera and the flash unit. I think that's about right is that a little? Maybe it's a bit far over that way, but the actual flash units look as if they're spot on. No, that actually looks good. I think I've got it there, just give it a little wipe down and then, as in I'm, just going to wipe that off against this two little tiny bits of dust there pull off the safety paper and down.
It goes down the middle and then down the edges, looking better already and definitely feeling better, it's not as slippery already, but I do think it's a bit too far. This way feeling it. I can feel an edge this side, and I can't feel on that side, so you can lift it back up and then lay it down a bit more. I think there's something you can't do with some skins. You can't actually lift and reposition, so I'm going to oops, lift and reposition this completely.
Let's try and get this a bit better, this time I'll start with this edge. Instead, those who know me and my videos know I leave all my little mistakes in. If I can, I think that's better, definitely better. Yes, that feels much better. Now feels equal on both sides so down there again make sure any air bubbles are squeezed out and then finally, you have to warm it up.
So it's a vinyl skin, so just to go over the edge on both sides properly. You warm it up, and then you just go over it with the microfiber. So let's get the hair dryer or if you've got the heat gun, I would suggest rather using a hair dryer than a heat gun. Now, then, I better move this out of the way. Otherwise, I'm going to blow everything up all over the place, so hair dryer on hot and just go around it.
I can see another head up in there just push that out getting nice and warm and then quickly just go along the edges. Rubbing the edges down they've got another bubble there, so I'm going to squeeze that one out at the same time get tight in with this camera module and I run the flashes. Yes, that's good! That's working really! Well, so you got no bits hanging over. It's actually sort of folded over the edge to give you a nice soft feel, there's no sharpness there of a bit of the vinyl sticking out or anything, and, of course, if it isn't right, you can always go over it again, but I think this is right first time this time. So that's good! That's in place.
I think that looks really nice actually that that is really nice. As I said you can, if you want to then go ahead and use the camera cut out to go on the camera, but I'm going to use the clear one- and this is where the little spray comes in, because you got to spray the glass and get it spray. Ah, I wasn't pressing it hard enough. There we go, so that's on there now the fiddly little, because you've got to get the camera cut out. You go get the holes out of the camera cut out.
So I hope I've got this right way up. Let's just check it that looks about right, so I'll just lay it on there for now. Yes, that looks good, wonderful, so that's in place, and, finally, for this part anyway, we just wipe the water away, and then that will take a few hours to dry out within 24 hours. All the water will be gone, and any little air bubbles will have disappeared, but there's no air bubbles. I can see anyway so perfect.
There we go, it looks perfect, so the back all protected is one of those little plastic things stick to there now come off right, got it off, thankfully um yeah, so that's really nice fit. It feels much better. It's not slipping out your hand. Now, if I was doing that before I put the screen protection from pigeon and the extreme skin on uh, it would have been just out my hand. There are loads and loads of colors uh everything you can imagine really you can customize it as well.
Uh. As I said you with the actual skin, you get the color for the camera module as well, but you can actually have different colors. So if I wanted a black, I could have a black. If I wanted a bright, yellow or red or green, I could have that if there's so many colors, and you can mix and match whichever way you want so brilliant um yeah. I think that proves the point, even if I can do it or if I can even do it, I should say anybody can do it so a really easy way to fit and, as I said, you can just go around again if you want to make sure so the last thing to do really is just to put the case on now.
I didn't want to put a skin on and then not be able to see it. So I bought this pigeon, and this is the liquid crystal case. Let's get this out, and then we give this a little of a wipe with the isopropyl while we've got it get rid of any distal manufacturing marks again quickly go over with the right. So finally, then we get to put the phone in the bumper case last wipe down to get rid of any dust and there she is. I think that looks perfect, really, really nice.
I was going to have gold uh with this color for the camera module, but I think this color looks actually better. You can have leather, even if you wanted leather you could have leather. So there you go protecting the Sony, Xperia 5.2, and they do all phones have a look at them: WWW, dot, extreme skins, and I think it's dot co dot. UK, if I remember rightly, but if you put the extreme skins in you'll, find them, and again I bought this to myself. This wasn't given to me: I've had no freebies from them.
Everything I've done here is off my own back as usual. I would tell you otherwise so again, then thank you for watching you.
Source : Tech It Out
Phones In This Article

Related Articles


Comments are disabled
Latest Articles


