Samsung Galaxy S20 Ultra Detailed Full Teardown - DIY By Mr Phone Doctor
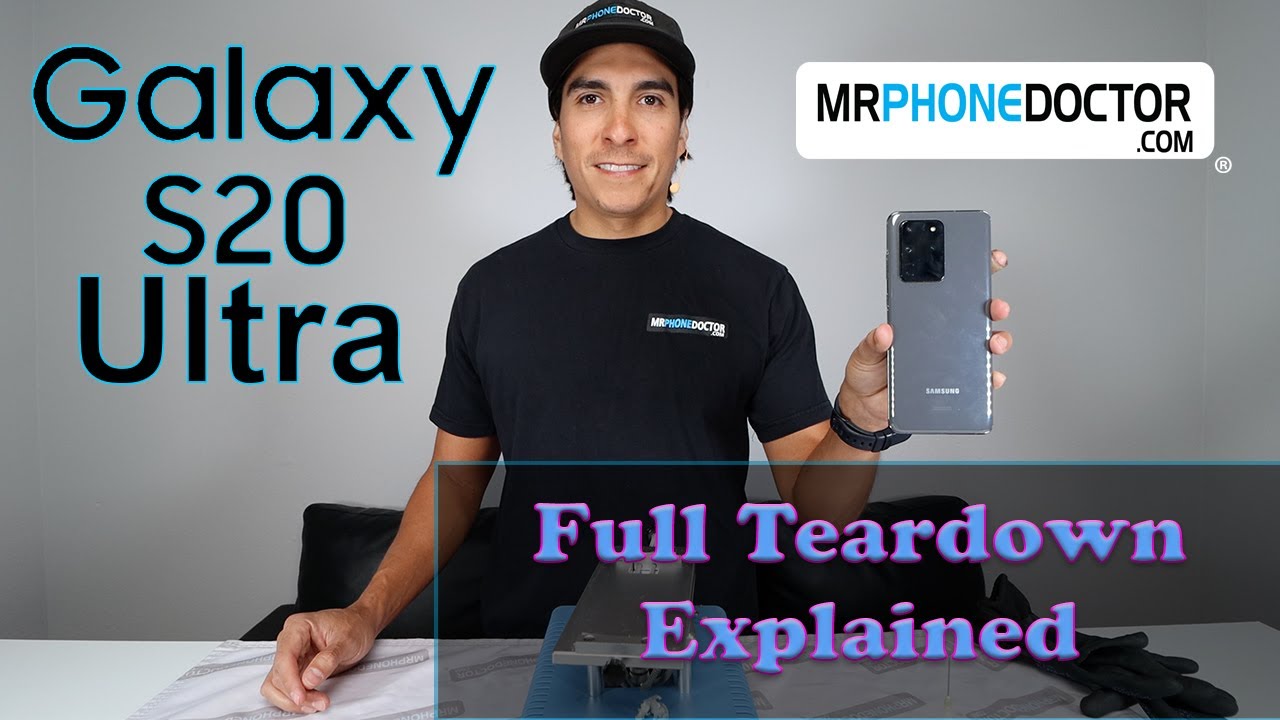
Hey, what's up today, I'm going to show you guys in detail how we tear down a Samsung Galaxy, s20, ultra hey! What's up guys thanks for sticking around and watching this episode today, we're actually going to be doing a full teardown on the Samsung Galaxy s20 ultra. If this is your first time here and you guys enjoy all things, tech and repair related, please make sure you guys hit that subscribe button and smack that bell. So you're notified on our latest videos. If you guys have any questions, comments or suggestions, please leave them down below or feel free to reach us at www. mrphonedoctor. com, or simply check us out on any of our social media platforms found below and in case you guys didn't know.
Our online video training is now available, and we go in detail on how to repair the cracked front screens on the Samsung Galaxy, simply visit our polio website, and I'll leave a link down below in the description box. So if you guys do want to check that out, alright, so now that we got all that out of the way, let's go ahead and begin and start tearing down this s20 ultra, so first off you're going to need a couple of things uh we like to use these heating plates. These heating plates actually work very nice for us. They allow us to clamp down our device onto this, and they actually keep the heating surface. Even so, we're not having to worry about a heat gun or anything like that, losing heat on one end of the phone or vice versa.
So it evenly distributes the heat, and it holds the phone down. So we have both hands to use. You are going to need some of our solution. The 9666. This is what we used to help dissolve a lot of the adhesives you're going to need a Phillips, screwdriver and a clear card.
We like to use these. If you don't have a clear card, you can use like a playing card or anything like that, and we are going to need some gloves, uh some tweezers and our little Oct removal tool here. So we like to go ahead and have our heating plate at 90 degrees. So I'm gonna it's already preheated I'm going to go ahead and get the phone in the vice. We may need to open this up all the way, and you do want to go face down since we are going to be removing this back panel here- and I say just let it heat up for about three- maybe five minutes max, I usually just like to touch it once.
It feels nice and warm to touch. I like to work on it, but as give to give you guys an estimate, I'd say about three to five minutes. So let's go ahead and let this heat up, I'm going to go ahead and cut just burn my hand, I'm going to go ahead and cut, and then we'll come back to this here in a few minutes all right. So the phone is nice and toasty. Let's go ahead and begin, I'm going to put my gloves on.
I don't want to burn my hand again that one just woke me up. I touched this plate here. Furthermore, I was like ah got zapped, so I'm going to go ahead and first off take a look and see. If there's any insertion point on here, I like to find a little gap, and it looks like there's a nice little gap right here, so I'm gonna actually go ahead and go in on this bottom left corner put a little of solution here, and we are good to go so once you have it in you don't want to go in too deep, as I always mention there is a NFC QI charger right here on the back, so you don't want to accidentally damage that. So you want to go in I'd, say about three eighths quarter of an inch deep, all right, add a little solution to help dissolve and that's a cool thing I really like about this plate is it you can actually rotate it, and it just moves around nicely as you need it to, and you just want to go like a cutting.
You know just go straight down. If you want to go like a little sawing motion, you can also feel it get firm, don't force. It just adds a little more solution to help dissolve it. That's one thing I don't know if you guys can find this in your country, but we import it. So shipping on this is very expensive.
You know like a bottle of this. Am I'd say about a hundred bucks? You know if you get a thousand milliliter bottle, you're going to be looking at about a hundred dollars. That's what shipping? That's just for one bottle! You know if you price them, if you ship them together, it's going to reduce the price, but it does add up you know. So. The good thing, though, is with this solution, is a little goes a long way.
One of my favorite sayings is less, is more and with the solution that is totally true, so looks like we went ahead and got this backplate removed. So there we go. Look at that! Look how beautiful and seamless she came out. There's like really no glue left here. You can see here's the plate, look at that and all the glues and everything are still here intact on the back of the glass.
So that's good! We can leave that there, I usually if it's still tacky enough. I like to reuse this. What we do is, we just add a little of b8000 on here whenever we reassemble the device, so we won't be doing any reassembling on this, but if you guys do want to reassemble, just follow these steps backwards, to put it back together. So I'll set this aside, and I want to make sure that everything is clean which, for the most part, everything looks nice and clean. So we're not going to need to worry about doing any kind of detail work on here with our little cleaning cloth.
So that's good for us and another thing, as I mentioned, you don't ever want to touch these uh. These cameras, okay, fingerprints or magnets to these, so they'll just stick on there, and you guys may just be working too much trying to clean them, but now that we have this off, let me go ahead and show you guys the cameras on here really, really cool. I mean you can see the sensor. This is the 100x camera right here. So you have your 100 time, camera and or whatever you call the actual call it the space zoom.
So you have your space, zoom, camera and yeah. It's really, really cool technology. Samsung used, you know, and this is the first time I've actually taken one of these apart. You know me being a tech guy and a phone guy. Surprisingly, I haven't taken an ultra apart, but this is the first time taken apart.
So I'm pretty excited to take a look and see everything inside here. So now that we have that removed um, we are going to need to remove the sim tray and I may have forgotten my sim remover, but the tweezers worked fine. Sometimes you need a sim tray rubber, because the hole isn't big enough, but you do want to make sure you get the sim tray out just because if you don't the logic board will not come out so make sure that's always removed all right. So let's go ahead and begin removing the backplates on the s20 ultra and, as I mentioned before, a lot of these backplate screws are all the same size. So you could just throw them all in a little pile and not have to worry about.
You know where which screw grows, where they're not like the iPhones, where they use different size screws for every little thing so and if you notice, if you feel that a screw is tight, just get it off. You know manually first before trying to go with the electric drill. The last thing you want to do is strip one of these screws. If you strip one you'll, have to drill it out with the Drexel, and it'll just cause more work all right, so we want to go ahead and carefully remove this NFC by charger here, just run across and just kind of tear the adhesive that it's on and let's go ahead and remove the plate. Let's find the battery is right here.
So it's just one right here on the side there we go batteries off, so now the battery's killed. So we can go ahead and remove everything and always make sure the phone's powered off. You know. Your last thing you want to do is be handling this when it's turned on. So, let's go ahead and remove these main cables here.
These just run any power and antennas up from the charging port up to the main logic area and, of course, help feed the battery, and this is for the OLED. So this will not come off. You can see this one's here. This one runs to the screen: let's go ahead and see if we can remove there's another little antenna, one here and when you're using your tools, you do want to be very, very careful when you're removing any of these flexes. Okay, if you notice there's like a little city of transistors that are here, the last thing you want to do is break one of these transistors or one of these little capacitors and end up damaging the logic board.
So you want to be very, very careful when you're removing these flex cables. Okay, don't just go in there blindly and remove them. You know you got to be very, very careful with these, and we've learned from experience. We have damaged a few in our past, so um now we know to be very, very careful with these looks like there's one more screw right here, holding this camera. It may be all held in with this camera, so the camera may come out as one there we go so that screw was holding it.
You can see this little fat board come right out. Look at that look. How beautiful this board is: she's, a little fatty, nice and thick. They were actually able to make these smaller. Usually these boards were a lot longer, but since they're doing the double stack they're using you know, you can see there's their using both sides of the boards to put any kind of chips or whatever they need to do on this.
So this is really, really cool. The camera is actually really, really loose, looks like it's just held on by these flexes in the back here. So you have some flexes here and then this one here, so you have your main flexes attached to that. So I'm sure these are replaceable. So if you did want to replace them, you would just you know simply just remove the flexes here.
You got one. You got these back ones here and then this last one right here on this edge here: okay and that's it that just slides right out, so that's the camera, and we have our charging port for this video. I'm just not going to remove the charging port, but if you guys didn't replace the charging port, it's pretty, pretty simple! It's just held down by these three screws here. Okay, so you just remove these three screws find a little area to lift on, and you can remove this port here. So if you do get any damage in here, your charger is not working, that's something you guys can definitely get replaced.
So we got that there and the cameras there are now actually attaching them to the mid-frames. So if you did need to remove the camera, um you'll just need to use some tweezers and make sure that the phone's heated up to um. You know just scrape off the glue it softens everything up. I've actually done a video, the s20 um, where I did remove the camera and everything. So if you guys do want to see that I'll leave it I'll leave a link-up on top here, and I'll also leave another link to the s20 plus, where it actually did take apart the charging port, which they're pretty much identical and, of course, uh batteries um the batteries you do want to heat up, I'm going to go ahead and remove the battery for this video.
Just to show you guys how we safely remove the batteries being said, because I know there's a lot of technicians out there that they have issues with the batteries. So I'll show you a pretty straightforward, easy way to remove it and I like to add a little of solution down on the edges like. So this just helps dissolve the adhesive and I forgot a tool. Usually we use a pry tool for this uh, I'm probably just going to use my tweezers. Just don't have to worry about running back to the lab I'll just use my tweezers and just give it a nice.
Gentle pull see that and then with the pry tool, it's thinner, so you can actually go in on the sides here with these tweezers, I'm a little obstructed from going in there. So I'm just gonna just slowly work this area here, and it'll just come right out, see that look how pain-free and easy the battery came out. Then we like to clean this glue off it's better once it dries once the solution dissolves. We can go ahead and clean that glue, and then we'll clean this area here, but other than that I mean that's pretty much it guys. That's a pretty straightforward, s20 ultra teardown! I really hope you guys got some useful information on this and are able to do some kind of repair which is going to be a simple repair.
You know charging port camera anything like that. You should be able to do with this video. So, if you guys did like this, video make sure you guys give us a thumbs up. It helps with the YouTube algorithm make sure you guys subscribe hit that bell, so you're notified on our latest videos. If you guys have any questions, comments feel free to reach us www.
mrphonedoctor. com. The surgeon signing out cheers.
Source : Mr Phone Doctor
Phones In This Article

Related Articles


Comments are disabled
Latest Articles


