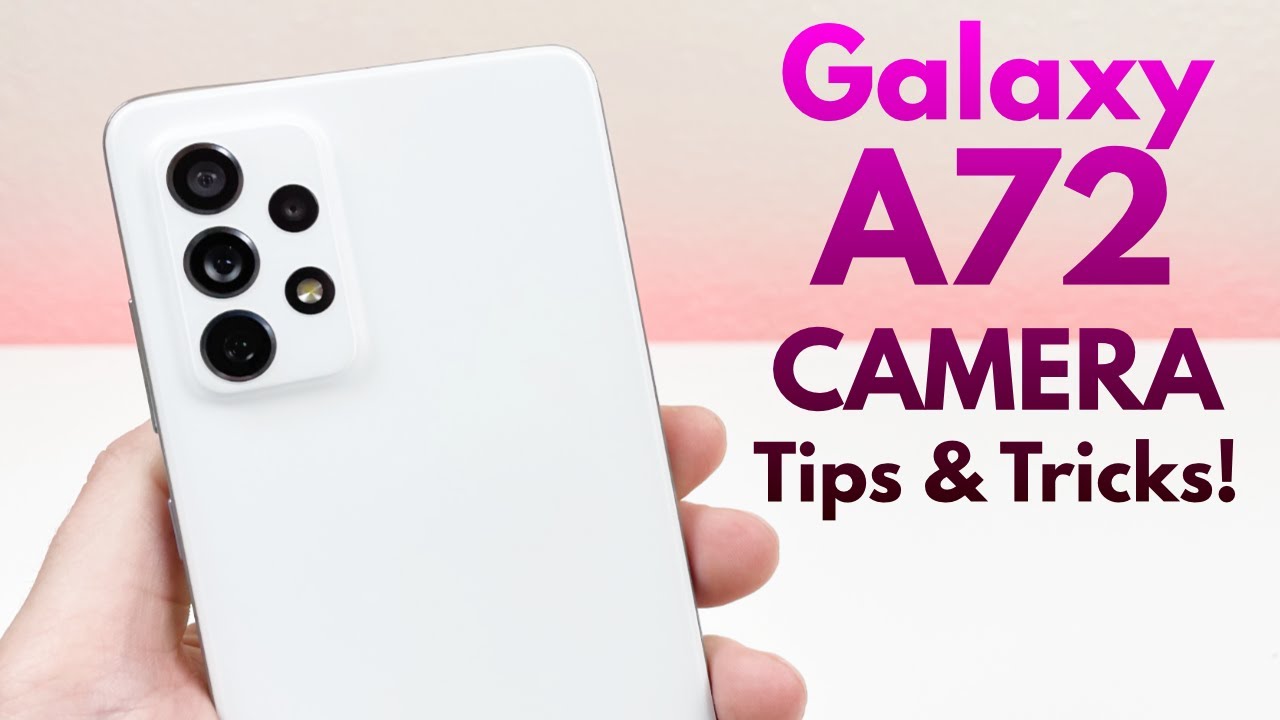
Samsung Galaxy A72 - Camera Tips and Tricks! By Kevin Breeze
What's going on everybody, this is Andre here with the Kevin breeze channel, and this is camera tips and tricks for the Samsung Galaxy a72. Today, I'm going to be showing you some tricks for this phone's camera that you might not know about yet so, let's get started so the first thing I want to show you is how to take a burst shot. It's actually really simple, and by default it is activated. All you need to do is press and hold the shutter button and slide it down like this. Once you're done, you're able to view the burst shot in the gallery, and of course you can see all the different takes you have and select which ones you want to keep now. The other trick to this function that you might not know about is that you can actually use that same motion to make a GIF.
Instead, all you need to do to set this up is go to settings and right here, where I mentioned swiping the shutter button you're going to hit that, and you can actually change it from burst, shot to create GIF and now, when you go back to the camera, you can create an animated GIF. Instead, this is going to show up in your gallery just like any other photo or video you take now by default. When you press the volume key, it's going to take a picture, but there are a couple other functions that these keys can have. Let me show you, so we're going to go to settings, shooting methods and right up at the top, it's set to press volume keys to take a picture or record video to change this. All you need to do is select it, and now you can choose from either taking a picture, recording, video or zooming in or out or controlling the system volume.
For this example we're going to choose zoom in or out and now when we go back to our camera. When you press the volume button, when you press volume up it's going to zoom in and when you press volume down it's going to zoom out, I personally prefer the default setting myself, but I suggest you play around with it and see what works best for you. The next thing I'm going to show you is how to get into portrait mode now, unlike a lot of phones. These days, portrait mode is actually not on the bottom bar here. Instead, you're going to hit more, and it's going to give you a menu of all sorts of different modes, you can use for this phone's camera portrait mode is right here and now that you're in portrait mode make sure that your subject is within the proper distance.
So you can get a good shot. In addition to that, you can also control the intensity of the blur with this slider down here. In addition to portrait mode, this phone also has a macro camera, and I'm going to show you how to get to that too. All you need to do is hit more again. It's going to come up with all the different modes and then just select the macro camera right here once you're in macro mode be sure that you're in the right distance, this has to be pretty much right up against the subject three to five centimeters, as the little warning will tell you and once you're done with macro mode, be sure to go back into regular mode.
Otherwise, any photos you take are gonna. Look like this! So there's actually another cool trick. You can use with this phone to get really close up pictures without using the macro camera and that's made possible by the telephoto lens. The telephoto lens is really cool and, in my opinion, it's actually better than a macro camera. All you need to do to activate the telephoto lens is hit this little icon right here, and it's going to go to 3x zoom and at 3x zoom you'll be able to get the same high quality pictures you get with a macro camera without actually putting your phone right up against the object.
This is the photo taken by the telephoto lens, and this is taken by the macro camera and I personally think the telephoto lens does just as good, if not better, of a job taking those close-up pictures than the macro camera definitely play around with it and see which one works best for you, because it really depends on your style and what you feel most comfortable with. So I've shown you a couple different things now they involve you going to the more section to select from all these different modes, but if you're taking photos in those special modes a lot especially portrait mode, it's so popular. Some people only use portrait mode for their photos, so it can get a little annoying to have to go all the way over there just to select a mode that you use almost exclusively and at the same time, these modes that some people don't ever use are kind of annoying to even have here at the bottom. I don't know about you, but I personally have never touched fun mode, except for maybe during a demonstration. I don't use this mode at all, and I probably never will, so there's no point in it being here at the bottom bar, but what I'm going to show you are how to customize this bottom bar.
So those things that you don't want won't show up there and the things that you do use a lot. Will it's super easy. All you need to do is go to the more section and hit this little plus right here. Once you hit that it's going to allow you to drag and drop all the modes you want either onto the bar or off of it. So, for example, I'm going to take out single, take and fun.
Those are two modes that I never use, and instead I'm going to add portrait mode and then macro mode as well, once you're done customizing it go ahead and hit save. And now, as you can see, the modes that you use frequently are going to be here at the bottom bar. The next thing I'm going to show you is a really cool feature called voice commands with voice commands, you're able to use your voice to activate the shutter of the phone to either take a picture or record a video. Now keep in mind. The commands for each are different, and they're only going to work when they're in their respective modes.
So, for example, you can't use the voice command to shoot a video in photo mode, and you can't use the voice command to shoot a photo in video mode so to get to voice commands we're going to hit the settings right here, go to shooting methods and turn on voice commands with voice commands on. All you need to do is use the words that are listed in the settings and shooting methods, and it'll take a picture shoot. I think it's a really cool feature, and I was surprised the first time I used it at how well it worked, because there are a lot of other features that are supposed to make it more convenient to take a picture like, for example, the palm selfie feature that just never seems to work for me, but this works so well. All you need to do is say the word, and it's going to take the picture. The next thing I'm going to show you is how to get the floating shutter button.
The floating shutter button is an alternate shutter that you can place anywhere on the screen, and it's really meant for, if you're holding the phone at an awkward angle- and you can access this through the camera settings and shooting method the same place, we went to get the voice commands, but I'm going to show you an even more straightforward way to get it. All you need to do is drag this shutter anywhere. You want in the screen just like this. It really does come right off, and then you can use it wherever it's comfortable for you. Now this may or may not be a feature you like so definitely try it out first, but if you're ever trying to activate it, that's all you really need to do and then to turn it off.
You can go to the settings, shooting methods again and then switch it off, and it's going to be it back to its normal setting and again, if you ever want it to be there after that, do the same thing just drag it somewhere, and it'll be there for you. The next thing I'm going to show you is how to use the grid lines. Grid lines are really useful feature if you're trying to line something up on the frame. Sometimes you might want to make sure something's level other times you might want to center something whatever the case may be. This feature is a perfect way to just make sure you're getting the right thing in the right spot on the frame.
All you need to do to activate it is hit settings and by default, grid lines is toggled off switch that on, and it's going to show up on your frame. The next time you go in the camera, so now, as you can see, these grid lines are here now, if you're not specifically trying to level something or line something up or get something in the center of the frame, then these can for sure get kind of annoying. So to turn it off. Do the same thing settings grid lines toggle it off and then, when you go back to your normal frame, it's going to be just like it was before the next thing I'm going to show you are how to use the ultra-wide camera. This is probably one of the most useful features on the phone's camera.
Besides its normal functions, it's definitely a lot more useful than a macro camera and probably right up there with the telephoto lens. As far as general application to real life goes with the ultra-wide camera. You can use it for large objects for a room for a group of people, so many things and it's so easy to access. All you need to do is press this little icon right here. The ultra-wide camera is going to turn on snap, your pictures and then once you're done with it.
You can go right back to the regular mode, and it's going to be how it was when you first open the camera. The last thing I'm going to show you today are how to take high efficiency, photos and videos. Basically, what this is a different file format. That's condensed to save some space. This can be really nice if you're, maybe trying to send a file to someone or, if you're running out of space on the phone itself, which, with this phone granted that's pretty unlikely to happen, but high efficiency, photos and videos are perfect because the files are so much smaller, so they're easy to do things with to get to this.
All you need to do is go to settings now. Photos and videos are in different spots for videos. It's going to be right here, toggle, that on and for photos it's going to be in format and advanced options, and right here you can toggle it on here now. One thing I will point out about this feature is that it's not always compatible everywhere. So if you're trying to upload a photo to a specific website or specific device or something like that, then it might not work, so before you actually do.
This definitely check to make sure that your intended purpose is compatible with this file format. But this is camera tips and tricks for the Samsung Galaxy a72. I hope you guys enjoyed the video, and hopefully you learned something new as well. If you did be sure to leave a thumbs up and subscribe and as always I'll see you guys in the next video.
Source : Kevin Breeze
Phones In This Article
Related Articles


Comments are disabled
Latest Articles


