Samsung Galaxy A32 5G - Camera Tips & Tricks! By Kevin Breeze
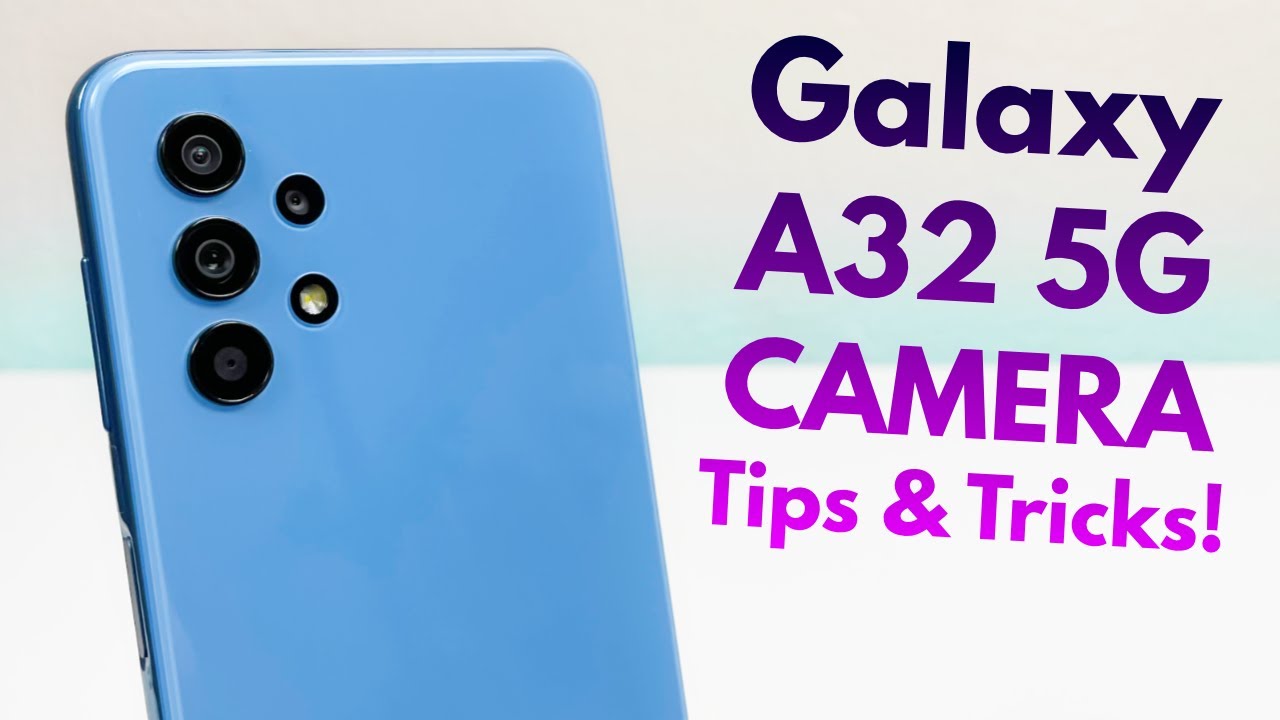
Hey everybody- this is Andre here with the Kevin breeze channel, and this is camera tips and tricks for the Samsung Galaxy a32 5g to get some more information about pricing and availability definitely check the link in the description and for more information about the device itself be sure to watch the full review of the phone on the channel. Let's get started so the first thing I want to show you guys is how to actually open the camera. Now, of course, everybody knows that you can press the camera app and the camera will open, but I'm going to show you a shortcut to get there. That might save you some time, so we're going to go to the settings. Menu hit the search bar and type side key right here. Side key is going to come up, and you see right now.
It's defaulted to quick launch camera with the double press feature activated. All you need to do to open. The camera is simply double tap the power button, and then this is going to open up the camera. It's a lot faster than searching through your phone to find the camera app and hitting it that way, and if you have a different app like Snapchat or Instagram or whatever other app you use that uses the camera instead of quick launch camera, you can have it open the app, and you can select a bunch of different apps that you can open with this function. So, for example, if you use Snapchat, then it's likely that you might want to capture quick moments with that.
So if you have Snapchat open by double tapping the power button, it's going to save you a lot of time and make it a lot easier to get those quick moments that you need to capture without any preparation. The next thing I'm going to show you guys, is how to change the aspect ratio of a photo now by default. It is set to 3x4, but there are lots of other situations where you might want to use a different aspect ratio. So all you need to do to change. The aspect.
Ratio is to hit this, and you have the options of 3x4 9x16 one by one or full and full is of course, the entire screen. This is a real nice feature. It allows you to set the right aspect ratio beforehand. So when you go to upload the photo for whatever you're using it, for you can skip the step of cropping it during the editing process. Now, the next thing I'm going to show you guys, is a potentially less known about feature so by default.
When you swipe the shutter button, instead of just pressing it, it creates, what's called a burst photo, and it helps you get multiple different takes of an image, so you can choose later, which one you like the best, but I'm going to show you something else that you can do with it that I actually had no idea about, so we're going to go up to settings and see where it says, swipe shutter button to take burst, shot, we're going to hit that, and instead we're gonna. Have it created a GIF or GIF. I don't actually know what you're supposed to call it, but you know what I'm talking about with this activated you're going to do the same thing. Basically press the shutter button, hold it and slide it down, and now it's actually going to create an animated picture. Now, that's a really cool feature that even I didn't know about, and I work with these phones all the time now.
Another feature you may or may not know about is the floating shutter now before you would be able to find this through the settings, and you would have to toggle it on, but I'm going to show you a much faster and more convenient and effortless way to get that floating shutter wherever you want it to go instead of even going to the settings, all you need to do is press and drag the shutter wherever you want it to be. You can put it right here, and then you can take a picture so easily now. Another thing: that's not necessarily something that you have to do anything about, but it's something that you might want to know in a lot of older phones or even phones that aren't necessarily old, just previous models, whether it's an android, an iPhone, you name it when you take a selfie or anything with the front-facing camera. For that matter, the picture is mirrored, and I personally have always thought that that was the most annoying thing about any front-facing camera I've ever used. I don't know why I would ever want a picture to be mirrored, but by default this phone doesn't mirror its pictures.
So the way you see it on the actual phone camera itself is the way it's actually going to turn out. If you do want to mirror it, for whatever reason all you need to do is go to settings scroll down and toggle. This part off that says, save selfies as previewed, and then they're going to be flipped another thing in the camera settings menu. That, I think is pretty interesting is the video stabilization. Now this is a real nice feature, because, if you're taking a more complicated or longer video, where you actually have to hold the camera, especially if there's panning involved, it can be real easy to shake the camera just a tiny bit, especially for longer periods of time.
It can be a challenge to keep the camera stable and steady. So having stabilization definitely helps out with this another. Pretty useful feature on this. Camera is the grid. Now every camera has it, but sometimes activating it is different, depending on which phone you're using, so I'm going to show you how to get it on this phone, so we're going to go to settings once again and scroll down toggle on the grid lines and now in your frame, you're going to be able to easily see where the center is, and this helps a lot when you're trying to take a super detailed photo at a specific angle.
Of course, centering a photo is usually decently easy, but depending on the situation, it might be easier said than done. So this helps you line things up a little better. Have you ever put specific settings on a camera? Did you use all the time and have to keep redoing it every time you go to take a picture? Do you ever get tired of that? I'm going to show you how you can avoid that, so we're going to go to settings scroll down to where we were before and select settings to keep that's going to take you to a different menu, and these are all the settings that you can actually have as default settings for the camera. So, for example, if you always shoot in photo mode or if you always shoot in video mode or portrait mode say you do take a lot of portrait pictures when you're on the go or whatever the situation may be. You can set the camera to automatically open in portrait mode, so you don't have to actually switch to it.
You can do this with filters, even an angle, for a selfie, so it makes it a lot easier and more convenient when you go to set up the picture. The way you like to take it now by default, when you press a volume key, it's going to take a picture, but I'm going to show you some other things you can do with that. So, let's go to settings once more scroll, all the way down and select shooting method. So, as we can see here, the floating shutter button is also enabled we did go over this, but for right now we're going to select this right here that talks about the volume keys. So you can have the volume keys either take a picture zoom in or out or control the volume which I don't really know why you would have it control the volume while you're trying to take a picture.
It doesn't make a lot of sense to me, but it is nice to know that it's there we're gonna, select zoom for this example. So now in our frame, we can always pinch the screen that doesn't change, but you can also zoom in or out with the volume key. The zooming is a cool feature, but taking a picture with the volume key is also cool, so whatever is most convenient for you is going to be doable. So the last thing I'm going to show you guys is how to change the bottom settings right here. So, as I'm sure you know, this phone has a lot of different camera settings.
If you hit the more there are so many things you can do so in order to make these more convenient to access, say you like to use macro mode a lot if you want to put that at the bottom menu you're going to hit this plus right here, and it's going to allow you to move these around and add them to the bottom menu. So it's easier and faster for you to reach them. For example, I'm going to put macro mode at the bottom hit save and now, instead of having to go to more to access the macro camera. All I need to do is hit macro mode at the bottom, and it's going to select it, and I'll be able to use the macro camera. I think that's a really cool feature and I feel, like a lot of people, do overlook it because it is in a more obscure area that you might not think to look for.
But this is camera tips and tricks for the Samsung Galaxy a32 5g again, if you want more information on the device itself, definitely check out the full review of the device on the channel for more information about pricing and availability be sure to check the link in the description, because pricing and availability is always changing. But I hope you guys enjoyed the video, and hopefully you learned something as well. If you did be sure to leave a thumbs up and subscribe and as always I'll see you guys in the next video.
Source : Kevin Breeze
Phones In This Article
Related Articles


Comments are disabled
Latest Articles


