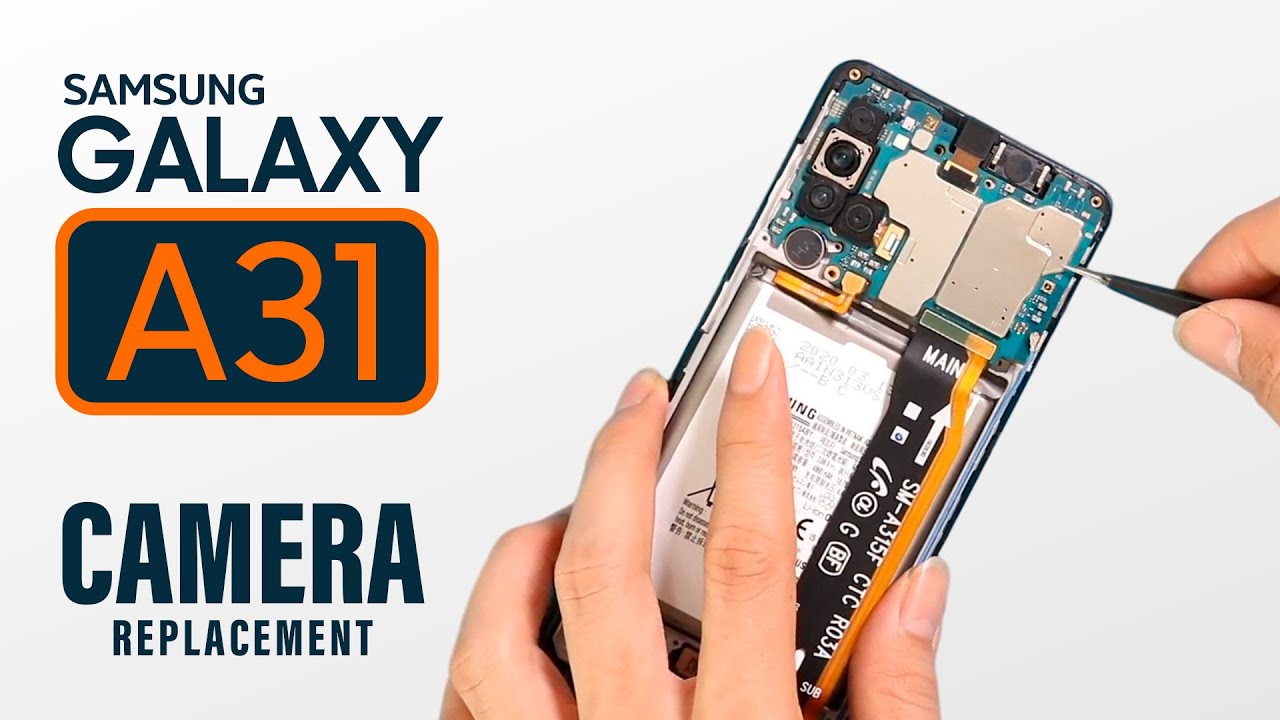
Replacing a Battery on a Blackberry Keyone By Gigabytes Technologies LLC

The secret, the tech industry won't tell you, technicians, google, their answers, I'm Mr. gigabytes, and we're going to replace a battery in my key one. When looking on how to replace my battery in my key one, I was unsure of how to get the back off. It turns out it's a fairly simple process, and I'm going to show you how to do it. The videos that I watched and the information that I got they said removed back well. How do you do that without breaking it? Sometimes experts forget that they were novices once ?, so we're going to do that video, and I'm going to show you exactly how to remove the back off of a BlackBerry key one.
Let's get started. I've got a little tool kit here that I think it came with the battery I'm, not 100% sure, probably didn't come. It probably came in with something else. We're going to try to use a few of the tools here and whatnot, but it's just a little cheap set. Now, let's open up the battery here, the neat thing that this battery actually came with some adhesive I do not intend to replace that by any stretch of the imagination, I, don't think a battery should ever be glued down.
We'll take a little closer look at the battery here in a minute. First thing you do is to get it out of the case. Let's let that aside for now, interestingly, this back cover is actually fairly easy to pop off, but to do it the first time takes a little of work. What I did now? What I'm going to do now? You can use one of these and kind of push it underneath and get a hold on it here, but honestly I've got fingernails that do a little better job, so we got that started good idea to shut down the phone before you start. I'm just going to push this to the side and of course it started to back up again.
These little clips are like our like little elves, so they kind of grab up underneath the metal there. On that side, too, we go a little of adhesive there. This parts a little tricky I, don't take these things apart very often, does it show No sort of rock this panel away like so, and there we go there's the battery. So we've got these two screws here, so we definitely for the battery. We need this, obviously, because there that's the battery cable.
There are these one, two three four five screws at the bottom here that need to be removed in order to get access to the battery, because this is all circuit board here, I'm, actually, these. Actually, these two screws also need to be a solo, they're, seven screws in total, so I'm just going to go ahead and remove them just right now, not even a try and figure out I'm, not even gonna, try and see if it's a thing that I can do without removing those screws, because everything that I've seen that you need to you'll need to remove those I just went ahead and magnetized a screwdriver makes it a little easier to pull these buggers out. I'm going to keep all the five screws that are the same together. These are probably all the same screw anyway and then the two that go on the outside here, I'm going to put any slightly separate location because they are they're, definitely a smaller size screw. If you notice, hopefully, you can see on this camera, it's just an edge all the way around that goes up underneath and when we put it back in there's this tiny little tab right there that'll have to go back in and that can be a little tricky.
So don't worry, I'll edit out all the cussing and swearing, let's go ahead and get these two out of there again, really kind of hoping it's not glue it in as much as some others. It looks like this is as glued in as there's some other YouTube videos that I've seen looks like I've got a little of give. It's always a plus just found the battery's disconnected I can hit the buttons with impunity. Wow, that's a lot! That's fun! There we go. I was blowed it in, but that the battery must be different from some of the other ones that I've seen, because this one doesn't blow it in near as bad, so I'm going to go ahead and let's go ahead and open up this battery just open at the top.
Here, that's interesting. This is this black tape over this. Oh now, let's see, lets it off and find out. You know sure enough. That's the BlackBerry logo.
Under there I mean you can't see. You're, not gonna, see it on a camera. I'm actually peeling up these, let the letters as I go, but this is definitely a BlackBerry battery that I ordered I. Couldn't for life me tell you where I got it from, but yeah, essentially the same thing: yeah 4.40, VDC, nominal voltage, 325 capacity, three, four, four: zero William hours. Thirteen point two four watt hours same exact battery physically just a little smaller, but it's yeah, honestly I, don't think the battery itself is a little smaller to the connector.
The part up here, whether it's all the connectors and a little of wiring, and that that that's that's where it's shorter, physically I, don't think the battery is any shorter go ahead and put that up there looks like we got it should just snap in place here just may be having a hard time lining it up. Well, there we go. That looks a little better. There's one there's number two now on my particular phone: it didn't look like there was any there. Wasn't anything securing this at the bottom, so I really didn't need to take out those seven screws.
It might have been necessary if I had done some other sort of repair work, but I would have to say that taking out those seven screws just was unnecessary and then carefully prying it up at this point, there are two indents right here: prying that battery up that really and just being real careful about it, looks like that worked really well too. Let's put these little the tinier screws in there's one here and there's one here. These are the two smaller screws that I took out now for the five that go around the edge before I put the back on I'm gonna I'm going to test this out, make sure that this powers up and everything's okay, no, the reason why I like blackberry, very, very serviceable phone, alright, so let's go ahead and power. This up might not have any charge on it. Lets uh, let's plug it in and find out half-and-half my unit Hertz charger here this is this battery's been sitting around for such a long time.
I wouldn't be surprised if it didn't, have any charge on it at all. We got a little green light. That's a positive thing: there we go 0% yep, fully discharged battery, so let's go ahead and pop this back on now, I get said: there's a little trick doing this, and you want to get that Ridge up underneath I said this is a little tricky. This might take a little push down on that lens, a little and kind of rock it in place there we go. So if you didn't notice, I had to slide this in this way, a little to get it started, go push down on this lens a little, not really a lens.
It's just kind of a cover lens is actually inside there and then on that little went in kind of easy, just kind of follow the lens there this here there we go, get that edge in all the way up underneath go, and then it's just a matter of snapping that cover down push in a little like this and little clips grab hold same with the bottom they're, all the same kind of cliff chin a little and push down at the same time. There's a clip right about here that keeps popping it back up, so there we go now that we got it in the bit. The clip starts clipping into place like they should there we go, it looks like we've got it sealed all the way around go ahead and get this on the charger again, so that I can take a look at it later. This should charge it pretty fast. This is a unit.
Hertz charger is a 2 amp charger, but we'll come back to this a little later. Novices that don't have no, the first don't have the.
Source : Gigabytes Technologies LLC
Phones In This Article
Related Articles


![Fortnite Chapter 2 on Galaxy S20 Ultra Gameplay [60FPS + Hand Cam]](https://img.youtube.com/vi/vmC3tHE9V3Q/maxresdefault.jpg )


Comments are disabled
Latest Articles


