Motorola One 5G screen / LCD & Glass replacement DETAILED By Tech MD Youtube
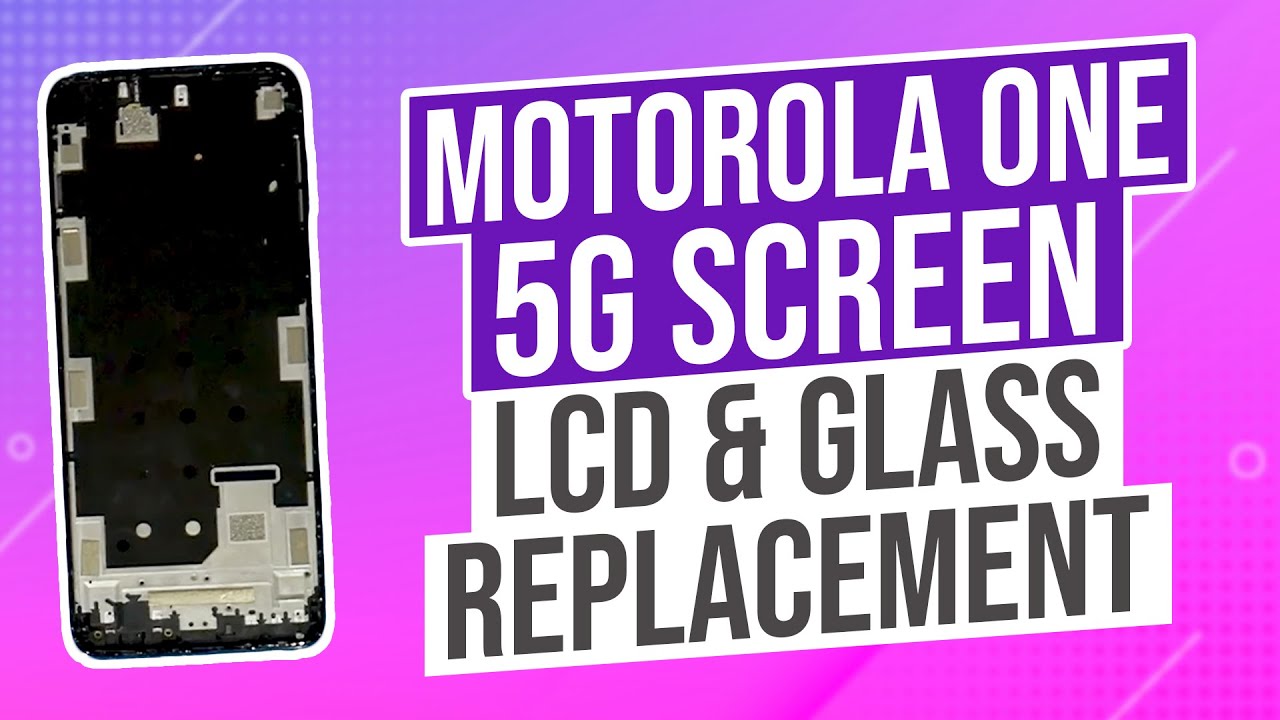
Hey everyone, it's Dustin with tech MD. Today we are going to be tackling a Motorola 1 5g from Verizon. I do believe it might be called the ace customer doesn't exactly know, but we got a new screen. Customer has already attempted to do the screen repair themselves. I told them just get a replacement one, maybe it's bad um, but for now we are trying another screen because it's kind of blanked out, but we're going to open it up. Anyways I'll show you guys how to open it, you're going to need several tools like an flex, a heating pad, or maybe even like heat gun that works as well.
So we're going to go ahead and get tackling this. Now I let this sit for five minutes already to help loosen it up. It's probably going to come a little easier because the customers have already opened it up, uh prior to me, fixing it yeah. So it's way easy. So all you have to do is just go along the sides here, and it's going to have some glue.
It's going to give you a little of resistance and just slide your tool along here. I got a brand-new lens from my gh5 and what do you guys think nice and close- oh gotta, keep my hand out of the camera. It's fun all right, so this was like I said, already removed. It was a little easier, but, as you can see, all the glue edges here is what you have to cut to get. This off looks like the camera just stays with the unit.
Now you can put this back on the heater and keep the glue warm, but we're not going to at the moment because it is made out of plastic and a little easier to remove. So our next step is we want to test the display as soon as possible. So this is our display here and, as you can see, we don't want to move the front screen. First, we're going to go through the back, because it is going to literally connect and route through the bottom here and plug in probably under the battery yeah, because there's no cable running across. So let's go ahead and start removing all these Phillips screws here.
So, so far the customer told me that the new screen, basically they can feel it turn on vibrate. That kind of thing, but nothing happens. So, let's see if we can make something happen. Okay, so we're gonna carefully, remove this graphite off of the back of the battery and lift that up that way. We can disconnect the battery here and just set that aside, here's the new screen and what I like to do to test a new screen is plug it in here, but it's going to be a little tricky because the cable's in the way, so we're going to do, is go ahead and set this down and on the heater and warm it up, and then you can separate it, or you can put some alcohol between um the battery as well to help loosen it up.
So once it's warmed, I'm assuming the battery's already going to be loose, we're just going to go ahead and slowly but carefully lift it up. This looks like has something a little weak on the side over there. Maybe some cables- and just do this other side here just carefully twist up. You don't want to damage any of these cables here. It smells like the battery might be a little bad there just having a good smell.
If you smell a different smell like um, almost like a fruity smell, I don't know, that's how I think it smells like. Then it might be uh punctured. I don't see any punctures in the battery, but just be aware of that. So what we're doing here is just carefully plugging in the screen. Cable.
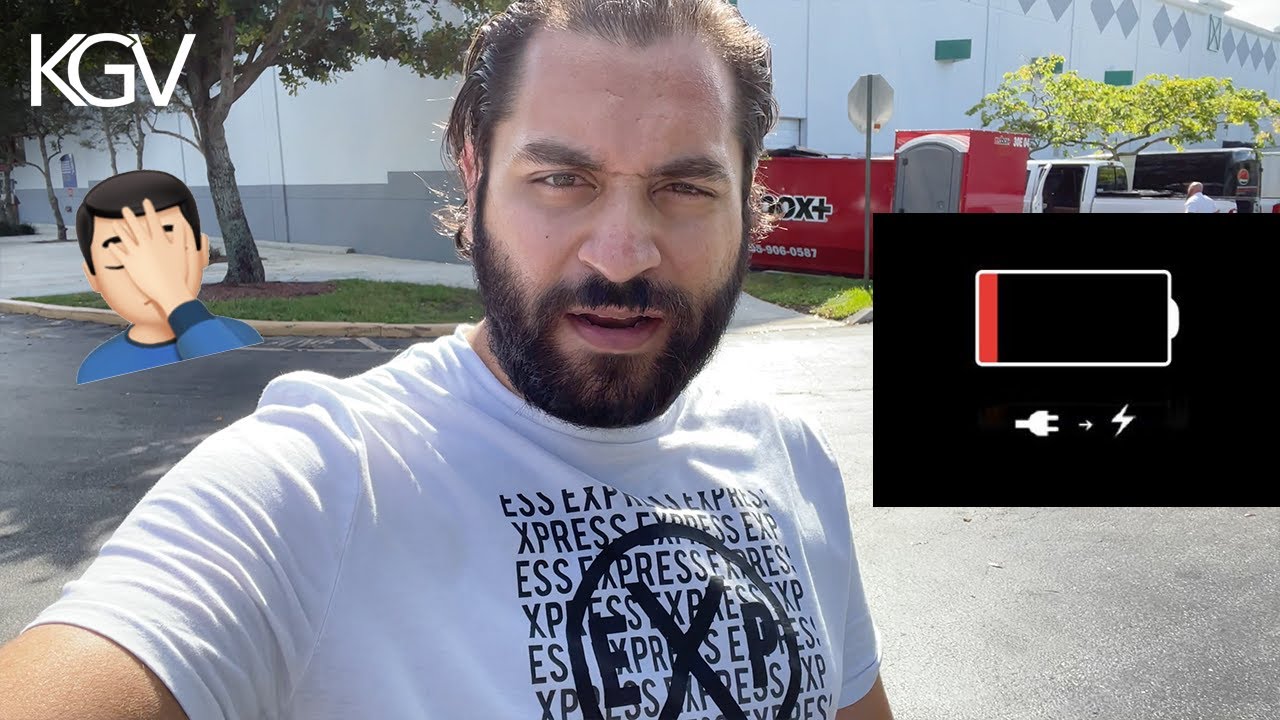
Let me go ahead and plug in the battery, so battery plugged in like this just flip it upside down all right, and then we're going to turn on the units all right. We gave it a little of charge here still at one percent, but I have a feeling with an explanation mark and one percent the customer might have ruined the battery. Probably what it is. Oh, hey it's coming on should have definitely got to more than one percent by now. That's the problem with uh these batteries.
If you watch my other Motorola they're, they're, very tough to remove, so I recommend using some alcohol around there make sure. Obviously it's disconnected and then go ahead and carefully pry it up or just buy a new battery. If you can so what we're doing here, uh you might want to hold it while we're doing. This is just testing the screen and making sure it's working everywhere, and then you can also do the keys here. Just make sure all the keys work.
I would say we got a fully functioning, perfect display, so we're going to go ahead and just unplug it from the power it's still at one percent. So I'm a little concerned here, you might need to input a battery in we're going to give it a few more minutes. It's already been two minutes and still at one percent, it's not looking very healthy. Like I said, if you smell that battery smell, it could be a very good indication if something got punctured and uh. These batteries are just the way it is with these batteries.
It's just super easy to do this with okay, so the next thing after you peel this up here is we're going to go ahead and heat it up and let that warm up. This is already loose, unfortunately, but after you're waiting about five minutes at 120 degrees Celsius. This thing is ready to lift, so you're, going to take your eyes, estimate tool and carefully run it around the side. Okay, now, if you want to do glass repair make sure you have five thousand dollars in equipment and the piece of glass that you buy, that can drop and break in one drop or just buy original parts, which is easier, don't buy glass only okay, so after you dig out the glass you might have to dig out some glass just keep on removing this. I usually like to show this part, but unfortunately the customer already did this for me.
Okay, so now that we got it removed, looks like they also removed that plastic frame. If you did not a problem, we can glue this back on all right. So if you accidentally remove the plaster frame that sucks, but I'm going to show you how to put it back on, try not to do that. So for one you want to remove all the broken glass off this okay, it looks like you ever got everything same with this, make sure. There's no glass shards anywhere.
It's really important. Okay, after you removed everything to your satisfaction, we're going to glue this down just want to make sure I have the right side of things looks like it's yep, so this little flap thing is facing down like I said. Hopefully you didn't remove this already, but if you did well watch this video we'll see how to do it. If not, you can skip this part. Okay, so we're gonna use um some t7000 here I just warmed up the glue a little on my heater.
It's kind of like toothpaste coming out just gonna. Do a super thin coat. Nothing too special watch out for these sensors. We want any glue in our sensors, of course, set this down you'd like to order the screen with this plastic frame, make it fairly easy to remove without dealing with broken glass. Shards off of this, I kind of got to skip that, because the customer, who did this repair already messed with that, but it is important, make sure every glass shard is off this before sealing it.
So this is part two. This is, if you didn't, remove the plastic frame, and you're smart now, you're going to use some t7000 and around the plastic frame here. Try to move quickly, don't let globs get too big or guess what you're going to have a lobby mess, not a problem. You can easily clean it off once again, watch out for these sensors and don't put any in the earwax or ear spot there. I don't know if this had an ear mesh, because I didn't fix this originally, but if it has the ear mesh make sure you transfer it onto the new screen, so that way nothing really gets in there all right now for the installation of the new display make sure you take up all the plastic.
So I got this here just gonna. Remove that for front cameras. You do not want to install this unless it's fully tested like I did guys. These phones are already a pain in the butt to install. Let me go ahead and weave the cable through here.
It looks like it's missing an ear mesh, but I said I can't be sure, because I didn't fix this phone press down, make sure it's all properly aligned. A little extra glue is not going to be a big issue, but too much glue is going to go in that backlight causing black spots on your black light, so be careful not to use too much glue. I like to connect it before pushing it down hold the connection then push like this so now that we got this cable plugged in here now we can plug in our battery. You put some t7000 down here. I think they might need to replace the battery because it gets a little damaged um.
I would just order battery when fixing this phone just in case you damage it yeah me as well, especially if your phone's over two years old, so we stick down the battery, and we're going to go ahead and close this up at this point, once you screw down these screws, you could certainly test it one more time, so now we're ready for the back piece here, um. So with the back piece, you can peel off the big snares, as I call them or flatten them out, or you can pull the whole thing off, which looks like this might be a better solution now. The reason why it's coming off a little easier is because I've had it on the heater for a little just rubbing hard to get the old glue off. You can stick on the old glue if you want, but since this has been open a few times, I'm not going to also, I may just leave it clueless that way the customer can just get in easy and uh replace the battery and find out what he wants to do right now. You want me to glue this down really tightly or do you want to replace the battery yourself, or you want to replace the battery soon, so you think it needs a new battery.
Well, it took a long time to charge so just leave it on glue. Then, okay, you would just put a case on it. Yeah, okay sounds good yep. If you notice a huge problem, then we'll just come, do it, but the glue is just it'll help keep dust and water out. So just don't wait too long use some t-7000 or some tape.
Okay, so t7000 you can purchase through the YouTube channel yeah, please guys purchase through the YouTube channel. You please you help me out so much if you do okay, so what you do is when you're ready to seal this up. If you damage your battery, let's see, and you order one like this guy do you're going to run that adhesive and just get nice and thick all around where the spots were. You get the front a little warm you get the back a little warm, and then you put it under some pressure to help seal it and that's it guys, put a little pressure, maybe like 10 pounds for a couple of hours and that'll definitely help seal it. Obviously this is bowed up a little, but it happens with a little of heat, so you can just bow it a little back, not a problem.
Okay, guys, um! I hope you enjoyed it. It's kind of a rough repair. Unfortunately, it's not like a brand-new repair. I haven't I've, never even fixed this before, but it's its very similar to all my other Motorola. So it's uh, if, if you've experienced with other motorboats, it's going to brew a breeze if you haven't, this is going to be a fairly challenging repair, but it's certainly not the most difficult Motorola phone.
I've ever done. So please uh like and subscribe more detailed videos of me fixing phones coming to you in the near future. Thanks for watching- and you guys have a great you.
Source : Tech MD Youtube
Phones In This Article

Related Articles


Comments are disabled
Latest Articles


