iPhone XR - First 12 Things To Do! By Brandon Butch
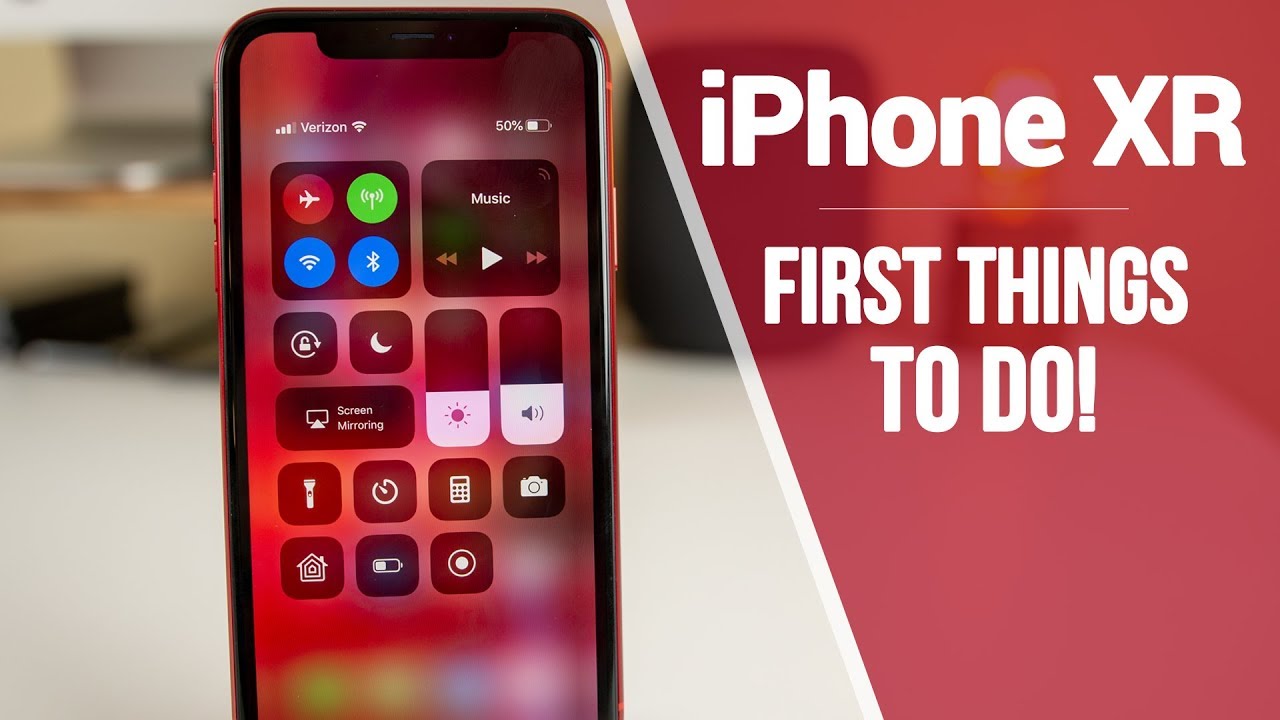
What's up guys, my name is Brandon, and today I'm going to be showing you the first 12 things you should do on your brand. New iPhone 10 are, so you've, probably already unboxed your phone. You probably already went through the initial setup process, and now you're, probably on the home screen and going through the settings, wondering what you should change and what you should do next, and so I wanted to make this video, showing you guys the first things you should do, the first settings. You should change the first things you should install all that good stuff in this video, since you probably are coming from an older device free, iPhone 8, maybe pre iPhone 7 all right. So, let's not waste any time. Let's go and get started with the very first thing you should do and the first thing it's not really something you should do, but something that you should realize and something that you should actually form your own opinion on, and that is to prove to yourself that the screen on the iPhone 10 are is not as bad as people are going to make it out to be, and the way you can do this is by comparing it to another device.
I have my iPhone 10 s max here, which has an OLED display and the difference on the home screen and while watching YouTube videos is not very significant at all, and since you're, probably coming from an older device than the iPhone 10 or 10 s or 10 s max you're, probably not going to notice a big difference at all. If any difference- and maybe even the iPhone 10 R- will have a better display, then the device you're coming from so the first thing I want you guys to do is just realize. This display is not near as bad as people think, and I think you should show that you know to friends and to people on you know, compare the screens and make them realize as well that the screen is not as bad as people make it out to be all right. So now, let's move on to some actual practical tips here with the iPhone.10 are, and the first thing or actually two. The second thing, the first practical tip is to get familiar with the gesture controls on the iPhone 10 R.
So once again, if you had the iPhone 10, R, you're, probably coming from a device older than the iPhone 10, so you're not really going to know anything about how the gesture controls work. You're not gonna, be used to having no home button on your device. So it's actually pretty easy, and you're going to grow to love, not having a home button and just using gestures, because everything is so much quicker and more fluid. So you can see just by swiping up from the bottom. That gets you to the home screen from any application.
So if you go into an application and swipe up that, get you home any application swipe up that gets you home. You can actually go into the last app by sliding there on the bottom bar. You can go in and out of applications very quickly. So this is great for multitasking. If you want to get into your control center, you just swipe down from the top right of the screen and if you want to get to the Center just swipe down from the middle of the screen, not just think about the notch when you swipe down, if you want to take a screenshot without a home button, you just click on the side button and the volume up rocker at the same time, so press these two at the same time, and it will take a screenshot and if you want to invoke Siri, you just long press on the side button as well and actually made a full video on all the gestures for the iPhone 10 R.
So you can check that out. If you want to know all the gestures that we'll have that linked and the cards, and also down in the description below but yeah, you definitely will want to get familiar with these because I remember. When the iPhone 10 first came out, there was kind of a learning curve to learning how to deal. You know without having a home button, how to navigate without having a home button so but after a while I definitely prefer this over having a home button. So definitely get familiar with that.
The next thing you want to do is go ahead and set up face. I'd, if you didn't already do so in the initial setup process. You can do this by going to settings face ID and passcode, and then you put in your passcode. If you have one, if you don't have one definitely set one up there as well, and then you want to make sure that face. I'd is being used for all of these things right here, especially password autofill.
This is going to allow you to fill in your stored pass codes by just scanning your face. It's really, really convenient. I use it all the time in Safari. This is also where you go to setup and ultimate an appearance. So if you want multiple people being able to have access to your device, you can do that right there.
You should also look at the requirement attention for face. I'd setting and attention aware setting right here, definitely read through these and toggle these on or off, if you'd, like I like to have both of these enabled, and I would recommend you do so as well. That way, you have to actually be looking at the phone for it to unlock, because you don't want somebody just putting the phone up to you, and you're, not even looking at it and being able to unlock your phone like when you're asleep or something like that, and then, of course you should look through these settings down here as well. I like keeping pretty much all of these at default, but it's definitely worth looking through if you're into security. The next thing you should do is adjust your display settings.
So if we go into our settings, go to display and brightness, you could turn on true tone. You could turn on or off here, I actually prefer to have it on. You can see it gives it kind of warmer tint to the screen. If you turn it off it's more of a blue tint which I don't really care for I, like the warmer tint I used to like that blue look, but I do like the true tone a little better, especially at night. You have night shift which ago toggle on or off you have auto lock, which I would definitely recommend changing from 30 seconds to something like 3 to 5 minutes or possibly even never.
I have mine on 5 minutes only because sometimes I will forget to like my phone used to be a thing that I would never forget to do, but now sometimes I'll just leave my phone sitting somewhere, and I wish that it locked after you know a few minutes, so I like to have this on either 4 or 5 minutes, but you should definitely change it from 30 seconds because it will get annoying. If you're trying to read something- and you just have it sitting still on like a web page you're, not scrolling or anything and then up there, 30 seconds goes by your screen starts to dim, and then it will lock itself, and that is annoying, so definitely configure. The auto lock in their raise to wig I would disable that just because it does a drain battery, and it does also get annoying because every time you take your phone out, and you know raise, it, doesn't necessarily mean that you want it to wake. So I would disable that unless that's just a feature that you really love, then if we go back to Settings, General accessibility display, accommodations I would turn auto brightness off I mean this is kind of personal preference, but I tend to change my brightness by myself. A lot I tend to you know when I'm going to change.
My brightness and I also have Siri shortcut set up to change my brightness at certain times. So yeah definitely tweak your display settings, because this is going to be what you're dealing with day in and day out. So the next thing you guys should do is watch my battery saving tips, video for iOS, 12, you're going to want to get a good start on your battery life here on your new iPhones head are you're going to want to make sure that you have all the right settings enabled and disabled, so some of the ones I'm talking about first is a vibration out. You definitely want to turn vibration off on ring for sure, and I'd like to have vibration off on silent as well. Vibration definitely takes up a lot of battery life.
It uses the motor inside the iPhone to vibrate, and you should definitely have that disabled on ring and I like to do it on silent as well. I also like to turn my keyboard clicks off and my lock sound off just because these are kind of pointless things. System. Haptics is another thing that could actually eat away a battery, but I tend to like this feature a lot, so I. Keep that enabled low-power mode is definitely something you should consider as well.
If you go into battery, you have a toggle for that in their go and continue on there, and you can see it changes the battery to low-power mode I will temporarily reduce background activity like downloads and mail fetch until you can fully charge your iPhone so definitely take advantage of low-power mode whenever you need to I'm going to go ahead and disable that for now- and there are just a lot of other tips, you can find in that video so watch if it's in the description and also in the cards right now. The next thing you guys should do is customize the control center. So if we swipe down to get to the control center, you can see there are five icons here by default, but you can actually change these. So if we go into control center, customize controls you can see, you can actually add and move around the controls in there. So some of the ones I suggest adding our low-power mode screen recording, and you can also look into the hearing and the magnifier ones right there.
If you are hard of hearing or if you have a hard time reading things, you can add those in there, and you can see if you swipe down you see they all pop up right there, which is awesome and once again you can move them around I, just simply tapping on this, and you know or holding on this and moving them around right here. This is a quick and easy way to screen your court as well. I love just being able to go into my control center and record my screen. It can also record audio as well. That's another little tip there, so definitely customize your controls here and the control centers that you will be opening that up at least a couple of times a day.
The next thing you guys should do is go into settings camera formats and consider using high efficiency as your format as opposed to most compatible, so most compatible may be selected by default, but you will want to switch to high efficiency if you are going to be taking a lot of photos and videos, and you want to save space- and you can see right here. It says to reduce file, size capture, photos and videos in the high efficiency, CTIF, HEV c format. Most compatible will always use JPG, but 4k @ 60 and 1080p F 240 require high efficiency, so yeah, if you are into shooting 4k at 60, you'll, definitely want to use high efficiency, but yeah just consider that just a thing to look at, and you also want to make sure that smart HDR is enabled down here. You want to make sure all these settings that I have right here are set on your phone. Obviously you can record video, you can change this to 4k I would recommend shooting in 4k just because it's 2018, so you could shoot a day that either 24 30 or 60 I love, shooting 4k at 60, so I'll switch it over to that, and you should also go into the camera just test out.
The camera here on the 10r is a great camera, takes great photos, videos, and it also does portrait mode photos and selfies as well, which is awesome now it does have one of these same cameras in the iPhone 10s and 10s max. Of course, it does only have a single 12 megapixel camera, but it can still shoot portrait photos which is awesome and if you take a portrait photo, you can also change the f-stop starting in iOS 12.1. There will be in F up here in the top right, and you can actually change the focal length the f-stop up there, so you can adjust the blur before you can also do it after the photo by going into the photo and click edit, and you'll see the little bar down there on the bottom. We can adjust the blur and the background, so yeah definitely really cool. Definitely check out the camera there on the 10r.
The next thing you guys should do is create your me mocha. So if you go into a message- and you go to the App Store right here- click on this little monkey right there for an emoji, and you'll see it shows you a little splash screen about and emoji go and click on continue if you click the little plus right here. This is where you can create your own style of meme OG. So it's basically like Bitmoji, but you don't really have as many choices. You can't really customize it as much as you can a Bitmoji, but it's really cool to be able to do this, and you can see it's picking up my mouth right there if I wink, if I blink, if I smile, it'll detect me doing all that which is awesome.
So you can go through here and change the skin. You could change the hairstyle I'm, just gonna, select that one eyebrow, our nose and lips our ears, our facial hair, eyewear, our head, we're so a lot of cool stuff and then once you get done just click on done, and you can see you can record your own emoji right here. You could send it in a message. Furthermore, you can use it as a sticker and then, of course you could do all the animals as well. They will pick up your mouth and everything like that.
So really cool kind of a gimmicky feature, but it is fun to play around with, especially if you have somebody else who has a emoji, or you can just talk to people through an emoji just another reason that I message is just so superior to every other messaging platform. So the next thing you should do is install applications and customize your home screen. So you have the app store right here. This is where you go to download all your applications. I would definitely go ahead and go into there look at the top charts search for whatever applications you want.
You can see. I have all my social media ones down here. I have some games so definitely go ahead and install the applications that you want and go ahead and customize your home screen. So you could actually tap and hold right here to move icons. You can move multiples by pulling this down and then selecting others just like, so you can move it to other pages.
You can move it into folders and things like that, if you wanted to create a folder, just simply drag one icon. Over top of the other, and it will create a folder just like so, yeah I definitely customize your home screen, because once again, this is what you're going to be looking at every day. So you want to make sure to have that customized to your liking. The next thing you want to do is get familiar with these screen time and battery charts inside of settings. So if you go to settings and go to battery, you will see that we have a chart here of our battery level, and it will actually show where all of our battery is being used.
So you can see, photos was using the most for me only because I've only had my phone on for a short amount of time, but you can see it will break down and show you where you're spending the most time in your phone and what applications are actually taking up the most battery life over the last 24 hours last 10 days, then you could also see your battery health in here as well. If we go out of here and go into screen time, you can see it gives you a rundown of screen time right here. This will also show you, where you're spending time on your phone. You can also set downtime app limits. You can set restrictions in here, content and privacy restrictions, and things like that.
So yeah definitely explore screen time right here. There's a lot going on in here that I, don't think you will find very useful. The next thing you guys want to do is consider purchasing iCloud storage, it's extremely cheap, and you probably want to be able to store all your photos in there just so they don't take up space on your device. So if you go into settings, click on this right here where it shows your name up top go to iCloud manage storage. You can see I have the 200 gigabyte plan right there, but if you go into manage storage, this is where you can actually buy a plan.
So you can see I could change storage plan by clicking on that, and I pay 3 dollars a month to have 200 gigabytes of storage in iCloud, and this actually syncs all the way across all my phones, my Mac, all that good stuff. So it's extremely it's an perfect value. Well worth the money and I would definitely consider it, especially if you take a lot of pictures, but I mainly use it. Just for my photos, as you can see right there mainly for photos and backups right, there I definitely need it for backups as well, since I do have multiple devices, so yeah I would definitely consider purchasing some extra iCloud storage because it's well worth the price. And of course the final thing you guys should do on your iPhone.10 are, let's consider purchasing a case and a screen protector. So I have some pretty cool cases here from Griffin.
They sent these over to test out. The new survivor series of case so definitely check these out for the iPhone 10 R I threw one on my iPhone 10 R, and it fits great. It looks awesome as well. We also have screen protectors right here. Some tempered glass, so I would definitely consider getting a screen protector and a case to protect your iPhone.
I know: you're going to love that back. You know the color of your iPhone 10 R, but you need to protect it. So I will have the links to these cases down in the description below I'll also have some links to cases that I recommended that I've had in the past for other phones and screen protectors as well, some ones that are worth the money, some ones that aren't really expensive so definitely check the description for some cases and some screen protectors. So yeah. Those are the first 12 things.
I would do on your brand new iPhone 10. Our I hope you guys enjoy this video I hope you got something out of it. I hope, you're enjoying your brand new iPhone 10 are especially after watching this video. If you are make sure to hit that thumbs up button- and let me know any comment down below with what I phone sent are you got and what tips you implemented from. My video also make sure to subscribe.
For a lot more iPhone 10, our coverage ought to be doing comparisons, reviews all that good stuff. So yeah, thanks again for watching guys, and I'll see you soon.
Source : Brandon Butch
Phones In This Article
Related Articles


Comments are disabled
Latest Articles


