IPhone XR - Best Settings for Photos and Videos - Camera App Explained By Touch Technology Review
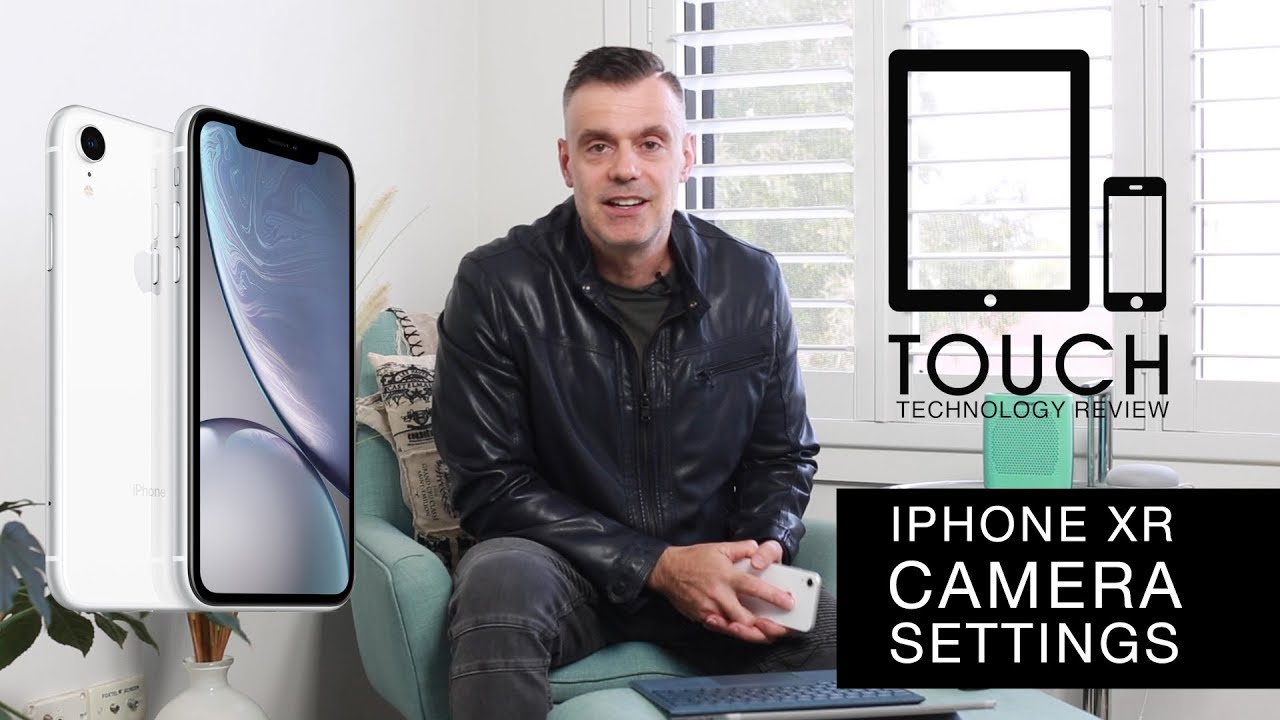
I'm going to show you how to set up your iPhone tenor in order to capture the best possible quality photos and video that this device is capable of. As you already know, the iPhone 10 R has a great camera, able to take 12 megapixel photos and also shoot in 4k video in multiple different resolutions and formats. So I'm going to show you how to configure all those settings using the settings control panel, and also we're going to go into the actual camera app and walk through all the options available to you as you're, taking the actual photo or recording your videos. So to start with, let's go ahead and go into our settings. So to do so, we tap on the Settings, icon and scroll down until you reach the camera icon in the settings. Control panel tap on that, and you'll see a number of different options.
Now some of these settings may be toggled to the on position and others will be off, and I'll walk through and explain what each of these mean as we go along now. The first one is preserve settings. This is for convenience, where the camera app will preserve your most frequently used settings. So, for example, if you tend to use one type of camera mode all the time we might be video or square mode or regular photo mode. Each time you open the camera app, this setting will be preserved.
So if you're always taking video, and you've got the camera mode preserve setting on, then the video option will be the first thing that appears when you open your camera app. The next is creative controls, and this will preserve the last use, filter, light or depth setting rather than automatically reset at each time. You open the camera app, and can also preserve live photo setting rather than automatically reset to live photo as turned on so preserve settings is really just a matter of convenience. The next one is the grid option which will display a grid in your camera. Viewfinder is really useful in terms of lining up a composition when you're taking photos, so that's highly recommended having that.
Setting turn to on another feature which came out recently on the iPhone is the ability to recognize QR codes, and you can have this set to on or off depending on whether you want to use it or not. I'll definitely leave it turn to on now. Each time you come across a QR code, which is a strange little symbol that you've probably seen on packaging websites posters, perhaps in a supermarket, and if you point your camera towards one of these QR codes, it will take you to a web link automatically. So that's a really convenient feature to have turned on now. The next setting has to do with the quality of the video, and you can set your default video recording quality.
You can have 720p at 30 frames per second Eddie PhD at 30 frames per second 1080p at 60 frames per second 4k 24 frames per second, which has a cinematic look: 4k 30 frames per second for higher quality and 4k 60 frames per second for slow-motion. So the number of different video quality settings available to you, which you can set as default, and you can always come back in and change it depending on your circumstances, but I tend to select either 1080p at 30 frames per second or 4k at 30 frames per second, as my default, video recording quality, the choice is up to you, depending on which one you select will determine on how much storage space is used when you're shooting your videos. So if you have a 64 gigabyte model of the iPhone, you might want to be more conservative if you're taking a long-form, video and scale it down to 1080p. If you have a high-capacity iPhone, you might want to consider shooting it at 4k. The next setting pertains to the recording quality when you're in slow motion mode.
You can select one of three options here: 1080p at 120 frames per second 720p, which is half HD at 240 frames per second, or you can go into high efficiency, 240 frames per second at Full, HD 1080p, which is probably the preferred choice for slow motion. It's going to give you the best quality, video and the most noticeable slow motion effect, but keep in mind that will consume a lot more storage. It needs 480 megabytes per one minute of video footage, whereas the other options will only use 300 or 350 megabytes. So if you are tight for space, you might want to be conservative on your sitting there. If you've got plenty of storage available, certainly go for the 1080p HD at 240 frames per second.
The next option represents one of the significant improvements of the iPhone 10, and that is, and also the 10s, and that is the ability to record in stereo sound. So I would typically turn that 2 on for the best possible audio quality and the next one is the format you can either select to record the most compatible video footage, which means you can share it with other people on different devices, or you can choose high efficiency, which will conserve your storage capacity, produce a better quality, but you might have some issues if you need to share it around, and you don't have the appropriate software to convert the video. So for most people, you'd probably leave it in the most compatible setting mode and finally, we're going to take a look at smart HDR, which stands for high dynamic range. This term is often confused with high definition, which is not what it stands for. High dynamic range means that it actually allows the camera to take multiple exposures of both the shadows and highlights, and in fact beyond that, exposures in between the two puts all the exposures together into one image and produces the most even balanced image possible and the HDR mode works for both photos and video and really helps get great shots when you're shooting against the Sun in the outdoors or when you're shooting against windows indoors, etc.
So it's highly recommended that you leave smart HDR turned to the on position and for some of you, you might want to also select the next option to be turned on, which is to keep the normal photos. So that means it as well as taking a photo using the smart, HDR, AI algorithms. You will also keep a regular photo in your camera library for you to access. Should you wish to see the photo without HDR applied to it, so that pretty much covers all the behind the scenes settings that you need to configure for optimal performance of the camera? Now we're going to take a look at how to actually use the camera app for those of you that have had an iPhone in the past, it's not going to be much different from what you've used before, but if you're new to the iPhone- and you want to see how to use the camera, stick around I'm going to show you each of the different settings available to you as you're, using the camera. First, to access your camera, you can look out for the camera icon on your home screen and tap on it.
You get straight into the camera, but if you want a more direct easier way to access your camera, when your iPhone is turned off simply tap on the button to the right of your iPhone to activate the lock screen and then on the bottom right-hand corner you'll see the icon of the camera appear to the left of. It is a flashlight to activate a torch, so the one we want is the camera icon and to get this to work, you need to tap and hold it for at least one second, and this will open your camera app once you let go so tap and hold and then let go and that will activate the camera app by default. The camera app will be on photo mode at the top of the screen. There's a number of different icons to the left. You'll see the flash setting which is usually set to auto.
You can have this too on, so that will always fire, even if it's not needed, or you can turn it off, so that it never fires, but usually I would recommend just leaving that on auto. The next option is for live photo and again, that's usually turned on, and live photo will take a number of different shots of your image so that you get some motion in your photo when, when you play it back later in the camera library, if you don't want to have live, photo simply turn that to off next is the timer, and you can set it to three-second timers or a ten-second timer. And finally, you have the custom filters which allows you to select different types of color effects on your photos, which you can take as you're taking the photo, or you can do this later when you're editing the photo I normally leave the original mode on as I like to see the photo. The way actually is in real life, and then I'll go into my editing of the photo later to adjust the filters. But the choice is up to you now.
Just under the viewfinder is a submenu option which allows us to swipe and select the different modes of the camera. So, if I swipe across to the right you'll notice, the menu moves left, and we go from photo mode into our video mode and on the top right hand, corner you'll, see a display of the VO format that you had selected in the settings area. I left it on for K 30 frames per second, so that will indicate that I'm shooting in that type of quality. Now, by the way, if I switch over to selfie mode or front-facing, camera you'll notice that 4k setting will go away as 4k is only available using the back camera on the iPhone. So the quality of the front-facing video will reduce down to 1080p if I swipe across one more time we go into slow motion mode, and again it will use the slow-motion settings that we had set in the camera settings option earlier and if I swipe across one more time, we go into time-lapse mode, which enables us to create a time-lapse movie now I'll swipe across the other way.
This time and I'll take it back to the center, which is the photo mode, which is where we normally default from and this time I want to swipe left and that will move across to the portrait mode and that allows us to take portraits using either natural life, studio, life or contour lighting, which are all software simulations of lighting effects and, most importantly, we're able to select our aperture on the top right hand. Corner of the screen and the aperture will determine how much background blur is visible in the image and keep in mind that the aperture is not physical aperture, as you would find on a DSLR camera or any piece of hardware that has aperture control. Instead, it uses software algorithms to simulate the effect of a camera aperture. So, for example, if you select one point four, which is the widest open aperture on a camera lens you're going to get the most amount of blur in the background, and if you slide across to f-16 it's going to represent the smallest aperture, which will provide the least amount of background blur in the image, meaning that both your subject and the background will be completely in focus now by the way you can actually edit this effect after the fact. So you can take the photo on any aperture going to edit mode, and then you can change your aperture anywhere from 1.4 through to f-16 after you've already taken, the photo will slide left again, and this is an option to shoot a square photo which is ideal for Instagram will slide across one more time until we get to piano mode. Piano stands for panorama, so in the panoramic mode we hold the phone vertically.
We position it to the left-hand side of our panorama. We tap the shutter button once, and we move the phone to the right. Then, once we've reached the endpoint of our panorama, we tap the shutter button again and a full recording from left to right of the scene is taken and stitched together as a single photo. So panoramas can be really useful for both interior and exterior photos for interiors. We want to get as much of the interior in the scene in one single shot and for exteriors to create those beautiful panoramic images.
Now, hopefully, you found this information informative if you've got any further questions about what you've seen today feel free to put your questions in the comments box below if you've got any comments or suggestions for future videos on the iPhone, 10, R or any other topic to do with digital creativity feel free to put those suggestions in the comments box below thanks for watching. If you haven't done so already, I'll encourage you to subscribe to the channel so that you'll be notified of up and coming video releases. Thanks for watching, see you on the next one bye for now.
Source : Touch Technology Review
Phones In This Article
Related Articles


Comments are disabled
Latest Articles


