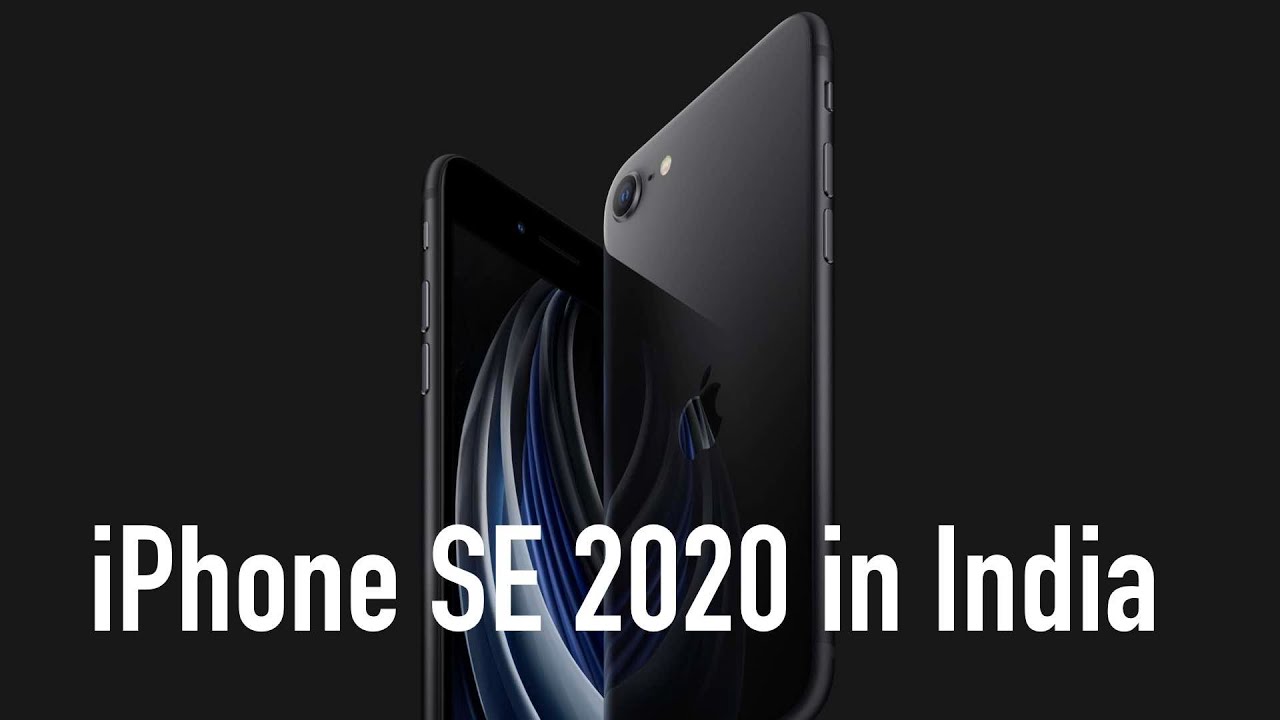
iPhone SE (2020) Hidden Features! By HotshotTek
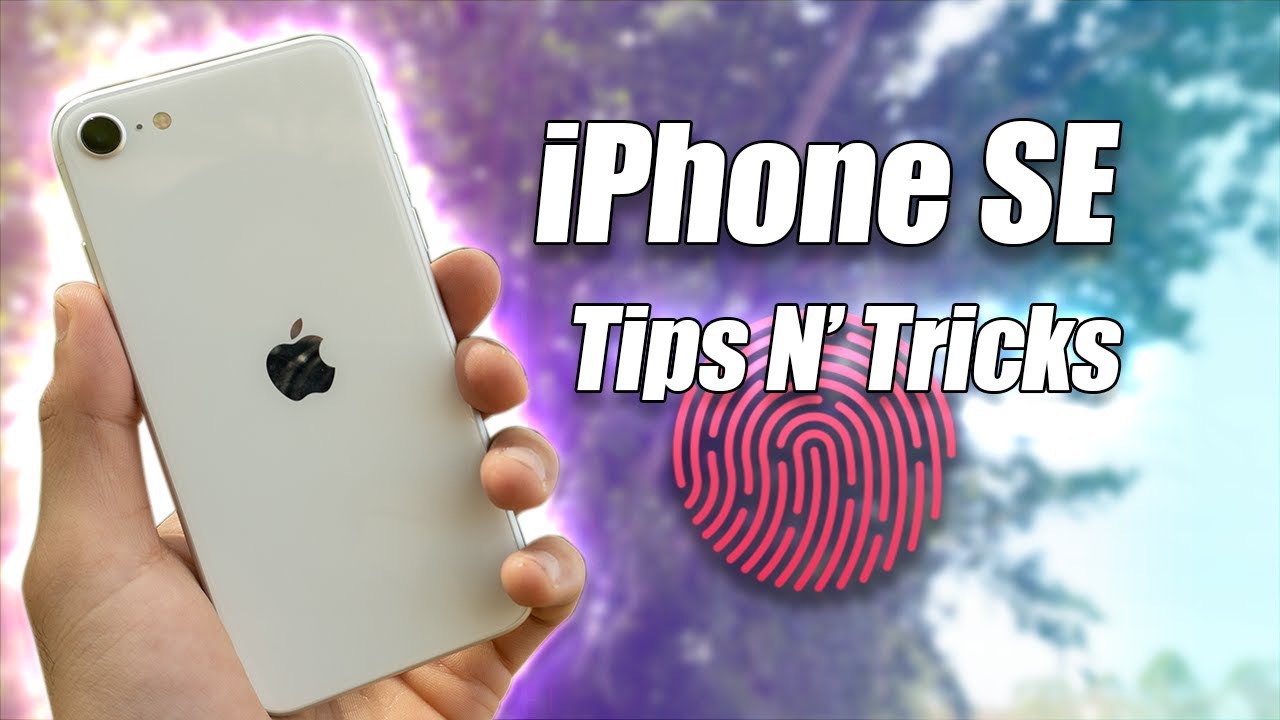
So this is the brand-new iPhone SE the color I personally went was this year. Is white I decided to go with a light color option, because this is the first time in a while that Apple actually gave the front display a black bezel. Previously, whenever you buy a lighter color, iPhone you're left with the white border, but when the screen is turned off it, just it didn't blend in well- and this was something I wasn't personally a huge fan of, but now since we're ditching face ID, and we're going back to touch ID right now, it's actually a perfect time, because most folks are covering up their face. This is a faster and more secure way, I think to get into your iPhone, but because of this new sensor on the latest version of iOS 13, there's a couple settings I recommend everybody to adjust, or at least be aware of so you guys will use your new iPhone SE. That is full potential, so I'm going to go ahead and break down the list and share it all with you guys in today's video. Let's get started sorry for number.
One first thing: first, what I recommend everybody to do is unlike the home button, lets I phone zone with the face ID, we have no notch, which means you keep it more information here, like the better life percentage. Instead of saying this battery icon. That just allows you to get an estimate to enable this just hop in here settings and go all the way down to the battery tab and right here you can actually enable show better light percentage, and now you see you have the exact percentage number right there to prepare you throughout the day. Now, I, don't know if you cut that, but apparently there's a sensor here, similar to what face ID iPhones, are equipped with I'm unsure what it does. So, if you know comment down below now, when you're finishing setting up your device, one in the step that actually walks you through is the fingerprint registration.
Now it actually leaves out crucial information when you're doing this process, because you could actually register up to five-finger prints. So if you have a partner, a spouse, somebody, you personally trust- and you also want to have them- have access to your smartphone. You can also allow them to register their fingerprint this way too now to register more fingerprints. You just gotta, go in the settings and just go in right here where you see touch ID and password into your passcode and right down here you can add additional fingerprints, as I mentioned, you can have two-five, so I really do recommend, take advantage of this and just register additional fingers by just following that exact same set up process that you saw earlier, so yeah definitely do and check our Vantage of these up the total of five you may register and if you want to delete them, of course, you can just click on it and delete fingerprint for number. Three is perfect for those that use Apple Pay or Apple wallets.
When you set up the card and everything your default car, it's going to be the first one you entered, but you may not like that default card. If you want to rearrange it, the fastest quickest, most efficient way is just simply launching the Apple Wallet app and simply just tap on hold on whatever credit card you want it to be on top, so bring it down, drop it, and now you see here that is now our new default card. Now, when you launch the wallet app, that's going to be now the devote card, so you could quickly pay that transaction without having to close that one and go for the other. Now, if you haven't done this part already, but you could customize your control center in case you're unaware how to do that, it's really simple! You just got to go into your settings. Go all the way down right here in control center quickly, just click on it go into it tap, customize and NAFTA.
Once you want to be a part of that page now, once I recommend is screen, recording you don't have to do the QR code, because you could just launch the ordinary camera app to a scanning QR hearing aid is also useful, flashlight, obviously, and the ability to have dark mode. It's also really handy and once you're done just tap back and just exit out for this. Now, when you swipe up from the top here are those additional controls. So the screen record, obviously UTEP report. A three-second countdown will happen, and it's going to begin recording everything that this green sees.
So it's gonna, CAP sure your entire screen and when you're done recording you just tap the red hit, stop, and now it's saved to your camera. Roll a nifty trick. That not allow folks know is that if we go back- and we just hold for a few seconds for a fourth press, you could include or not include the microphone so as you're talking, you could allow it. So it captured your voice as it's all recording and, of course, if you want to quickly jump in towards an app, you could just tap right here and immediately start recording it. Then hearing aid was hearing aid.
If you have air pods or other Bluetooth headphones connected to it. When hearing aid is enabled, it will utilize the microphone that your phone has and will send the audio from your phone to the connected. Bluetooth headset, so whatever the phone here is you're going to hear, and I'm flashlight. Of course, it's just a flashlight. If you force press you get these different levels to choose from play with, so you can find tweak it.
If you need to and then the dark mode simply tapping it will turn off your dark mode tapping. It will turn it on. So let me give you a better example: till dark mode off everything is white, OS, iOS, classic, look and dark mode. Everything is like dark Vapor like now in case you change your mind when you were going through the setup process for the home button and the sensitivity on the vibration strength, the help Nick engine. You have three levels to choose from originally and if you're like me, you decided it.
Maybe it was too rough, go read justice! All you, gotta do is simply just go into your settings. Go into general and right away right here. You see home button go in here, and now you could not only play the three different levels, so you can feel it make sure you get the right one that you like, but this is where you could change that select the one you change your mind to, and now you're all set now. Another interesting thing, that's also cool to know, is you know about dark mode and light mode, let's say, for example, you wanted to automatically shift throughout the day either a custom schedule or you want it to go by the sunset. Its sunrise.
It's really easy. If you want to go ahead and change that you just got to go into your settings, go into this bland, brightness and right here, right away, there's an automatic tab simply enable that, and now, depending on the option, you select right here we go in here. We have it set to sunset to sunrise, or you create a custom schedule before you got actually control. When you want the light appearance to end and when you want the dark appearance to start, you can change it like so and while we're here, we might as well talk about true tone now, if you're, not a fan of true tone with true tone. Basically, it does is when this is enabled it allows your screen to adapt to the ambient lighting around you when this is enabled it gives your device like a weird orange tint like a filter, some people like it, some people, don't like it.
If you don't like it, you just disable this, and now your display is not gonna, be self-adjust 'add, but I like to leave it on and never really once bug me unless I was doing like photo editing or something that nature. So, if there's something you want to change or know about, this is where you go to adjust that, but down here. I also want to mention this. This is where you find your auto lock. So right now, I have it set to two minutes.
So if I just leave my phone on idle for two minutes, it's automatically gonna lock, it's green. If you feel like that's too much, you could adjust it for a shorter timer or never. That means you actually have to power off your device manually. So if you're reading a good text book or something you just have your phone on the surface, but you don't like always having to tap the screen to make sure it stays awake. That's where you go ahead and just that I find two minutes to be the perfect amount for me raised.
Awake might be something maybe also interested to you. Just raise awake is basically this. Let me go ahead and lock my device. Don't pretend like it's on the flat surface, and I'm going to raise it up. It's automatically going to wake up the screen.
If you don't like that, you can just go ahead and disable this and now, when it's turned off, and you raise it up, it's going to remain lock until you hit either the power button or you tap, and it will lock your device. Of course, all this is just your personal preferences and then down here in case you messed up on a tutorial where I was telling you about the zoom function. You guys I'll go back and set this to your liking. If you want your notifications to appear slightly larger than the default now, you may be wondering how or why I have OHS and Ice whenever I switch a switch. This is more for aesthetics, looks, but I'm going to go ahead and show you guys how to do that so back on our settings homepage right here on the main menu.
If you go down to accessibility and right here in the display and text size go ahead and go in here and right here where it says on /off labels, that's how you enable that, and now, when we refresh and go back in that page, all the other ones are back to normal. So if we enable this now we have OHS and ice. This is just a way to personalize your device. Now another cool feature that I missed up most about this home button. Lets I phone is readability just by simply tapping the home button twice.
It's just automatically going to bring down the top part of the screen to the bottom, so you can easily reach everything like so, instead of having to actually extend your thumb all the way on top of the screen in case you don't know how to enable reach ability, it's really easy back in the settings you just gotta go to accessibility down here. Just go into touch and right here is where you see the reach ability tab, you could just disable or enable that I like to personally always have an enabled because it doesn't get in the way. It's just like one of those extra features that you have in case. You need it now. I know some folks are upgrading from the iPhone 6 or 6s or odor.
If that's you even on iOS 13, this feature isn't here, but it's found on the iPhone SE, and that is a couple. The first one I want to quickly show you there's no need to go into your settings to change your camera resolution. Now, if you just simply launch the camera app and if you go into your video, you could adjust the resolution right here, just by simply tapping on it, so we could switch from 1080p to 4k, and we could change the FPS rate right. There same can also be done on slow-motion, as you can change the FPS rate, just by simply tapping on the number now another new thing. This is new for a home button, iPhones on iPhones equipped with face ID.
This shortcut is disabled, but you can find it right here where you actually hold the shutter button to shoot a video so by simply holding it, we are now recording, as you can see, and if we go to the lock icon, it will actually lock it, and now you're, actually filming a 4k video, and you also have the ability up here to take an actual photo while you're, actually recording so just in case you're. Not aware of that, but a feature I do want to talk about is inside the settings and that is to change the picture format to a more efficient one. By default, your phone is automatically gonna. Take whatever photo you chopped, it's going to convert it into a JPEG. If you want to save some memory to more efficient export, you just got to go into your settings.
Go down to your camera right here, just click on camera and go into the format tab by default, it's going to be on most compatible change it to a high efficiency. This way it doesn't take up that much storage. But if you're exporting your photos to you like a Windows PC, then maybe you might be better off just leaving it to the most compatible. But if you're transferring your photos to other Apple devices that support this, then you're perfectly fine was high efficiency. Now, after you set up a new phone, you might be left with a lot of junk apps, like I'll scatter around your home page like this.
If you want to quickly move them all to one page, it's really easy! All you got to do is just go in force press hit either the home button tap up the app you want to move, just keep tapping them. You're going to end up stacking them up. You can start from the very top. Furthermore, you can just continue tapping, and once you think you have a bunch of apps, a group of apps that you want to move bill to the home page. Furthermore, you want to select or drop them all app and just release, and there you go, and now they automatically got organized from these two pages, and now they're organized over here.
So they don't leave any gaps or anything like that. Now, if you actually use Apple Music for your personal Tunes might have purchase on iTunes a long time ago, or you actually still use it. I don't know about you, but whenever I launch it I'm sick of tired of seeing the Apple Music ads like to subscribe and such all I'd care for is just the music library that I actually have stored in my device. If you want to remove the Apple Music ad, it's really simple. All you need to do is just go into your settings.
Go all the way down until you find the music section right here, click on that and just go ahead and disable this where it says, show Apple Music. Now, whenever you launch Apple Music, it's gone now, you just have your music library, your radio and search no more subscription telling you to sing up for Apple Music, and there you have it. Those are 10 useful settings to change, to allow your iPhone and have more features, so you can really take advantage of your new iPhone make sure to stay tuned by hitting that subscribe button, because I'm going to go to a bunch of awesome accessories for it next. So, in the meantime, you who want to complete your device, an accessory I, definitely recommend is the Apple Watch which you could find out more about it in this video review and then that video over there does the video YouTube things that you will like feel free to watch either or again. Thank you.
So much for watching take care, and I'll catch you in the next one see ya.
Source : HotshotTek
Phones In This Article
Related Articles


Comments are disabled
Latest Articles


