iPhone 8 Battery Replacement By Save Apple Dollars
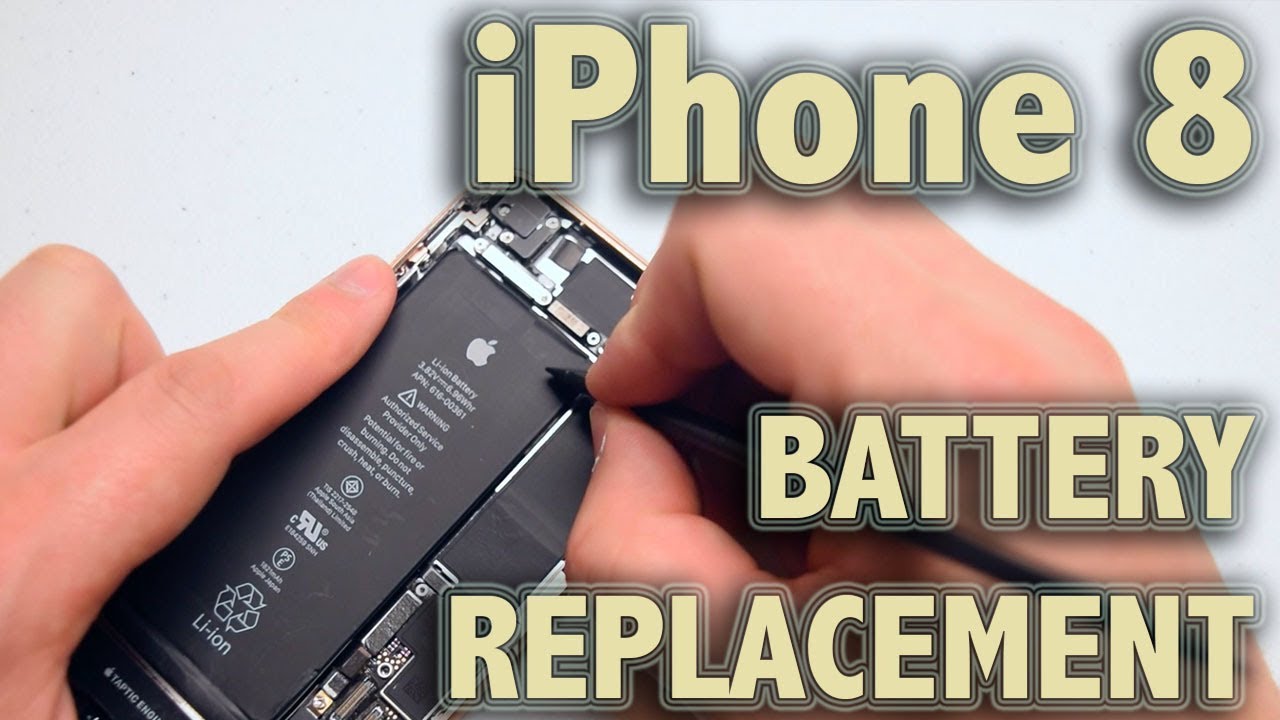
iPhone 8 battery replacement, guide warning lithium batteries are highly explosive. Please replace at your own risk for this replacement, we're going to need a white tip, double zero or triple zero screwdriver, a basic Phillips head: double zero or triple zero screwdriver, a pantalone proprietary screwdriver, a set of tweezers, a plastic prying tool for prying connections apart a suction cup for prying the screen apart, as well as a triangular plastic tool and also a metallic tool to pry the screen. Apart, go ahead and power down the phone. If you haven't powered it down yet make sure it's completely off now near the charging port, locate the two pantalone screws and use the pantalone screws screwdriver to remove the 2 screws. If the screen is badly damaged, use a piece of packing tape to create a nice and smooth surface for the suction cup to get suction. Without the smooth surface, the suction cup won't be able to get grip, and it won't work as intended place.
The suction cup, as close as you can to the home button, now go ahead and pick up the phone and pinch it from both sides with your fingers and tug on the suction cup. As you see here now take the metallic prying tool or any sharp tool. You could use a utility knife if you had to and just sneak it in right below the home button, make sure to go, really gently and slightly in and then tilt it left to right to get the separation going. The screen is glued in around the edge with waterproof tape, use the plastic pig to separate the screen. Once you got the crack going because you don't want to scratch up the phone frame with the metallic tool now run down the pic on both sides, something to note make sure not to go too deeply and because, on the right side of the phone, there are two cable connections that are extremely fragile.
If you go too deep, and you can damage them once both sides are separated, go ahead and tilt the screen left to right to loosen up the top just a little. Ah, now what you want to do is you want to take the plastic pick and try to separate the top portion? If that doesn't work out, go ahead, use the sharper one be careful, you can scratch up the frame here so go really slow use the sharp metallic tool to make the separation of top and separating the tape now go ahead and just crack it open, and it should fold out just like a book. There are two connections on the right side. You want to fold it out gently, you don't want to damage those connections. Okay, now we need to separate the phone from the screen.
We'll start with the top camera connection, cable go ahead and remove the shield. That's secured. With three Phillips head screws, remove the three Phillips head screws as shown, then you can gently, lift and move the shield out of the way that will expose the camera connection with a plastic prying. So we'll go ahead and just pop it up from underneath, and it should come right out now go ahead and shift down to the second connection. That's guarded by a shield.
That's secured with four Phillips head screws go ahead and remove those four Phillips head screws make sure to keep the screwed position when you lay them out, because they're different sizes now go ahead and remove the shield with a plastic prying tool, we'll go ahead and undo the LCD connection or the screen connection and now go ahead and undo the digitizer ribbon cable. The screen is now separated. Now, let's go ahead and disconnect the battery it's secured right. There go ahead and pry up on it with your plastic prying tool, and that should be disconnected now. The battery is secured with four pull tabs.
Now these tabs on the iPhone eight are a bit more durable and are pretty difficult to mess up if you go slow. So if you go ahead and just start prying away some Play at some the taper right here on the corner and just pull up on this little tab, this strap should start coming out just like a little at a time not too fast out away from the battery. These tabs are harder to rip previous tabs were very easy to rip, and they were very long. These tabs are pretty short since they're. Both sides they're very strong, go ahead and undo the next time.
Take your time just give it sometimes back they're kind of difficult to get, but with patience and time you should be able to get it out. No problem. Okay, that's two: go ahead, flip around the phone and just go ahead and try out the third one: what go ahead and speed it up here, a little! That's the third one coming out! Okay, now on the fourth and the last time, sometimes it can rip like you see here, but that's not a big deal, go ahead and get your tweezers and get out the residual piece of the tab, and that should be enough to get it going again, unlike previous tabs, that would rip and get underneath the battery this one if it rips it just kind of lingers there. So you can pull on it again, which is a very good that they did that here it is it's out! Here's what the battery looks like when it's out reassembly, even though these pull tabs are better I, would still like to use double-sided tape, go ahead and get some short pieces of em. Three double-sided tape make sure not to put them over the wireless charging pad the black circle that you see, don't get anything on that.
Just put it over to the side. Two strips on each side will do once you get those plays, go ahead and use tweezers to pry away the dough decided to take cover with the covers removed and the double-sided tape ready. We can go ahead and place the battery right into its slot, go ahead and line it properly with the connector and then go ahead and push in to connect. The connector ribbon, cable, make sure it's nice and solid. Now, let's reattach the screen to the phone go ahead and align it side-by-side first secure the top the camera portion by aligning it up.
Just like you see here and then clicking it in make sure you get a nice and firm connection. You don't want this ribbon cable connected crooked. You want it! Nice and firm. Now go ahead and place the shield over this connection and then secure it with the three Phillips head screws. Now, moving on to the bottom, go ahead and reconnect the digitizer first just align the ribbon cable with the socket and then gently push it in make sure that you got a nice good click and feels from and seated right in there once that's nice and from go ahead and reconnect the screen itself align that with the socket and press that in now go ahead and place the cover over both cables and secure it.
With the four Phillips head screws, the longest one goes right there on the right. The next longest goes next right there and then the two shorter ones go on the top and bottom and then sit it's time to clamp up the phone clamping. It up is very easy, just close it up like a book and then apply pressure on both sides simultaneously and just keep going around and pushing it in ever slightly, and it should start clicking right in then go around the contour clicking in and mashing in the rest of the gap. So just go around a couple of times make sure it's nice and firm, and now it's time to place back the two pantalone screws near the charging port go ahead and load the screws in to their sockets. Then, with the squeeze load it go ahead and secure them with the pantalone screwdriver, and that's it now.
We can go ahead and power on and test the phone. All right that comes on great. If this guide helped you please hit like and subscribe, and check out more awesome videos at Apple dollars, com.
Source : Save Apple Dollars
Phones In This Article

Related Articles


Comments are disabled
Latest Articles


