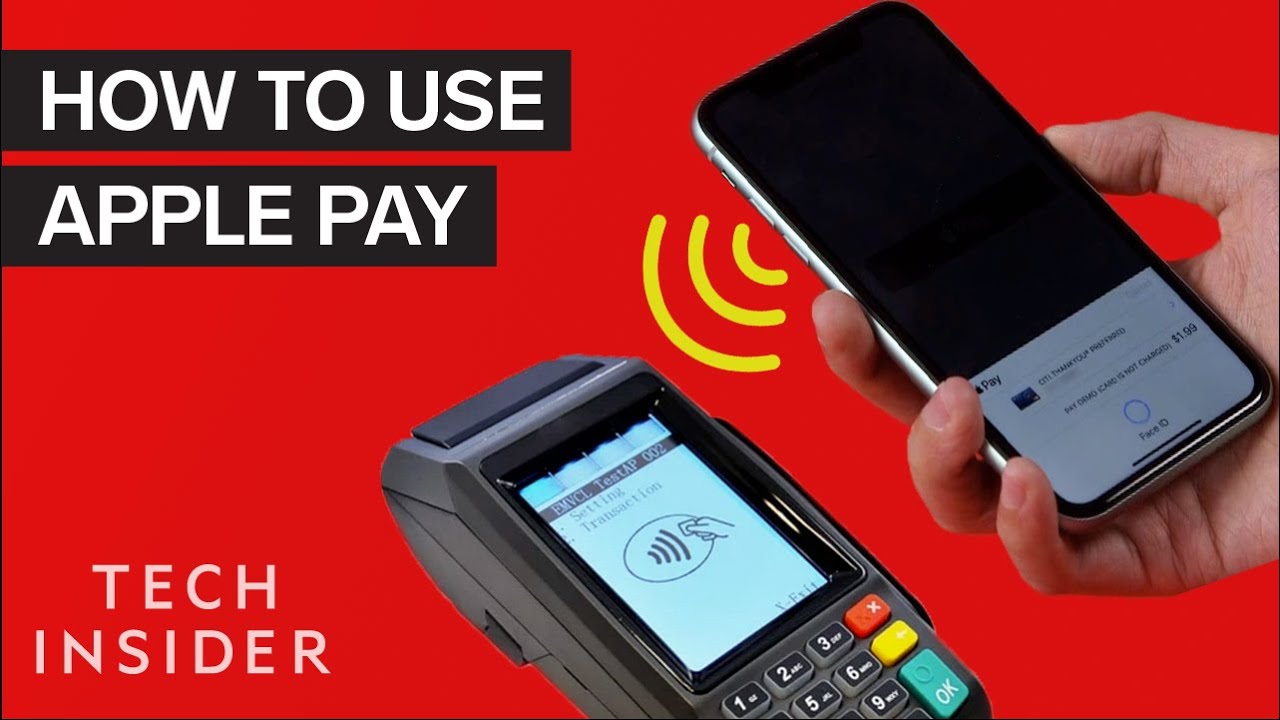
How To Use Apple Pay By Tech Insider
With more and more stores implementing electronic card readers, making a mobile payment has never been easier. Here's how you can set up and use Apple Pay for your next purchase. Like an actual wallet, you'll start by adding a credit or debit card. Open up the Wallet app on your home screen and tap on the plus symbol on the upper-right corner. You'll be briefed about Apple Pay and its privacy information. Tap "continue" to move forward.
Tap on "credit or debit card. " You'll then be prompted to enter your card details manually or by scanning it with your camera. Enter your name and the CVV associated with the card. Review the terms and conditions page and tap on "agree" to continue. You will need to grant permission for your iPhone to access your location in order to accurately track your purchases.
Verify your card for Apple Pay by receiving a verification code via phone call or text. You can also call your bank for approval. Your card should now appear in your Apple Wallet and be ready for use. When you're paying at a store, check if the payment terminal has an Apple Pay or NFC symbol or ask the cashier if they accept Apple Pay. When ready to pay, place the back side of your iPhone on the terminal, and it will prompt you to confirm your purchase with face ID, touch ID, or your PIN.
If Apply Pay doesn't pop up, double-tap your power button to manually trigger it. You can also use Apple Pay for online shopping. Look for the Apple Pay button at the checkout and complete your purchase from there. Next time you leave your wallet at home, don't worry. You have another one in your pocket.
Did you find this video helpful? Comment below and let us know, or, if you know of any alternative methods, share it in the comments.
Source : Tech Insider
Phones In This Article

Related Articles


![Samsung Galaxy Note 20 Ultra [Pros and Cons]](https://img.youtube.com/vi/xeJH0yOq-wM/maxresdefault.jpg )


![Best Gaming Tablets in 2020 [5 Android & iOS Picks]](https://img.youtube.com/vi/cbR2_2f-Wfw/maxresdefault.jpg )


Comments are disabled
Latest Articles


