How to replace Xiaomi Redmi Note 8 Battery By uFixTek
Hello everyone how you're doing today, I'm here with a different item. Here we have a cell phone Redmi Xiaomi cell phone. This one is a Redmi Note, 8 brand Xiaomi. What I'm going to do in this video I'm going to show you guys how to open it up how to replace your battery. If you have a faulty battery, and you want to replace it, this video is for you before we get it started. You need few things.
You need a hot station or heat gun station. Whatever you want to call it I'll leave the link in the description or, if you want to do it at home, you will need a guitar pick. A metallic guitar pick a hairdryer and opening tools. I mean a screwdriver set for the screwdriver set. I use the fixity tool set, which are perfect brand, and we're going to be using a bit triple zero, Philips triple zero from this sprite.
So there's a Philips triple zero opening tool, a guitar pick a slim one, a plastic or metallic. I would rather use black metallic, and you'll need a hot station or a hair. Dryer first thing. First, you want to power it off completely, so make sure your cell phone is powered off completely. Then you want to flip it over you're going to remove this black plastic.
It looks like a glass, but it's not a glass, it's actually the plastic to remove it, because there's an adhesive tape running all around and around the camera. There's an adhesive tape to loosen up this adhesive tape, you want to heat it up with a heat gun about 150 Celsius, just run a nice round, make sure it's warm to the touch not really hot and around the camera. Try to do it quickly and not do it too fast and for the cameras to not damage the camera over there. With that one, I would suggest getting a foil tape and what you want to do. You want to cut the foil tape just like this, and you want to cut it around and place it on top of the cameras.
So that way, the heat will not damage the cameras and the heat shouldn't be too much, so you can do it without this one, but this is for precautions for those that actually want to go a little farther to protect the cameras, so just cut it nicely or dry it in the back and do it as you wish, but it would be a good idea to cover the camera, so all right now we're going to heat it up with a hot station or in your case, if you're doing at home, with a hair dryer, you want to put it at max heat and with a distance about one half or half an inch. You want to just move it around constantly to make sure it's really nice and warm all around it. You don't want to heat up in the middle there's nothing in the to heat up in the middle, so now make sure it's really warm to the touch all right. Let me go ahead. Heat up, and I'll be back all right now that this one is pretty warm to the touch, and we're gonna uh grab the guitar pick, and we're gonna start from one corner and you want to stick it between the top and the bottom cover right in their just move it around.
It should get in there. So try to manage to get it in there. If you can do it try different spots there. I got it right in there and what you want to do. You want to go slowly, and you want to rotate it just like this, and you want to break that seal right in there.
Some brands use a black tape. Adhesive some use white ones, so go all around it and do it gently and slowly if it cools down, go back and heat it up again. You're going to hear stuff. Peeling up go around the cameras, make sure you go all the way inward go to the top. You see this adhesive is coming up.
That's what you want to get out so once you did it, and it's already loosened up. You can just go ahead and slowly lift it up. This is the adhesive that we want to remove again. We can go gently, pull it off and don't yank it, because there's this collector right here. This is the touch sensor at the back, so you can go, lift it up to the other side.
Now what you want to do here, you want to put your fingernail right underneath this connector and just peel it off just pull it up or if you want to do it with a plastic, you can use ice, or you can use these tools that they come with fixity tool set. If you have a fingernail use fingernail, if you know just use this tool, you want to put it underneath and just lift that up. Okay, now you can go ahead and start cleaning the adhesive around this one, just peel it off all the adhesive all around it go ahead and clean it up. If it's hard to clean heat it up, then, and peel it off and clean the adhesive all around it, make sure there's no more adhesive on the corners around the cameras or anything like that. All right now down here we're going to use the screwdriver, so we're gonna work in this part on the top part, and we're going to remove all the screws and there's an orange tape right here.
You want to puncture through that and there's a screw right underneath that too, this is the warranty label, so you want to remove all the green screws and there's one black screw right in between the cables you want to remove those the screws are all the same size and height except the black one, all right now that we remove all the screws. What you want to do you want to grab your opening tool, and you want to put it right in the middle between the two cables on the metallic cover, and you want to lift it up, gently and, and the shielding will come out pretty easy now down here. We want to disconnect first thing: the battery cable is this one over here, so put this opening tool right underneath sponsor whatever you want to call it and just lift this cable now next, we want to remove the connector that connects the bottom motherboard to the top motherboard, so remove this one, LCD cable, remove the LCD cable, so it pretty much is a snap on okay. You do not need to remove the bottom portion. Okay, now we have the battery disconnected and the model for the battery is right here.
It says model bn46, so I'm going to try to see if I can find them battery on the sellers, and I'll leave the link in the description all right now to remove the battery. There's a huge adhesive running all around on the bottom side. To remove it, that's why they give you this tiny, flaps right here. These are to hold it, and you want to somehow manage to tangle it right on your so peel it off, and what you want to do you want to do it like this. You see this one ripped off if it rips off, then now you're going to see what height to remove it.
So if you ripped off yours, this video is even for you, usually it shouldn't rip off, but sometimes it happens. So what you want to do you want to pull this just go like this and gently. You want to work around and bring it over. The left side got ripped if it got ripped, don't worry, try to not rip the other one. Take your time doing this.
Okay, I pulled it. So I don't know if I got ripped there, or it just came out. I'm going to cut this. So now what we're going to do we're gonna, put opening tool right on this side, and we're gonna, lift it up a little, and I'm guessing. The tape is still there, because it's not coming up easy.
So what we want to do. We want to grab kind of flat screwdriver or something like this. You want to stick it between the battery and the bottom cover and to make the life easy remember this battery is not working or not holding, so it doesn't matter how you peel it off all you want to do you want to remove that adhesive on the bottom, so there we go that has received, got ripped, so I can move around and put it a little further (inwards) and just lift it up. There you go. These are the adhesive that I was talking about.
So, if you're trying to pull it, it should come up, but sometimes they rep really easy, and I did try it really softly, and mostly it comes out pretty nice, but I'm glad this happened, so you guys can see how to remove it. If you wrapped yours- and if your yours didn't rip off, it should come out pretty easy. So there's the bottom shielding and the battery right here again the battery is a b and 46. So imagine that you got the new battery. You do not need to put a new adhesive on this one.
If you want to, you, can just buy an another adhesive. You I recommend you guys to buy a thermal adhesive, so if the screen is heating up, if the battery is heating up this plate, right here can cool it down easy, so the battery will last a little longer. These adhesives are really long, they're perfect so, and they are really nice and sticky. So you can remove everything here or on the new one. You might not even have this one so put two lines right here and what you want to do.
You want to pull it down evenly, and you don't want to connect the connector yet first, you want to connect the LCD connector, bring it over and just push it right into the jack. Make sure you hit that tiny click bring the other cable for the motherboard, align it on top and push it inward, and the last thing is the battery bring it over the connector and then just snap it on, and the next thing will be to grab the shielding on the top, bring it over and just place it in make sure first place the top portion underneath the case and then bring it down and then push it towards the motherboard. Now, first you're going to put the black screw right between the two cables, and now we're going to place the rest of the screws doesn't matter in which order you go just go ahead and place all the screws all right. Now that we removed we have replaced all the screws. We're not going to put any adhesive tape around here.
I would recommend you guys to grab one of these. These are the best for the cell phone repairs. Is that t8000 they come with a 100 milliliter, and they come in a smaller one too, so you don't have to buy actually the huge one we use them in the shop all the time. So what you want to do you want to place this one? You want to put it all around it, just a tiny line on the corners inside here, so this one is going to seal it nicely and in the future. If you want to remove it, these are meant for removing later on, and you get a really nice tight seal right after this one, but make sure that you remove the old what you call all thermal paste at the end of this, remove the old adhesive all right now that we put the adhesive right there.
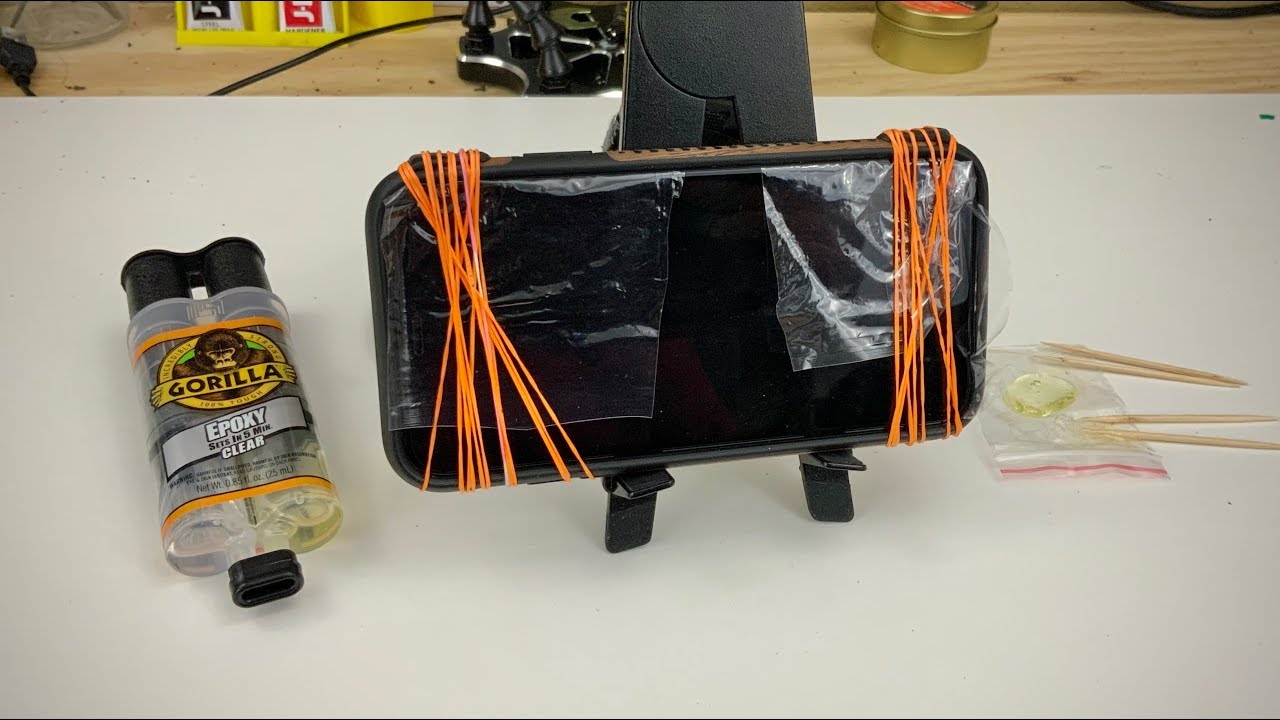
You want to grab this one right here, and you want to bring it over, and you want to snap on this connector right where the, where you removed initially just put it on them and press it. Now you want to bring it over, and if you want to put adhesive around the camera, you can put it and then bring it over and just place it on top squeeze every corner. If there's at the, if the glue is coming up from one corner, let it be at the end, you can just remove it easily. So don't worry about that and just press it nicely all around and put some kind of weight over with a firm weight and let it sit down for two or three hours, and then it's all set. Then you will have your new battery and back cover easy to be removed, and the last thing will be to remove the coil tape right here.
I hope you guys, like this video and helped you guys out to replace your battery for your cell phone. If you did click that thumbs up button, I don't really appreciate it. If you guys subscribe thanks for watching, and I'll see you guys in my next video.
Source : uFixTek
Phones In This Article

Related Articles


Comments are disabled
Latest Articles


