Google Pixel 3 Battery Replacement (not 3XL) By ProjectTimeGarage
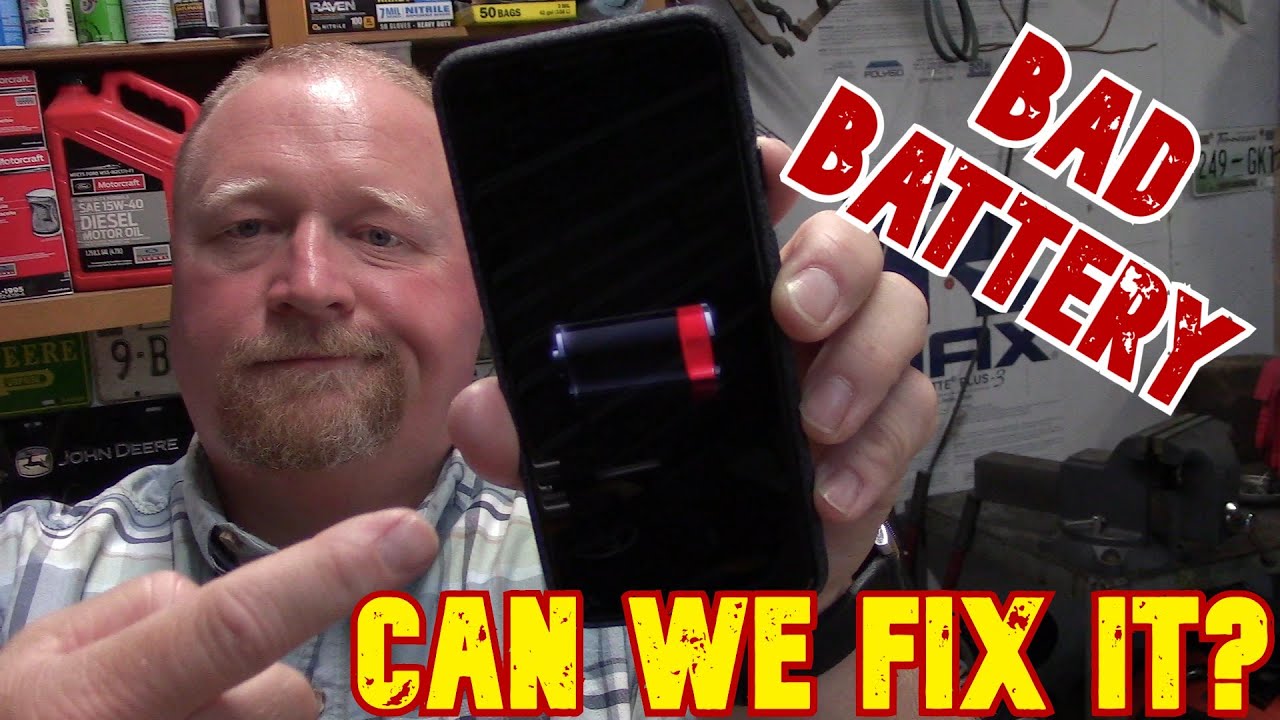
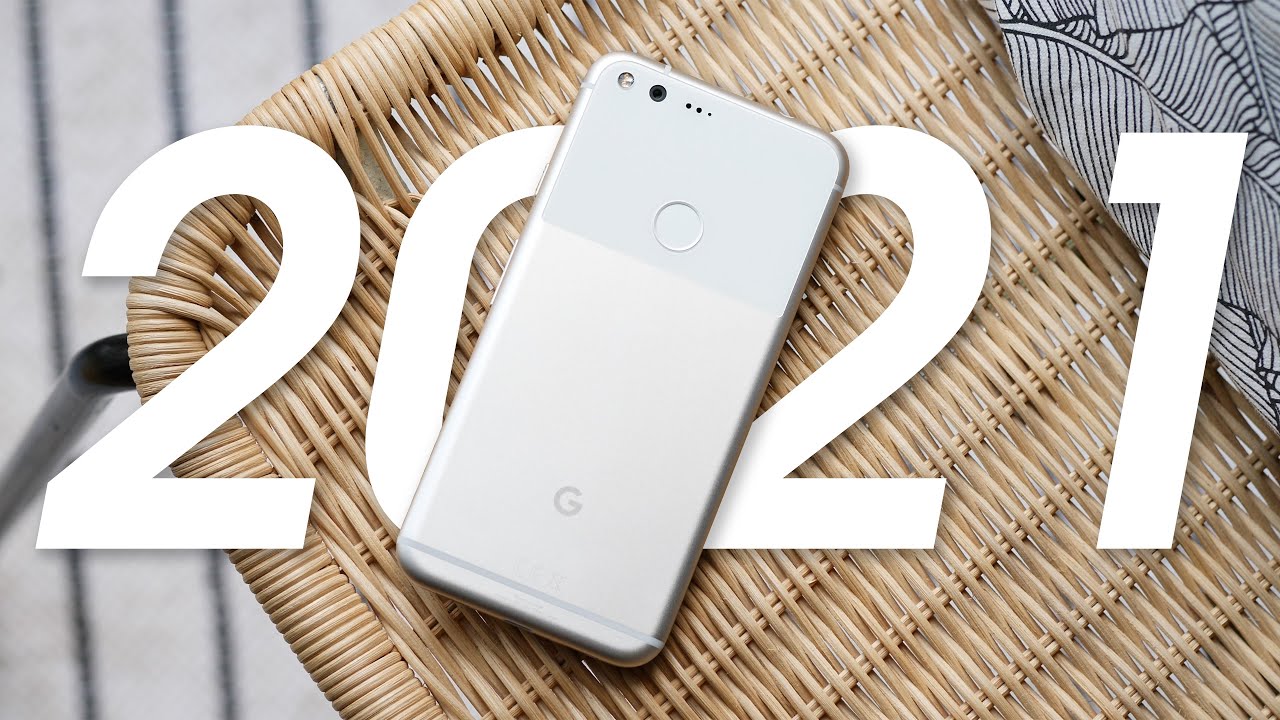
Hey guys welcome back project time garage, so I've got something a little different today, uh way different. In fact, if you'll remember uh back in the very first video my intro video, I told you'd, see all kinds of things on this channel I'll, I'll, put a link to that video here and today's going to be a good example of that I've got a've got a phone. That's a Google Pixel 3 the battery's getting kind of weak, so we're going to put a battery in it. So let's get to it okay. So what we have here is a Google Pixel, 3 non. This is my backup phone.
The battery has gotten to the point where it's not very good. It doesn't last very long. So what I have done is I've gone to fixity, and I have ordered a rear cover adhesive and the battery. So we're going to start by just using a hot air station just going to heat up the back of the phone. The back of the phone is plastic and glued on, and the heat really helps the adhesive to start letting go just kind of going to kind of be careful and not heat it too much.
You don't want to destroy the thing, and I'm going to heat around the edges like this too, because the edges on this phone curl over, and I usually use a razor blade for this- probably not the tool that was designed for, but it works awfully well and if you're very careful it doesn't mark and there we go we're started now so now that I'm started, I'm just going to kind of try to work the edge of that razor blade in there, and I'm going to get a pick, and I'm going to start trying to work it in there now right beside my razor blade and what that's going to do is that's going to create just a little of a space, and now I hope I'm done with my razor blade. I'm just going to use this pick, I'm just going to kind of work it back and forth until it slides into that rear cover. I'm going to go back to the heat station, and I'm just going to heat all the way around this thing, one more time. Okay, here we go we'll get a second pick started now, and I'm not going to go too deep in there I'm going to try to keep them really shallow, because I don't want to go cutting any cables, go ahead and drop a third one in here now the phone's, nice and warm. I can feel it on my fingers, but it's not too hot to hold, and it's cooling-off by the second, which means some of this adhesive.
Some of this adhesive is going to start getting really hard and non-pliable. So I'm going to go ahead, and I'm going to work down here just a little more just kind of go around the edges, one more time: okay, let's get it picked up, and we'll work it just a little more. It's amazing what a good job the heat does at this point, I'm going to kind of get my fingers in there a little, and I'm just going to kind of separate the case just a touch. While I take my picks and I just kind of work to cut the glue, and I'm going to stay really shallow. With this pick, I do not want to do not want to uh damage any of the cables that may be back there, and I think, there's only a fingerprint sensor on this that comes through on the other side of the phone opposite, where I'm cutting all right.
So I've got it where it lifts pretty easily, but there's still a lot of resistance, because I haven't worked on this side at all. Let me go ahead. I'm going to put some heat on that side after I get all this out of the way I'm going to put some heat along this side. As I raise up the phone as I raise up the lid and I can feel it getting easier and easier to raise as that glue starts to soften up okay, and that should just about get it all right so uh at this point, I'm going to go ahead and take a pic and just kind of walk it down this side. I've got a fingerprint cable, fingerprint sensor, cable that I have to unplug all right.
Here we go now. I can slide this thing over and there's my uh there's. My cable for the fingerprint sensor looks like a little Phillips screw. We'll just put him over here out of harm's way, another screw at some point we're going to have to deal at some point we're going to have to deal with this wireless charging coil all right. So that's unplugged, and I can put the back panel out of my way notice.
There's a bunch of adhesive around here. I'm going to have to clean all that stuff off before we put our new adhesive down. Okay, taking the screws out that hold in the wireless charging coil stuck on with glue all right charging coil next thing, I'm going to do here is unplugged the battery safety and all we're going to pick up this tape before it will never go back on, and we're going to grab this battery pull straps, and we're just going to start pulling gently and hopefully with any kind of luck, it won't break. Whoever invented this stuff was a pretty smart guy to the extent that it works anyway, it's working just have to keep pulling and prying and pulling and prying and eventually get it out, see how we're doing sticky there. It is so the battery adhesive is still sticky enough for my tastes, tough little devil to get in there I'll tell you all right, battery's plugged in batteries back down, there's just enough adhesive in the floor of that thing to stick it well enough.
Let's face it! Well enough is all we need as far as cleaning this thing up goes: Steelers choice, there's the gooey, sticky adhesive, still around it, and really the only thing you can do is just walk around there with fingernails and just pull it up the best you can all the way around and when you're done with that, you got to go around the back and do the same thing, so I'll bring you back. When I get the thing cleaned up, we get ready to put the adhesive back on there, all right, we're ready to lay our adhesive on here. This is the part I usually mess up. Okay, that is pretty decently on there. All right, adhesive is back on I'll, go ahead and put back on the wireless charging coil at this point right.
All right next will be the will be the ribbon cable, with the fingerprint reader, at least it's not in an awkward position or anything. Okay. There's that now we'll just need to sneak this guy back under here need my torque wrench to torque them all right. We will drop this guy back together. Gently of course, make sure that everything's good okay looks like we have a phone.
Fingerprint works: okay, okay, that's it! It's done! Hey appreciate you guys watching uh, if you haven't already um like share, subscribe comment on this video. Tell me if you like this kind of stuff. If you want to see more of it or less of it or what um like I said, I do all kinds of bizarre stuff. I just don't. I don't always put it on YouTube so anyway, thanks for watching guys.
Source : ProjectTimeGarage
Phones In This Article


Related Articles


Comments are disabled
Latest Articles


