BlackBerry Priv Tear Down - Screen Repair, Battery Replacement By JerryRigEverything
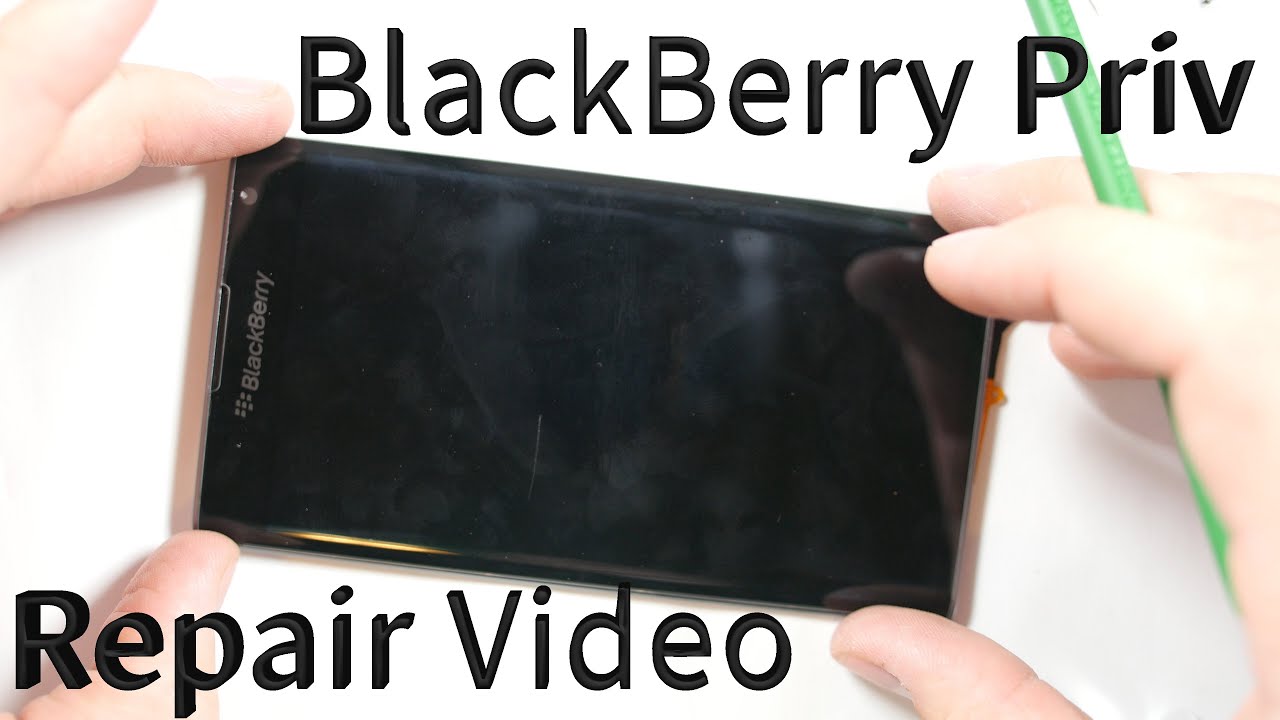
Today we are going to tear down the BlackBerry Priv. The actual build of this phone is pretty complex, but the two most important repairs a battery swap and a screen replacement are surprisingly easy, and I’ll show you what I mean throughout the video. First thing remove the sim card tray and the SD card tray and they are both along the top. Once those are out you can peel back the back cover from the phone. Make sure to watch out for the power button and volume button so it’ll just unsnap from the frame. Then you can slide the phone out from the back cover.
Pretty simple. Here you can see the rear 18 megapixel camera, and then a couple of the antennas that are along the back of the phone with the NFC pad and the Qi charging pad. All of these have little contact points that just rest on the mother board. Here is a close up shot of the contact points on the mother board, and the contact points on the pads. Remove this plastic shield.
For the next step you’ll need a screwdriver this one is a T5 screw its holding the battery in place. You can just unplug the battery. It’s just like a little Lego piece that snaps into the main board. Pretty straight forward. To remove the battery it does help out a lot if the battery is a little bit heated up, but it will soften the adhesive behind the battery.
You can use the little pull tab to pull it up. You really do not want to pry this battery out at all, and I’ll show you why in just a second. Here behind the battery you can see that there are some small ribbon cables that are very easy to rip. They’re for the power button. Here’s the battery its self it is a 3400 milliamp battery.
There are two screws down here for the loud speaker. There’s a little housing with some funky white glue surrounding it. You can remove the freaky white glue. And then the loud speaker will just pop out of the housing itself. Pretty cool.
Pretty easy to replace. I will link all the replacement parts down in the video description. There is a little protective cover over the headphone jack as well. There are 8 screws on the main board. Once all those 8 screws are removed (they are all the T5s as well) you can take off all these little connectors, they are for the screen.
They just pop off like little Legos. This one down here is for the keyboard. You can pop that off as well. Then the main board can be removed from the frame of the device. There’s one more cable on the bottom for the power button, and you can just unclip that as well.
Here you can see the thermal paste for the Qualcomm 808 processor it will help dissipate the heat from the processor onto the main frame of the phone. Here’s the camera, the rear 18 Megapixel camera. So you can see here the screen and the slider mechanism the head phone jack just falls out from the frame. You can see that it has a bunch of little connection pads that rest up against the mother board, and that’s how it receives its signal. The rest of these screws are a bit smaller I’m going to use my T4 driver.
There’s 8 of them that hold the key board part of the frame onto the screen part of the frame. So we are going to remove that from the sliding mechanism. Just make sure that the screen ribbon cables slide through the little slot in the key board frame. So let’s take a look at the keyboard. The keyboard is stuck to the frame relatively permanently.
If you remove the keyboard you will have to find some way to adhere it. I do have to fix my keypad though because of my durability video I did mess up the keypad a little bit. So we are going to tuck that back in. Looks like the keyboard can be replaced it just depends on how they sell their replacement parts. If it comes with the copper piece you can remove that from the frame.
If the keyboard comes without the copper piece, make sure you leave the copper backing installed on the frame if you just remove the keyboard section. I’m going to put my keyboard back on I will have to use some kind of super glue or something else to adhere it, because there is no residual adhesive on the back of the plastic. So here is the sliding mechanism. It’s a bunch of these little wire springs that you can detach from the front frame. If you are going to remove this section you want to lift it up over the little gold little do-hikie fold up the ribbon cables and tuck it down into the screen.
This is a fairly difficult process so I would recommend not touching this sliding mechanism unless you have to. It is not essential to repairing the screen, and I will show you that I just a second. I did end up bending this part of the frame just a little bit to slide it out from the little grooves. This next part is not essential to a screen replacement either it is only important if your trying to get into the front camera. There is a little metal bracket and one more screw as well.
And you can just remove the front 2 Megapixel camera from its little holster. It’s a tiny little guy, not super important. Now here’s the screen, and let me show you how easy this is, and its way easier than the galaxy screens, where there is a bunch of adhesive on the LCD and the glass and you gotta make sure not to break anything. There is only adhesive surrounding the edge of the BlackBerry Priv which is very nice. I found it easiest to go in from where the ear piece is, because there’s not a whole lot of glue and there’s a little slot in between the frame and the glass.
So once I lifted that up I could slide a business card in between the glass and the frame. That QR code just takes you to my YouTube channel speaking of which if you have enjoyed this video so far make sure you hit that subscribe button. It does help me keep making videos like this into the future. Now that I’ve heated up the phone my business card will slip in. Make sure you don’t put it in too far into the top of the phone, and I will show you why in just a second.
Once you pop out from the side you can just take it and slide it all the way down as long as the phone is still warm from the heat gun. I usually get it to about just where it’s too hot to touch and the card will just slice through the adhesive all the way down to the bottom of the phone and you can just slice though the bottom of the phone as well. It’s super simple. I imagine that a professional technician could replace this screen in about 5 or 10 minutes once they are used to the operation. It’s a pretty impressive design.
There’s one ribbon cable underneath holding the LCD onto that screen extension cable that we were talking about before. Now that I’ve unplugged that we can see the part that I was warning you about. Now if you screen is shattered or broken you don’t need to worry about damaging it anymore. Since my screen is working I want to keep it functional. Now about this point during my teardown this is where I realize that the screen can be removed without actually opening up the phone.
You can see that you new replacement screen can just be plugged into the body while everything is still intact, which is fantastic! Now I’m going back into the track mechanism. When I put the phone back together just to prove that the screen can be replaced without the phone being taken apart. Now the track mechanism is put back together I’m going to put in the front facing camera, put the back fragile plastic pieces back into place. Now if you did take apart your sliding mechanism, make sure you line up the flex ribbing cable with the little holes in the frame so that the ribbon won’t be pinched when you’re sliding the phone up and down. Then you can take the screen extension cable and slide it though the keyboard section of the frame.
It will end up near the top of the little slot. There are 8 screws and you can take your 18 Megapixel rear camera and plug it back into the main board. Plug your power button back into the bottom of the main board. Fold that over and put it back onto the frame. There are 8 screws holding the mother board onto the frame of the phone.
Plug in all of your ribbon cables like the keyboard and your two screen extensions. Put in your loud speaker and protective black housing, and the housing for the headphone jack. Put those 3 screws back into place. Now that the phone is completely assembled lets install the screen. It just plugs into the main body of the phone just like a little Lego piece and all of the other connections that we have been working with.
Most of the replacement screens come with adhesive preinstalled so just remove the protective covering over the adhesive and then set the screen down into place and you’re done! I’m going to plug in the battery and make sure the phone works by pressing the power button, and everything is great. It’s a pretty fantastic design. I’m impressed that the screen can be replaced so easily. Screw the battery back in, and you can tuck it back into the back housing. Staring with the bottom and just moving your way up the sides clipping it down into place put the sim card and the SD card trays back in and everything is good.
If you have any questions make sure to leave them down in the comments below. Feel free to like if this video helped you, and subscribe. Does help me out a lot! Thanks for watching!.
Source : JerryRigEverything
Phones In This Article


Related Articles


Comments are disabled
Latest Articles


