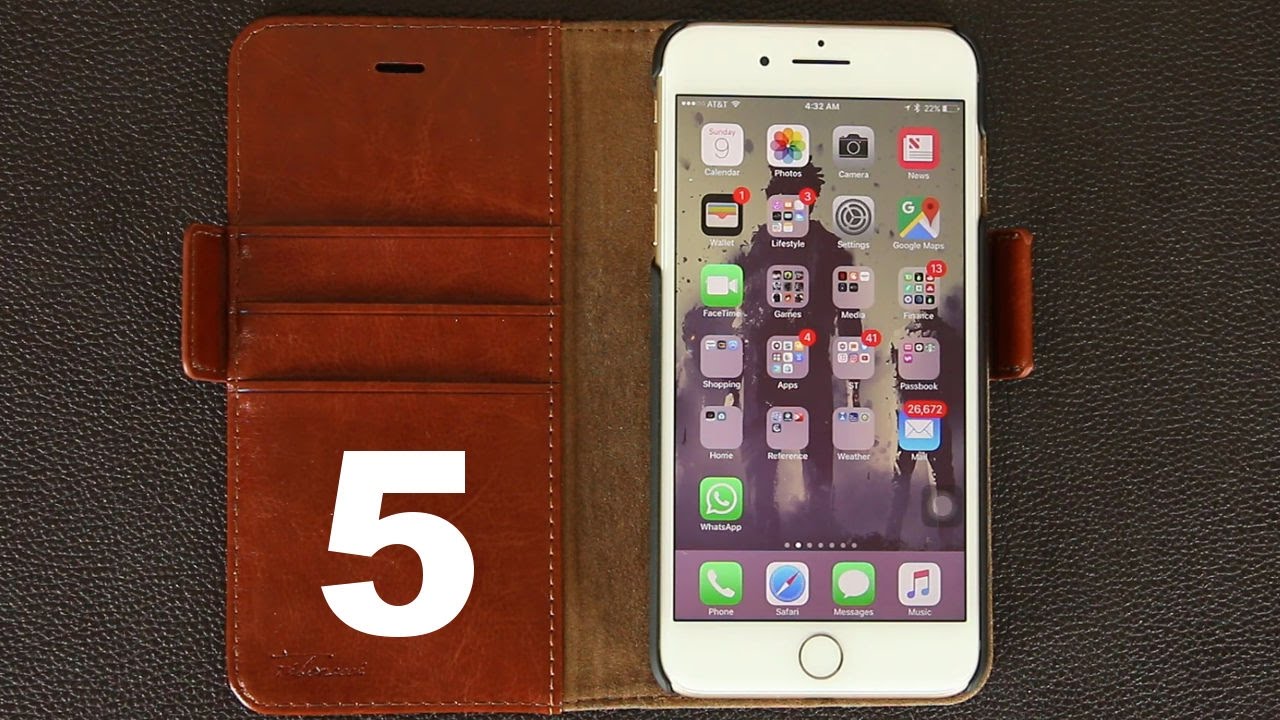
5 iPhone 7 Plus Tips & Tricks You Never Heard Of By sakitech
Okay their sake here from sake check it in today's video I would like to share five tips and tricks for your iPhone, 7 plus or iPhone 7, that you simply have never heard of so without wasting any time, let's dive right in, but before I do that if you are interested in the case you see in this video link to buy one or check it out will be in the description box below, let's dive in alright tip number one: how to perform a field test on your iPhone to see how strong your signal is, and I bet you've never heard of this one before so. Basically, what you want to do is you want to go to your phone and go to your dialer and then simply dial this number star, three: zero, zero one pound, one, two, three four five pound and stars so copy that number to your dollar and then call that number, and it's going to launch an application that says field test. So what's the point? Basically, all you want to do is look at this number on the top right next to phone and in my case it says, minus ninety-two, so the lower the number, the closer the number to zero, the stronger the signal now minus ninety-two is not too bad, but if you had minus 70, that would be much, much better and if you had minus one fifty that means you're having a real problem with your connection right now, now one more thing you can do with the field test is: if you press and hold the power button and wait for slide to power off to come on and then press and hold the home button. What it's going to do is it's actually going to show that field test on top of your iPhone all the time? So, as you can see, it says negative ninety-four and as I move my iPhone. If I go to the basement, that number is going to increase, because the signal strength in the basement actually goes down. But if you, if I go outside, it might even get better.
So, as you can see, there's some practical use to this field-testing app because you can figure out at what point in your house you've got the strongest signal by the way you don't want to leave it like this. So what you want to do is you want to go back into the phone dialer read out that number star three: zero: zero 1 pound, 1 2 3 4 5 pound star, and then you call that number again and what you could do is you could tap this button over here? If you tap over here, oops I'll bet good. Let's go back in you Tape over here. It changes the strength signal to actual signals, as you can see, get a bar. So you can tap this again, and it's going to switch from the bar to the number value or, if you tap it again, it gives you that value and then, when you're done, you just go back out, and it's going to reset to the regular style.
Okay. So that's the field test. Let's move on to the next tip! Alright! So when you buy an iPhone by default, you get five gigabytes of free, iCloud storage. But the thing is, you can get much more for a very low price, and you can do that right in your iPhone. So basically, what you want to do is you want to go to your settings, and then you want to go into the iCloud and then just go to storage and click buy more storage.
Okay. Now, when you tap this guy, it says five: gigs is the one that you get when you buy the phone, but look at that for a dollar a month. You can get 50 gigabytes of extra storage if you so desire. Now these these over here are getting a little too expensive. You know 20 bucks ten dollars a month three dollars a month, but to be honest, $1 a month for 50 gigabytes, especially if going to be using that iPhone for a while, not that at all.
So what you can then do is you can store all your photos actually online instead of your phone? So, just to give an example: if I go back here, this is the storage management area. Right here, let's tap on photos and what you can do is you can enable something like this. It says: iCloud photo library. If you enable this, it allows you to upload and store your entire photo library into iCloud and of course, then you can access those photos from anywhere from an iPad from a Mac from a PC just about anything. Ok, so that's one reason you might want to buy that plan and, like I said it's not really that expensive, it's only a dollar a month, all right.
Let's move on to the next tip, so the iPhone has a built-in mark-up tool built into your photo library. So I just launched my photos. Application went into my camera roll and let me just launch a picture and what you want to do. Are you want to tap this button here, which brings up the photo editor menu, but we're not concerned about this? What we want to tap on is this button here and that allows you to actually use the mark-up utility. So if I tap on mark up this thing comes up, and I can do some pretty eat things.
So let's say I tap this one less. This is the drawing tool right here. Let's just pick a color and let me draw a circle now when I draw the circle, it looks ridiculous, but if I tap this button it makes it into a full circle and I can even move that circle around to highlight something and of course, I can even resize it to make it perfect and after that, I can even do things like this. So lets that's not. Let's change the color.
Let's draw an arrow, so I just draw an arrow, but if I tap this it turns it into a real arrow and of course, then I can actually start typing stuff by using the text tool. So I can change the font first and foremost tap the font, make it a little bigger. Let's pick this and let's go like that, so tap that and here's a text, and then I can actually write something here. Point to that area and I can start marking up my photos just like that. Absolutely fantastic and you cannot click done, and then it's going to save that photo all right.
So, let's move on to the next step. So normally, if you want to take a screenshot on your iPhone, all you do is press the home and the power button at the same time right, and it takes a screenshot of your screen any screen that you're in, but there's actually another easier way to get this done. What you want to do is you want to go to the settings and then go to general and go to accessibility and then look for the many that says: assistive touch go into it, enable it, and then you have a dis floating manager sitting on the screen and what you could do is so, let's say, you're in the news application, and you want to take a screenshot, and you're not in the position to use both of the buttons at the same time, perhaps right what you want to do. Are you want to tap this button right here? Go to device and tap more and there's that screenshot button right there. So if I click that it takes a screenshot of the screen on the spot and of course, when it takes the screenshot, it actually hides that button.
So if I go into the gallery, just cancel out of this real quick at the bottom here, as you can see, there's a screenshot, but that button that's the actual button, but as you can see, that button is in order to be found all right. So, let's move on to the next tip all right, so the next tip has to do with creating custom abbreviations. So just to use an example, let's say you type in on G, which is o M G, and you want that to translate to oh, my god. Now, as you can see on the top of that OMG, the open version is right there and if I press a space, it fills that in and puts it on your text message. This is something I actually created myself.
So here's how you do it. What you want to do is you want to go into settings and that's the main screen then go into general and then simply look for keyboard, which is right here. Tap it and the option to use that feature is called text or replacement so tap on this guy and, as you can see, I have all these things here as an example. So, lets all you want to do, is you want to click plus and add a new one? So the phrase is: let's use subscribe to sake, tech right and then the shortcut I want to use this s/t s, and then I click Save. Now, if I go back into the text, message right here, and I type in sts-2 make that recommendation then I'm going to press space, and it's going to fill it right in alright.
So that was the last step guys well, thank you for watching this video and I hope. You have learned a few new things by the way. Here's the case I use for my iPhone 7 plus so again, if you're interested in checking it out or buying one see the link down in the description box below and, of course, make sure to subscribe to sake, tech. Give this video a thumbs up and have a fantastic day.
Source : sakitech
Phones In This Article

Related Articles


Comments are disabled
Latest Articles


