Samsung Galaxy Z Flip Disassembly Teardown Repair Video Review 2020 By PBKreviews
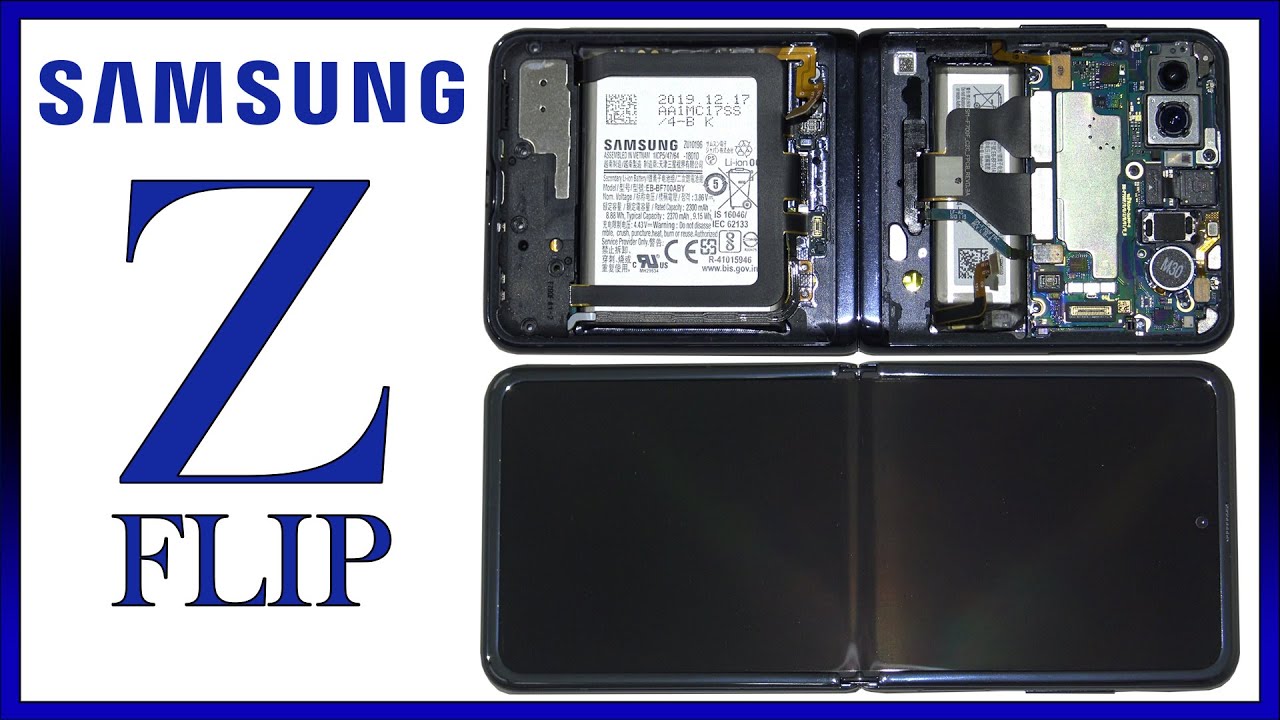
You're watching the Samsung Galaxy Z Flip disassembly go ahead, our move this entry. First, you want to heat up both of the backplates, so you can loosen up the adhesive underneath it and then going to use a plastic pry tool to work your way around and gently pry off the backs. How does that cover over here covering the connector you're going to pop that cover off next go ahead and disconnect the cable? So here are your two back covers this? One is the one with LCD screen, so it looks like Samsung also took the same approach with a two battery method. They have one battery here, a larger one and a smaller rectangular battery over here you have 14 Phillips screws. You need to remove at this point once your screws are removed, remove this cover over here and disconnect your battery cable for the bottom battery. Let's go ahead and lift his top cover over here.
They're going to disconnect your battery cable. That's on the top part! Now this connects your wireless charging pad peel it off. Here's a closer look at that now we're going to remove the speaker assembly. So here's your speaker assembly now we're going to disconnect the cable for the screen located right here, as well as the rest of the cables. You have a power button, the flex cable, connector over here, it's gonna, add we're.
Also in these connectors place the cable connectors. We should leave from this flip to the other one. You have one more cable here and give your cable over here for your piece and top mic right there. Your main mic is gonna, be down here on the bottom. You have one throw screw holding on the main board and locate it right here.
Gordon us with that are in this connector front facing camera pop it up now we're going to remove the main board. So here's your main board every SIM reader right here, your camera assembly right here. The two cables are located right there. If you want this, connect them just pop it off and remove it with this metal frame house bordering it. Your proximity sensor is located right here and here's other side of the board they're using that board on top of the other board layout.
So basically you have a smaller board. That's sitting on top of the main board. You can see right there now we're going to remove the battery on top. So here's that battery now we're going to remove the charger port board down here, just kind of the cable. Here's that board here's your mic, the gold piece right there, here's other side, so there's no rubber, gaskets or anything like that to prevent any type of liquid damage or water getting inside the phone or so for the larger battery.
You're going to have to apply some heat and then try to make some leverage from the side of the battery so get a pry tool in there time for the membership card. So here's a larger battery all right. So if you need to replace the power button, there's a plastic cover over here. You'd have to remove first and for the volume keys the Flex cables here. There's a bracket over here just slide it up, and it comes out of the frame now for Samsung design on the flip phone.
They basically made it somewhat of a repairable design. As far as most of the components go because you'll be able to remove the back covers of the phone and gain access to the battery or other parts you need to replace. However, when it comes to the screen, that's a whole different story, because on this design, the screen is actually adhered to the frame. So your screen cables right here. You have these cables over here, which are run through the flip area, where the hinge area is to come out on this side and connect to this board over here and the battery over here and so forth, but the screen itself there's a small thin border right there.
You can see it's attached to the frame over here so now. We're going to have to pry that off hoping we don't damage the screen itself, all right now we're going to peel off the plastic border that goes around so basically over here on the middle part of the phone. These two latches right here that indent in basically keep them forced to screen and the center where the creases down. So it doesn't like fold over like how the razor's does a little that he could get underneath it. So basically it keeps a flush and down so when you're closing it, you can see there right, there holds the screen down or once those borders are off.
You're going to have to pry this screen off carefully. So you don't damage it. We're careful on the bottom part over here, not the side where the camera is the opposite side. The cable is run through the mid-frame. So be careful, you don't tear that just use something.
Then you could get underneath the metal plate of the screen, and then you're going to have to work your way around prying it off an Apple. He doesn't need it throughout the process already to support one so somewhat easier for me, or once we pry the screen off the little bits all the adhesive is loose, then you're going to have to gently slide the screen down and out of the frame. So here's a look at the screen same thing like a Razors paper-thin I'm wanting to point out, you have magnets all around the corner is now killing off. This film over here reveals the hinge mechanism underneath it. So you can see the mechanism over here inside as you close and open, and there you have it guys now, I'm going to go ahead and reassemble the phone.
Once you got all the screws back in place. We connect the cable for the outside screen, we're going to put them cover back over, and then we're going to put the bottom cover back on. We flip it over power it on, and you're done, thanks again for watching guys, I'll see you guys in the next video.
Source : PBKreviews
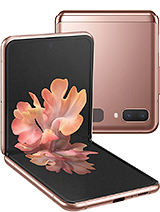
Phones In This Article

Related Articles


Comments are disabled
Latest Articles


