Samsung Galaxy A20 Camera Tips and Tricks By H2TechVideos
In, this video we're going over a camera tips and tricks on the Samsung Galaxy, a 20, hey everyone. Thank you for joining us today. If you want to stand see on all the mobile technology coming out and learn, cool tips, tricks and hidden features, make sure you hit that subscribe button down below and tap the donut turn on post notifications. So you can be learning every time we post new videos today we're going to show you some specific tips and tricks for the camera. Let's go ahead and open up our camera and get started now. The first tip this one is so funny a lot of people have done well, you can do this, but you can actually change the ratio of the pictures that you take right now.
It's set on a 3-4 ratio which has to do with the size of the frame here, but right up here we tap on this little icon. It says three four I would tell you to change it to full, and now you'll actually get a wider picture here, versus that 3/4 ratio or, if you're, the kind of person who likes to take pictures for Instagram. Specifically, you can change it to a one by one ratio, and this will optimize the size of the picture. So it's perfect for posting on Instagram, so, depending on what you're doing that's how you want to change the ratio lamb by six is also good if you're taking something that you want to put in a video that 9 6 ratios is good too, but I just like to shoot on the phone, because I get a little of a larger shot. That way, our next tip is going to be how to take wide-angle pictures now right in the settings right above photo.
You have these two options here you have. This is a normal photo here, and this is a wide-angle shot. Now, when you change to wide-angle, it actually is tapping into that second camera on the back of the screen, so you can actually get more in your shot. So, for an example, let's say this is a normal-sized picture now, if I switch here, this is a wide-angle picture. You now I get actually more in the shot.
So, if you're, trying to take a group picture with a lot of people, I would definitely tell you make sure you're on the wide-angle setting, also, if you're, trying to take a picture of a landmark or large monument make sure you're on that wide-angle setting, because it will give you more in your shot for the front selfie camera as well. You can also do the same thing. There is the regular shot and then there is the wide shot so make sure you're adjusting those accordingly, based on what you're taking pictures of now, our next tip is going to be how to take a picture with your hand. That's right, what's called a palm selfie first, you want to make sure that you swipe up and make sure you're on the selfie mode and then go to the settings right here from here, go to shooting methods and make sure your show palm is on, so it's on, and now I can take a picture just by taking my hand and putting it in the shot and what it does is it actually will trigger a timer on one thing: it's like a 2 or 3. Second timer: let's try it again here so hand in a shot there we go so handle the shot detects it.
So usually you can get your party together, raise your hand, and then it will detect it and then a few seconds later it takes your picture. So that is a palm selfie all right. Our next tip is gonna, be how to take a burst of pictures or, what's called burst mode. Now, once again go to the settings and under hold shutter button tap here and make sure that it's on take burst shot now you can also change it to create GIF, and I'll go over that in a second but make sure it's on burst, and then we're ready to take your picture just hold the button here, and it'll take a bunch of pictures. You know when you're trying to get the perfect shot and people keep moving, or you're taking picture of a kid, and they smile.
They stop smiling by just keeping your finger on the button here. It's going to take a bunch of pictures at one time, so you're bound to get the best shot just by holding it down. You've got 30 shots it'll take in order to try to get that perfect shot. So that's how you use the burst mode now, if we switch it over here, go back to hold shutter button. We can change it to create a GIF, and, with this setting you can take a picture of a group of people doing something and by holding the shutter button it will also take a burst of pictures.
But specifically so you can take a GIF and I want to say we go to our menu option. It'll, take those pictures, and then it'll turn it into a GIF, see that let's try it one more time here, but this time I'm going to move the camera. So you can see how it works, so you're trying to take a gift. Okay, go back to our menu here, and it took all those pictures put them together, and it made into a little animated GIF. So if you have someone, if you catch someone doing something funny, and you quickly change it to that setting, you can create it into a gift and then send it out, and it's hilarious.
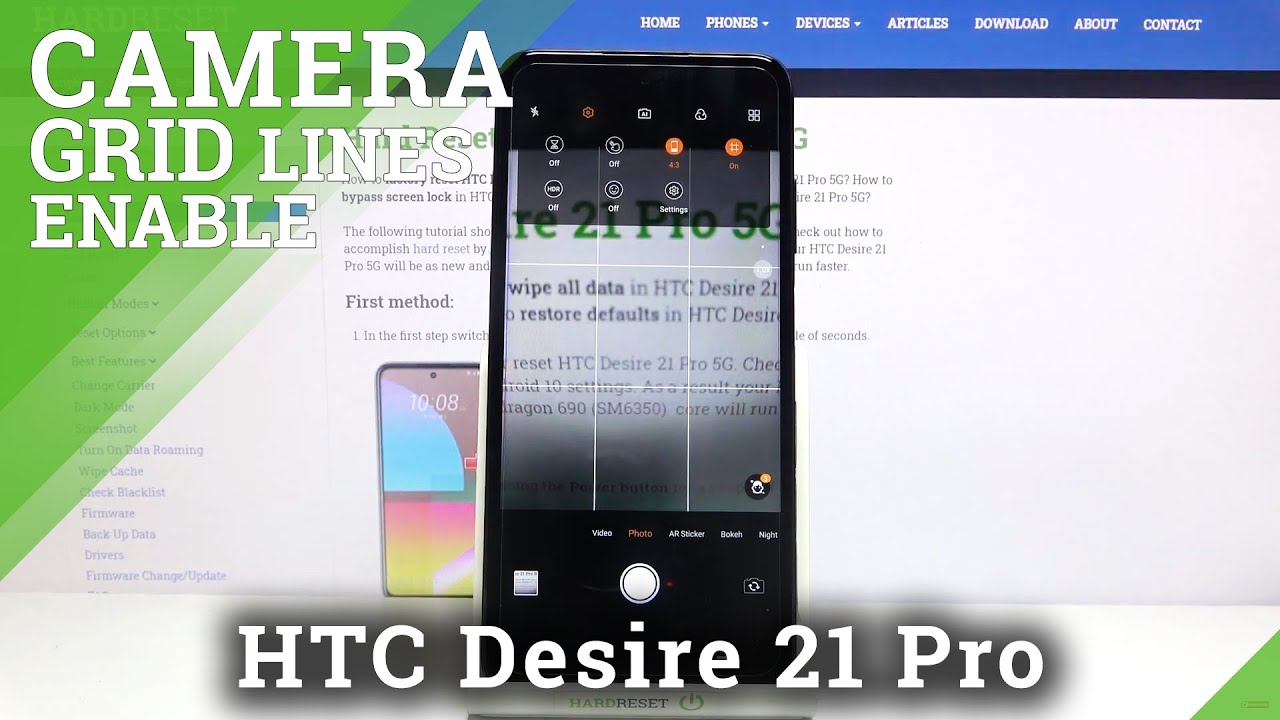
So our next tip is gonna, be in the settings. Go back to the settings menu, and we're going to go to grid lines and turn on the grid lines. Now you're going to have these little lines. They're going to go across the screen, which are very helpful for squaring up a shot to make sure you have your subject in the right place. You always want whenever you're taking a picture up to be right in the center of the picture.
This will help you stay balanced and make sure you've got the right angle for your picture here, just using these little grid lines as your guide, all right, our next tip is gonna, be what is called a floating shutter and I. Think a lot of you're going to like this feature, so settings we're gonna, go to camera modes or excuse me, go to shooting methods and go to floating shutter button. Now what this does are it's going to give you a floating button here so that, depending on how you're holding the phone it'll be easier for you to take your picture here, so, let's say I'm holding the phone like this, or maybe I'm holding the phone like this I can't do that, but, depending on how you're holding the phone you can have this button float so that it's easier to get that shot. Sometimes this is not the easiest thing to reach. Maybe you want to put it in a different spot, so, wherever you want to put it, it just makes it easier.
Maybe you want to have it higher up here, that's easier to reach. So maybe this is kind of hard to reach, but you can tap up here. Take a shot that way you can just move it around the screen just to have a better angle of reaching the button for your shot, especially for those times when you're out and about, and you can't find someone to take a picture you, and you have to like to hold your harm out and try to get everybody in the shot. This just makes it a little easier to get that perfect shot for you in our last tip. It's going to be programming the volume buttons to control your zoom, so go back to settings, and we're going to swipe all the way up, and we're going to go to once again.
Shooting methods go to press volume, keys to change it to zoom and now, as I'm taking my picture, I can use the volume keys to zoom in or zoom out, just to show you a little easier. I want to zoom in I, can just all volume up and continue to zoom in and use volume down to zoom out so a little easier. The other way to Zoom is normally to pinch, but if you're holding the phone with one hand- and you don't have two hands to go in and out, it's a really easy way to pull off that shot, they will usually zoom, and it will refocus itself alright guys. This has been tips and tricks, camera tips and tricks on the Samsung Galaxy.820. Hope you guys.
You find this helpful. Do us a favor leave us a comment down below and let us know what camera tip was the most helpful for you. You'll, always love hearing your feedback thanks again for watching, take care and have a good one.
Source : H2TechVideos
Phones In This Article

Related Articles


Comments are disabled
Latest Articles


