Samsung A50 Battery and Screen Replacement By Fun2Fix
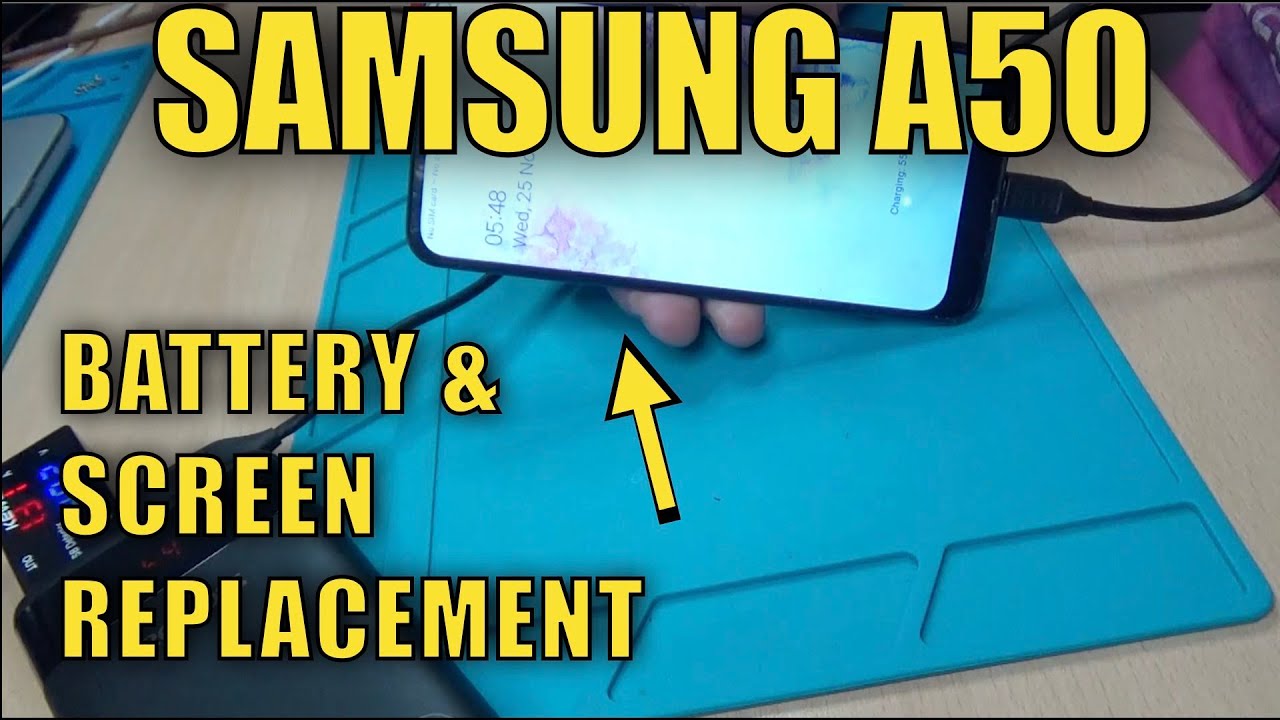
Hi, my name is Phil from fun to fix and welcome to my channel this time. I'm going to be taking a look at sea when I can repair a battered old, Samsung a50 stay tuned, don't forget to hit that subscribe button and turn notifications on for more videos like this, and if you do like this video, then don't forget to hit that like button, let's get into it. So what we have here is a baton on Samsung a50. So the problems are the battery's swollen screen cracks it's a mess and the back is quite a mess as well. So I bought this off EBIT, and so this was the information here, and I paid it was 25 pound plus five pounds. But what I got with it was the Samsung a50, a Nokia, Lucia and also an watch.
But, as you can see in here it says to apply watch to working by iCloud, locked uh, Samsung, a50, broken screen battery swirl and battery, not power on and back pulled out because of swollen battery, not sure, if open or repaired before his damaged phone, a Nokia, Lucia 800 a perfect weapon and condition. But locked to e networks and modish for parts not working only please don't buy if you're doing what you're doing et cetera, et cetera. So having got this home at 25, pound plus 5 pound postage from eBay. I put the Nokia for sale and I sold that the very next day for 20 pounds, so I'm now into this for five pounds plus five pound postage. So it's cost me ten pounds to get all of this.
So what I'm going to try and do today is uh is get the battery out and replace the battery. What I've got is a replacement battery now. So what I might just do is take the battery out of this one. Try the replacement battery first, see if I get any life in the phone after charging it and then, if we're happy with that um, we can then change the screen as well and then hopefully, we'll get a good phone at the end of it. So let's do that.
So a good thing with these Samsung is that just our everything is held on with standard uh cross head screws. So some of these look like they've, been disturbed as the seller said. It's probably been apart before, so I'm not holding too much hope, but let's just see if we can get anywhere with this, so let's take out these screws so can remove the battery okay. So next thing we need to do is remove the sim tray. So where this is held together is there's a mid-frame.
Is the outer edge that you can see here and then the screens on the top? So what these screws have done is held the mid-frame to the actual screen with all the electronics behind it. So we need to separate this from the actual screen. So it's a little fantasy, but just there is where you need to put your actual so get some pics, probably start off with a thin one, just to see if you can get in between the actual mid-frame and the front screen which that has gone in between you see where that's going I'll use a stadium, because this is quite flexible because your steady pick to now get into there and release the clips okay, so you can see that has now snapped open. So what we need to do now is move around and snap off the rest, snap open the rest of the clips. Don't snap them off! Can it click in click, click, okay and once they're all snapped, then the mid-frame should just lift off, and you've now separated.
Now we can get to all the electronics underneath so now using this budget. We need to actually disconnect the battery itself, which is this one here. So let's lift that up, and also we need to disconnect the two flex cables which join to the board etc. down the bottom here. So, while that one's already disconnected looks at the batteries pushed that one off and the main one checking that they look okay, they don't look too bad and then take off this end as well.
Now this battery, because it's actually swollen, maybe a bit easier off, but they're now stuck on quite well underneath, so we need to do, is using a card like this and see. If we can get this slid in underneath to separate the battery from the glue yeah, I can feel it cutting through the glue a good battery. This would be probably a lot harder to do there. We go so now, because that's all messed up like it is. I haven't done that because I did it really, so it looks like this has been out before so that worries me a little because I suddenly tried another battery, and it didn't work but hey well, let's see, let's see where we can get to anyway, so I'm just going to temporarily just pop the battery in here.
What connect it just, yet we'll connect that last we'll put the flex cables back, and then we'll see whether anything works, so we'll now connect the battery. What we'll see um is that's interesting because, when you've taken this case off your switches, as you can see- probably switches it down here for your volume and your power, and then they go through to this here which, when that is placed back on click back in it, connects to these connectors here. So that's how they've actually wet it. So you can have a separate chassis. I knew which one was the power I could just short them out, but I'm not too sure.
So, I'm going to I'm going to click this back on, and then we'll see just whether we can get anything well number one anyway, we don't know, there's probably no power, there's no charging the battery anywhere. But let's, let's just see what take a second to try it nice worrying as well. Once you know this is actually it's a crack. If you can see that, because it's black on black- but there is a there's- a crack just there in the actual frame, but I might be able to glue that, and it might be okay, let's just hold the power and see, if anything happens, I'm not sure, there's any challenge in this new battery. Let's suppose there would be okay, so let's put it on charge and lets it charge up for a bit, and then we'll come back and just see whether it powers up, so I've got my charger, and it's actually taking no charge.
So it looks like a problem with the charging circuit, at least, but looking closely at this now I can see: there 's's quite a bit of water damage, etc. Up here and underneath here, the square that detects the water damage has gone pink. So what I'm going to do is I'm going to take it apart. Take the circuit boards out and give them a good brush over with the isopropyl alcohol and see if we can recover it and get it working again so see that's water damage there and looks like water damage there as well, we're going to use ice alcohol, which is IPA, that's 9.9, pure alcohol and some cotton buds, and let's give these clean, I'm also going to use a brush with a little more of a scrape to it, because I can see it's quite a bit of muck inside some of these bits. Here's so there we are! So what we'll do is now we'll just let those dry naturally evaporates quite quickly to Zapier, so we'll give them a few minutes to dry, and then we'll try them again.
So these are nice and dry now. So, let's put them back in okay battery, I'm not holding much for this. To be honest, I think there's one, then that there's been a lot more going wrong with this and the YouTube seller. Just basically said: oh yeah, my battery's, swollen and screen's gone, I think, is a lot more involved, okay, so charge. What I want to see is want to see the amps going up.
So it's obvious: it's not taking any charge. I've left that connected for a little while now and nothing's happening. So what I've ordered is uh. This daughter board down here, which is made in the charging circuit. I've ordered one.
Then the six pound 50 off eBay, so I've ordered one of them, so wait till that comes, and then we'll get that fitted. So it's a couple of days later now and the replacement charging board has now arrived. So let's change over the charging board and see if we can get this to at least start charging. The battery's still disconnected so just connect these like. We can leave that once that one's not, not on the charging board there.
That one is goes through to the screen. That's the old charging board see. As I said earlier, this was a six pound, forty yards, from eBay and yeah. Suddenly a tiny little charging board anyway, but it should be a direct replacement for the old one, so yeah, so we'll take that off and there's a little of sticky on the back there you see, so that's going to keep it in place. Okay want is.
We need this to start going over to say it's using its pulling some currents, so here it goes also we can at the battery it's a new battery. Don't forget all right, so main board with the battery connected okay. So here we go. Let's plug it in and see what happens. Yes, there we go, so we're now getting charged.
So that's good. So charging board was the problem. So now that's fixed and what we need to do is have a look at fixing the screen now, because the screen's all damaged. So I've got my new screen. So let's get the new screen fitted.
So here is the new screen. So what I'm going to do is I'm going to see if I can just test it by plugging that into the connector here and then just see if we can and get anything on the screen like the charging or something like that. So first disconnect the battery and then disconnect this and then, let's see if we can connect this to the new screen a little awkward, I'm hoping that I can get to connect, bring back the charger and there we go so the screen was working. Then I saw the charge come on there. We go so that's good, so the new screen is working, so we can do let's disconnect this and then let's fit it incorrectly.
Okay, to start with what I'm going to do, I'm going to remove the second board, so I can really have a go at this screen now we can turn it over and what we need to do is usual screen. There is a connection of the screen. It sits inside of frames, a plastic frame here and the screen is there. So we need to get some pics in between that and try and release it all the way around. I think it's going to be quite hard cause, it's all cracked and broken, but let's see how we go anywhere right.
This screen must have been off before then to come off that easy. So this probably is a second on screen. There we go. That's it came off pretty easy better than I thought it would right. So what we do is now we need to clean this up.
This is some old glue residue on here. So you can get all this off, so I've managed to clean around the edge of the frame, and this is what I got off it yuck. So let's replace the screen, so it comes delivered with this plate covered. I don't know why, because it's not sticky or anything. It's almost just be a protector film and obviously protection film on the front as well.
So yeah, I'm not sure why it's got that there you go, but what it does have. It does have the sticky part here. So I'm going to peel this off and stick this circuit board down then we'll just test fit make sure it fits in there nicely. So we need to get this through the slots there so just forward a little there we go that's come through, and then we see that in, so I'm going to do now. Am I'm going to put some glue around the edge and the glue that I use for this? Is this b7000? So it's a bit stringy, so you just be careful when you're using it.
I've applied a couple of clamps on there gently not too tight, and I'm going to let them dry, and then we'll come back to it. Okay, so next day now so now, we'll start reassembling, because the glue has all dried, so that's nicely fitted into the frame. So now we can start putting the foam back together. So let's start the reassembly, we'll start with the main board and, firstly, we'll put the cameras back in let's just pop into that spot there and okay, nice click as they went down. So, let's make sure they're down.
Now we can pop this back in the main board back in with the black screw reattaching the aerials. We can now fit the battery back in, but we'll put a bit of sticky tape in place and then the front facing camera and next the interconnect cables next is the mid-frame. But if you remember on this original mid-frame, it was actually cracked there, and it looks quite a bit tatty. So I have a new mid-frame, but the only thing missing is the. I think this is the charging.
So we need to remove this and place it onto the new midframe as all going to be held in place by the black plate anyways. So we don't need really to glue that down. Okay, so let's put the mid-frame back on, and we should be able to click this back into place, make sure there isn't any gap somewhere around the edge. That's good, okay, so another friend's on. Let's do one fan test for the back on, so let's just check its charging to start with which it is very good and let's see on the screen, let's power it on and there we go.
So what we'll do now is I'll just run through the checks quickly and just make sure everything's working you haven't noticed is there's a there's a spot on the screen, but that must be because it was a cheap screen. So unfortunately, so yeah all tested good. So let's get this fully reassembled and then, as the original back was a bit of a mess, we've got a new back to install. So let's do that. Looking good last job to remove the protection film and front film and there we have it is repaired, Samsung a50, albeit with a little light spot on the screen there, but that has to be to do with the quality of the display.
Unfortunately, so there we go so let's, let's take a look at the costs and, as I said earlier, the phone itself was 25. Pound plus 5 pound postage screen was 37. It's the most expensive part battery's only 7 rear screens, 6.50 mid for him.5.50 charging board was 6 pounds 50. , so all in all, just over 92 pounds which isn't bad because I'm just looking one bay and one of these phones goes between sort of 170, 200 pounds so definitely worth doing and in the end you've got a nice Samsung a50. So there you go hope you enjoyed that video.
If you did, please give me the thumbs up and don't forget to subscribe to my channel until the next time take care. You.
Source : Fun2Fix
Phones In This Article

Related Articles


Comments are disabled
Latest Articles


