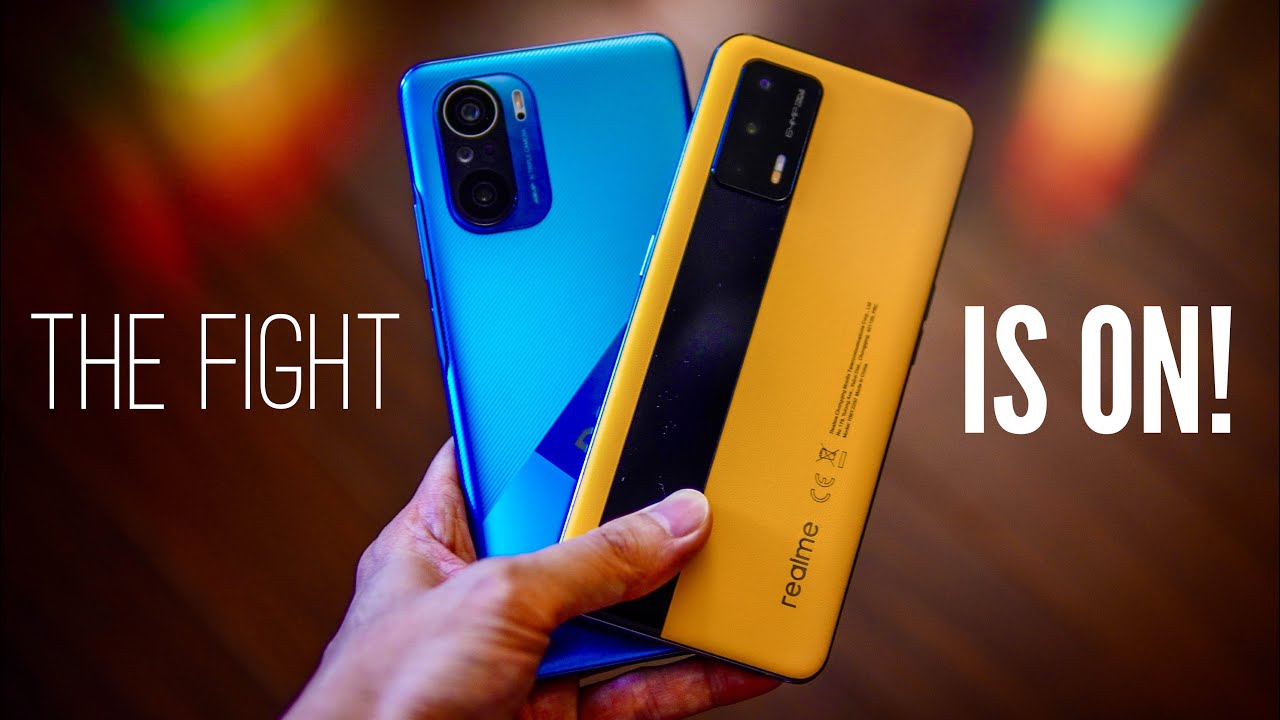
Realme x7 pro camera indepth review By Sai Tech Guru
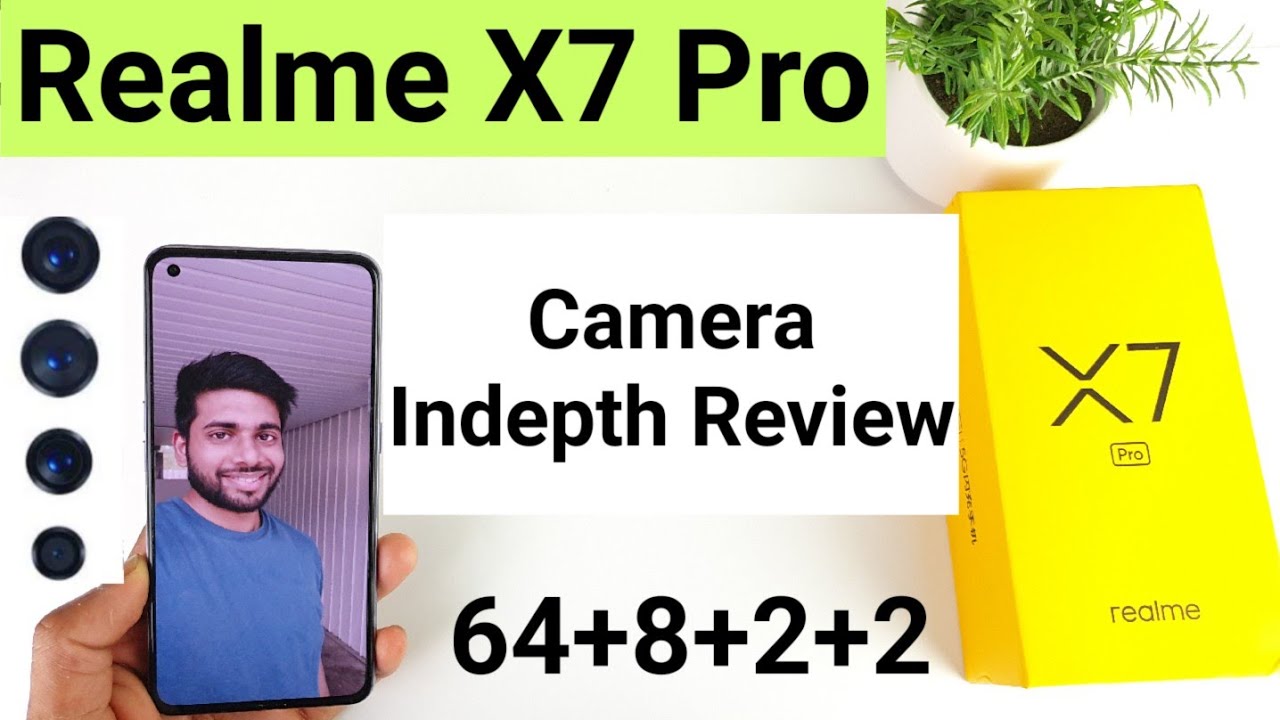
Hi friends, I am welcome back to my channel sciatica in this video I'll, be talking about the camera sample reviews on the Realme x7 pro device. As you can see here, friends, I'm using right now the Realme device, real me, x1 pro so, which has been recently launched from the realm and where so many users are actually waiting for this kind of review on the camera. In-Depth review on this original mix on pro so in this video I'll be talking about only the camera sample images. So only this video is completely in detail review about the images only so for the video samples I'll be trying to upload this first another video. So I just want to keep this completely a video for only for the image quality. I will be talking about the friend, cam and back camera, so where I'll be discussing in various modes as well, so stay tuned for complete video to watch everything about the night mode to macro shots and everything.
So, first let me talk about the specifications of the camera itself so before starting the video. So the phone has the quad camera set up on the back side and the front uh. There is a one camera lens here and 64. Megapixel lens is a normal main sensor and 8 megapixels uh is an ultra-wide and two plus two, so macro plus depth sensor. So there is no telephoto lens, so instead of depth, uh sensor I would have got.
I would have wished that they could have included the telephoto lens of 2x or 3x. So maybe but uh it's up to me. Friends, uh it's up even after you uh which lens you like. But this is a combination of the lenses they are using and 32. Megapixel lens is a front camera and the video can record up to 4k 30, fps and 60 fps so which I'll be talking about the video section in later on, but right now I'll be going through the few of the camera samples which I have taken using this uh real me, Exxon pro for the past couple of days and in case, if you want to download this kind of live wallpaper, try to check the links in description so where you'll find the playlist for the wallpapers, and you can click that wallpaper, and you will download this kind of good-looking wallpaper so which is really attractive and unique wallpapers.
So, as you can see friends I did gather so many camera samples, front, cam, back cam, night mode and even the macro lens as well, so in this video I'll be trying to go through each and every category, uh individually as well. So first, let me uh talk about the front cam. So once I finish the front cam, then I can go for the back camera as well. In terms of the front cam. The results are very, very good and very positive.
I did like the front cam clarity. It has got in terms of the 32 megapixel so which is really, really good. So, as you can see, friends, the details are very much close to a subject so, which is not uh. Beautification is not done highly here so, but there is an option of us beautification as well in the front camera mode here. So let me try to show you, and it is option for the beautification mode.
How much you want you can increase and even the smoother thinner face, bigger eyes change. So there is not a lot of uh options are going on here in terms of the friendly cam options here, so overall in terms of the friend cam, I am very much happy with the results.32. My pixel lens is doing a very good job in terms of maintaining the colors and close to subject. As I said, even the portrait mode is also kind of good, but not uh. So great the portrait uh selfie mode.
As you can see, it's not clearly blurred on my eyes. As you can see your friends so uh, sometimes the portrait mode, it does look like artificial portrait kind of thing, so I'm not uh liking about the portrait, but all the image clarity is pretty good in terms of the front camera. So now let me uh move to the back camera so back camera. Let me try to start with the normal basic camera lens, starting from the 64 megapixel lens, and even I'll, be trying to display to you the wide angle lens as well. Each and every uh photo.
So these are normal.64 megapixels, lens uh shot which are taken normal main camera sensor, and this is the ultraviolet shot which are taken here and the colors are very, very good and even the dynamic range is also pretty good. I can see the sky uh, it's kind of very uh, close to subject like close to our exact sky color. So it's not over saturated or under saturated it's exactly as it is. So there is no change at all. So in the wide angle lens, you won't be getting so much of an information when you try to zoom in to the subject.
So in the normal lens, you will get that kind of information. So if you notice this kind of pillar and the symbol here, you can see at least little kind of symbol, but in the wide angle lens you won't be able to see any of this information, as you can see, because you cannot even zoom in or more into the image. So that's the one kind of uh drawback or, if you're, using a wide angle lens. But overall the image is pretty good. The clarity and everything it's a very, very detailed- and this is the 64 megapixel shot which are taking using this one.
So using the 64 megapixel uh shot, you can actually uh zoom in very much uh close to the subject and events. I can read the text as well, sometimes so 64 megapixels short is really worth of trying and now let me try to show you one by one, the size. How much is the size for each and every image? As you can see, 7 MB size for the normal, our main camera sensor, uh images- and these are wide angle lens, and let me try to show you the size so wide angle lens. The size is of 2.9 MB, as you can see friends. So now, let me tell you or show you 64 megapixels, uh, camera lens uh size, 64, megapixel, uh, image size.
So it's a 64 m image, as you can see reference 25 MB for the 64 map, SLR camera lens uh size and the resolution also. You can clearly see here and let me even try to show you the front camera or size as well. So that is the one thing which I forgot to mention to you from the camera size: how much the image size will be there. So, as you can see your friends 8.6 MB and these are dimensions and resolution for the front, cam image so front camera. So now we got to know the different uh image size for each and every uh camera.
So now let me try to go through a little more in depth. Uh regarding the telescope, lens and zooming test, which I already did so right now I'll- try to demonstrate you the zooming test, which I did right now. So let me try to show you quickly so first uh, this is a wide angle shot which I have taken and uh far away uh. There is one small note which is written in near this gate. I am trying to just trying to zoom in every time.
So, let's see these are wide angle, shot which are taken, and you can see the small piece, but you cannot even read anything, so these are normal main sensor, as you can see. So this is how much you can zoom in. So you cannot zoom in more than that, if you're using normal or main camera sensor- and this is with the 2x zoom- okay, 2x zoom- and you can still uh read little- you cannot read anything, but you can actually get closer. So now this is a 5x zoom 5x. So still some text is visible, but it's not clear at all, and this is a 10x zoom, as you can see reference 10x.
So you cannot even see the text at all. Everything is washed out uh if you're using the 10x zoom. So, unfortunately the phone doesn't come with the any telescope lens. So these are. This will be the results if you're, using the main, like telescope lens here using the main camera as a telescope lens and the paper was very much far away from me.
I think close to three meters to four meters and the next uh case scenario, where I did only to the think three meters before it was five meters and now three meters. So it is a text uh subject here, so this wide angle, main camera or 2x short 5x and 10x. So even in the 10x, you won't be able to see that much information, as you can see here. So these are 10x shot which are taken here, and this is the final uh 64 megapixel uh shot as you can see friends. So the one thing I did observe is that if you want to try to take a zoom in the image, don't try to use any zooming options.
Try to capture the image with the 64 megapixel options. Only so if you try to uh capture any image with a 64 megapixel uh settings, then you can try to zoom in more into the subject. So let me try to quickly explain you or what's happening. So this is the camera interface and whenever you want to or take any image, and later you want to zoom in always choose this 64 megapixel option. So this is very much uh good when you try to zoom into the image, but if you're using normal uh photo option and if you are trying to zoom in using this options it uh, the clarity will be very much a lesser ear.
If you try to use like this 10x versus the 64 megapixel. So there is a difference which I did observe right now. You can clearly see if you're using 64 megapixel lens. You can actually read the text uh properly, but if you use 10x zoom as you can see, you cannot even read the text. There's a huge different friend in terms of the 64 megapixel lens, so always try to use that one and unfortunately there is no telescope lens.
That is a kind of major drawback for few of the users I would say, and for some times let me try to show you the images one by one uh, what I captured using this realm x1 pro, which is it turned out to be a very much good as well in terms of the image clarity. This is a video recording which I did on the Realme exon pro, and it is on the short which are taken, which is a perfect uh, no issues in terms of the image colors. Even you can see here. So these are 64 megapixels, shot I've taken right now, so you can see under the direct sunlight so which is perfect. So now, regarding the macro lens, so macro lens is also 2 megapixels.
But it's not uh that detail in terms of the clarity, so you will be definitely missing some kind of details, but uh. If you, if you are into the photography, then macro lens will be also helpful, and this is the night mode shot or which I'll be trying to demonstrate right now. So this is with the normal photo shot, and this with the night mode, enabled normal night mode normal night mode. As you can see- and this is with a very low light effect- these little lighting effect low light effect. So these are the image.
Clarity looks with the low light effects, so this is the night mode and without night mode without night mode, and this is with the night mode, as you can see here, the difference in terms of the plant colors here in this location, so the night mode was kind of uh, okay, I would say, but definitely I'll try to test this night mode uh in depth in my future days, and I'll try to update you regarding this night mode as well in case, if you are worrying about this one, but overall, this is a quick, complete tutorial on this uh image of quality. How the Realme x1 pro can produce, but I am liking everything in this phone, but apart from not having this uh telescope lens, but in case, if you want to take any uh images which you want to zoom in later always use the 64 megapixel option only which will be helping you a lot uh the camera interface and everything is always the same. So there is nothing much different in terms of camera interface. So that's why I did not uh talk about more about the camera interface, so everything is same frames uh! No! No! No! There is not even a single extra addition has been added here apart from nothing, and thank you for watching this video and see in the next video friends until then, bye.
Source : Sai Tech Guru
Phones In This Article

Related Articles


Comments are disabled
Latest Articles


