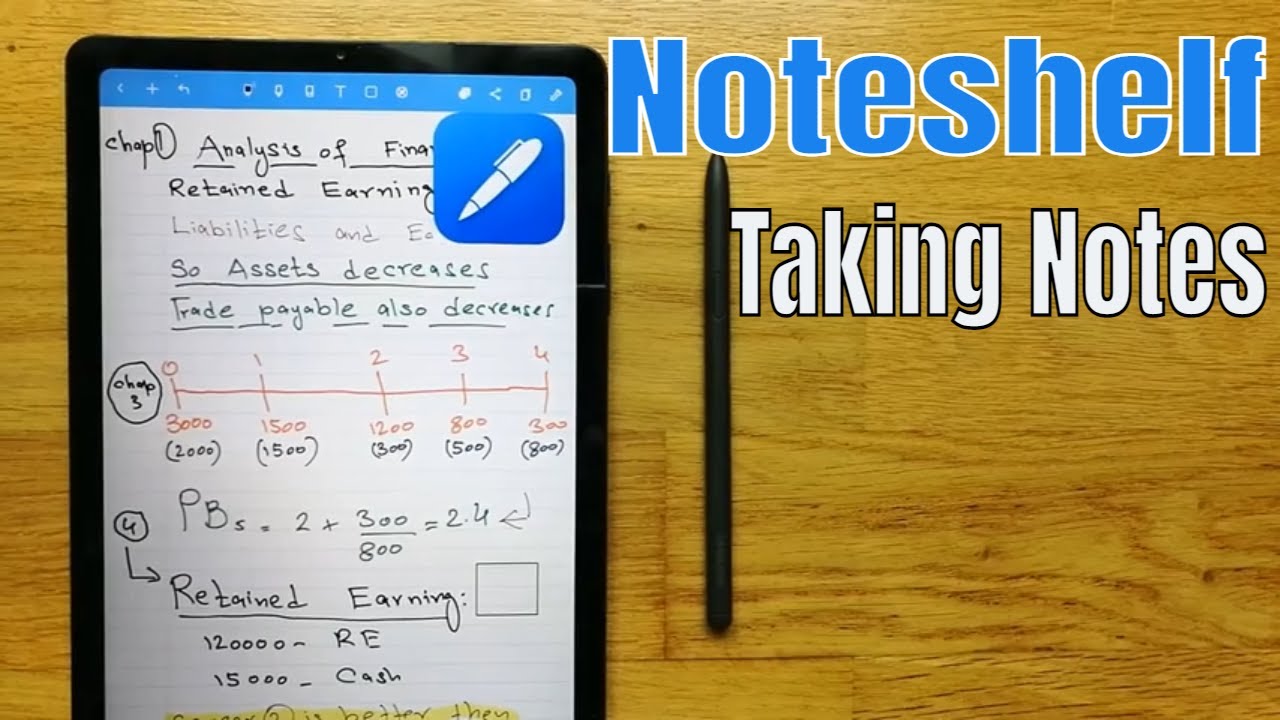
Noteshelf Review: Tab S6 Lite | Best Note Taking App? By sam tube
Hello guys, I hope you are doing really, really well today. We're going to do the walkthrough tutorial for note shelf. It is a note-taking app guys. So let me open this. So when you open it, it will be like this and if you don't have time- and you want to create a quick note- so there is option over here is a plus sign over here. Just click on this plus sign, and then you see this option, quick, create so just select this quick creates option, so it will quickly create a note for you, and then you can start making the note straight away, guys.
Okay, so if you want to change the template, you can also change the template by going through here. You can see the settings option over here, so just select this one, and then it is giving you the change page template option so just select it. So it gives you different options over here you can see. There are a lot of options, dark midnight, a4 and there are a lot of plain rule checked and then, if you want more option there is in the last there is an icon. You can see here, it says free downloads.
So when you select it, it will take you to the note shelf club and then there are a lot of templates available over here. So you can select, whichever you like. So this is how you guys can create the quick note option. So if you have time there is an option over here as well, it's a same thing. You can go here, and then you can see it says new notebook, so I will create a new notebook for you, and then it gives you the two option for the book cover and for the template so book cover.
You can change the book cover template from here, whichever color you like, okay, custom waves and then again, there is a free download option also available over here and then uh. For example. I select this one and then for the paper template you can change from here. So, whichever template, for example, you are looking for something related to finance uh for student, for example, I like this one, so I go with this one and then there is option, it says, create notebook, so the notebook will be created, and it will be like that, and then you can start working on it guys. So this is the second thing.
So now I will go back, and I will uh tell you more about how to back up your notes. So if you want to back up your notes, there is option over here. You see it says settings, so you go over here in the settings option, and then you can see there is option, it says cloud and backup. So when you click on this cloud and backup option, you can see here you can um, it gives you the option for Dropbox Google Drive and Evernote. So you can publish your work to Evernote.
All you have to do. Are you have to sign in to your account in the Evernote and then whatever you uh, whatever you do you work on these notes? You can easily publish it uh by going through here, so you can see here. There is a backup option. So currently I'm not backing up my notes so um I will. I will go with it like that.
So let me finish this one. So the other thing uh, let's enter into the notes and see what we have inside the notes. What tools do we have? So you can see here so the very first and important tool in the note shelf or any note-taking app is its pen option. So this is the pen option. When I click it, you can see it is giving you three different type of pen option.
Uh, its one is like pencil, the other one is like a pen and the third one is like a ball pen, which is my favorite, and if we talk about the sizes it gives you eight different sizes. You can see you can select from here, and you can see here. It is giving you different thickness of your pen, okay and the colors, whichever colors you want. It is giving you the coloring option here, and you can also edit, and you can customize your own color. You can see from here.
You can customize your own color for your pen, okay, guys. The other thing which is cool about this pen option. You can make your favorite pen as well. So I already make this pen my favorite. So whenever I try to write, it will always bring me this pen with this thickness and this size.
So this is how you guys can make your favorite pen. So the next thing that we gonna talk about is a highlighter. So the next thing is a highlighter. So when I click on this highlighter option, you can see it. It is giving you two different type of highlighters over here and again.
There are a lot of colors option, whichever color you want to use for, highlighting your document for highlighting your text, and you can also edit it, and you can customize your own color, whichever color you like. Okay, guys and the other thing about this highlighter is uh it giving you six different type of sizes you can see from here. It is giving six different uh sizes, and also you can make your favorite highlighter by clicking over here. You can see you can make your highlighter clear and then, if you want to highlight you can see it here. I'm highlighting my handwriting.
You can see it over here, so this is for the highlighting option and if we move to the third option, which is eraser option, so you can see it over here when I click on this, it is giving you three different type of erasing sizes, and it's also giving you the option of clear page once you select this. It will clear all the page and then um. The last option, which is important here, is erased highlighter only so if you enable this option, it will only erase the highlighter it will not erase the entire stock. So I will show you: how does it work, so now I select the eraser, and then I select this size. Okay and then I want to erase my highlighter.
So you can see it here. So my highlighter has been erased. The same goes for this one I will select again, and then I erase this one. So you can see it erase my highlight my highlighter. If I want to erase uh my handwriting again, I will go here, and then I disable this erases highlighter only option, so it will disable it, and it will start erasing my handwriting.
You can see it over here. So it is my handwriting. The next thing that we want to talk about here is putting text to your notes. So, for example, uh you want to put any text. So simply you have to go here.
You see this icon and then just click on this one, and then it just taps on your screen. A keyboard will appear, and then you can write anything you want to write okay guys. So, for example, I write any text and then, if you want to change the size, you can change the size from here. So you can see it over here. I'm changing the size of my text and then, if you want to change the style, then different styles are over here and the colors.
If you want to change the colors are over here, there are a lot of colors option, and then you can also customize it and if you want to make it left in the middle or in the right, so there are these option as well that you can use. The other thing is if you uh want to uh write with your s pen, and then you want to convert it into the text. This option is also available. What you have to do you have to go here on to your text. Okay and then uh.
Just click on this one like that and then uh just click over here. Okay and then click this uh small, uh, blue or vapor shape. Okay, just click on this one, and it will give you the option of clipboard. So just click on this clipboard option. So once you select, the pillow um menu will be changed, and then you see a small icon over here.
It's written here t with the pen, so just select this one. Okay, so once you select this one, it will give you a space to write anything. So you can write here, and then it will convert into the text. So, for example, I write here convert okay. So now you see here, it is now converted into my text the handwriting converted into the text.
Again, I can write anything okay, and then you can see here. So it is converting my handwriting into the text. So this is really, really important feature. For example, if you are taking uh the notes, it will be really helpful. The next uh tool that we're gonna talk about is the selection tool, guys it's really cool feature, and it's really uh amazing tool that a note shelf is giving, so the selection tool is over.
Here. You can see the selection tool. I select it now. I can select whatever I want to select, and it will draw a solid line like that. Okay and then it will select this uh.
This whole area that I want to select and then after it is gives you the option, different option, you can cut, you can copy, you can delete, you can resize, you can color there a lot of option. It will give you the other thing that this selection tool will do is, for example, if you want to take a screenshot okay. So what you will do is select this selection tool and then, if you want to take a screenshot, for example, if you want to take a screenshot of this area, okay, you can take the screenshot as well guys, so the very first option it is giving you here are the screenshot option, just select this screenshot option, and then you can see it take out that area and after that you can export it, and you can share it uh in there in all of your apps, whichever app is giving you the option for the sharing you can see here in messenger in Gmail in Samsung notes, there are a lot of options that you can do using uh and this screenshot option. It's really amazing and a really cool feature that no shelf is giving. So the next tool that we're gonna talk about is the shape tool.
The shape tool is over here, so you have to select it and then whatever you draw, this note shelf will detect it. For example, I draw this circle, and then it will detect and make it in a proper shape. So this is very uh useful tool. If you want to draw shapes um, you want to draw different images, so this is really uh really helpful, but you cannot edit your shapes guys. So the next thing that we can talk about is adding photos.
So if you want to add photos or images, you have to go here, you see this plus sign over here, so just select it, and then it is giving you the option uh to select a page from template page from photo, and the second option here is about camera, photo library and record audio. So we go here for the photo library. So I select this one and once you select the photo library, it will bring all your images that you have in your library. So, for example, I uh take this image. Okay and then I select it, and now you can see here it brings it to my note shelf, so I can resize if it's very easy.
I can scroll it and I can also resize it. You can see it over here. I can make it more small, and then I can also edit it. I will show you guys, so you can see it over here. Furthermore, I bring it over here and then, if I want to make it small, I can also make it more small like that and then, if I want to edit this photo just select this option of edit, and then it will take you to the another page where you can crop it, and you can erase some area.
For example, if you want to erase this one or if you want to erase this whole area, you can also erase it okay guys here you can do all the editing with your photo and if you want to cut some things you can use this option. Okay and then you can start cutting. For example, I will cut these. You can see it over here now. I am selecting it and then, if I want to cut, I can easily cut okay.
You can see it over here. I'm selecting this area, okay and then like that, and then I do to apply okay, and then I press the done option. So now you can see here, the photo has been edited, it's been cut, so it is really useful if you are taking uh some kind of notes, and you want to uh put your images, and you want to edit those images. So it is really, really helpful. The next thing that you can do in note shelf you can also do uh voice, recording or audio recording.
So, for example, you are taking uh your lecture, and you want to record that voice of lecture. So simply you have to go here. This plus sign just select it, and you can see there is option, it says record audio, so just select it, and it will start the recording, and here this will be the recording, uh audio icon, and you can also take notes while recording. So this is really useful if you are taking some kind of lecture, and you want to record the voice of that lecture in the meanwhile. You can take the notes and if you want to stop the recording, you can click on here, okay, and then it will ask you to the stop so just select.
Now it will be stopped and then later, if you want to change the speed of the recording, you can also change it by clicking over here. You can see it says: 1.5, x, 2x and 0.5 x, so there are different speeds that you can use for your audio recording. The other thing that you can do, which is very useful, is scan a document. So if you want to scan a document, no shell gives you the ability to scan any document. So you have to just go over here this plus icon, and then you can go over here, and then you can see there is the last option: it's a scan document.
So once you select it, it will ask you to take the picture, and then you can make it a scan document, and then you can also import that scanned document to your node. So this is really, really helpful guys. The other thing that you can do you can add an image you can add a page from the photo, and you can also import PDF file, and you can also add other files, for example, JPG images. You can also add into your notes and the good thing about these notes. You can also bookmark your notes, your favorite notes, by going over here, you can see so first, you go here in the plus sign and here all the options you can see.
The last option is bookmark, so you select this bookmark option, and then you can enable it, and it gives you the option for different colors. So, for example, I select this red color and then here you can name your bookmark, whatever name you want to give, for example, if you want to give it an important, so this is really useful yeah. So, so now this page has been bookmarked. So this is really helpful if you want to uh bookmark a page. The other thing which is really useful is you can uh search through your notes? So simply what you have to do? You have to go over here.
You can see this option and this finder option just open it, and then you can type here anything you want to search inside your note, for example, I type a word let's say convert, so it will bring me to that page where this word has been written. So I search it from here, and then you can see it over here. It shows me the highlighted page which, where it's this word is written, so I can directly go to that page. This is really, really useful, guys and the other thing uh that you can also annotate your PDF file. Simply what you have to do.
You have to go here, plus sign and then go here and then, for example, select this option import document. So once you go over here, you can select any PDF file. For example, I can select this PDF file. Okay, it will bring me into this node where I want to bring it and then this PDF file, you can annotate it. You can edit it.
If you want to add it, you can write on it. You can see over here. You can write it. Okay, if you want to add some text from this file, you can also add it. You can also add photo or image.
So there are a lot of things that you can do in the other important thing that you want to know if you uh, uh, want to know the information about your notes like when it is created, so you can also get it just go over here this settings option, and then you see the last option over here. It says: get info just select this option of get info, so it will tell you the page number when it is created, what time it has been created and when it is updated, so it is really useful. The other thing is, if you want to export your node, so, for example, I create this node. There are a lot of pages, and I now I want to export it. So simply you have to go here this.
It gives you the option of current page, all pages or select page. So it's up to you if you want to select the whole and note that you create or if you want to select only one page. So, for example, I select uh all pages okay, and then it will ask me the format which format I want to export PNG format or PDF format. So it's up to you, whichever format you want to make, so it's up to you, whichever format you want to uh convert it, and then it will ask you where you want to share. For example, if you want to share in Gmail uh or to any other email or any platform you want to share, you can share it, okay, guys so one more thing.
For example, these are my different notes and, for example, if I click long time on OneNote it opens a menu over here. So in this menu it gives you the option of open, pin notebook change, cover, rename duplicate, move and share. I can also move it this node to other places. I can duplicate it. Furthermore, I can change the color I can rename.
So there are a lot of things that I can do. If I want to move this node to another node, I can also do it simply just select it, and then I can drag it like that, and then I can put node inside, so it will be grouped into one node, and you can see here it gives you the name, and you can also change the name of this node so guys. This is all you need to know about node shelf. I hope you guys found this video useful and give it a thumbs up guys, and please do subscribe to my channel guys. Thank you very much.
Source : sam tube
Phones In This Article
Related Articles


Comments are disabled
Latest Articles


