Mobile Photography Tutorial: Ryan Resatka makes the most of a OnePlus 9 Pro camera By Qualcomm Snapdragon
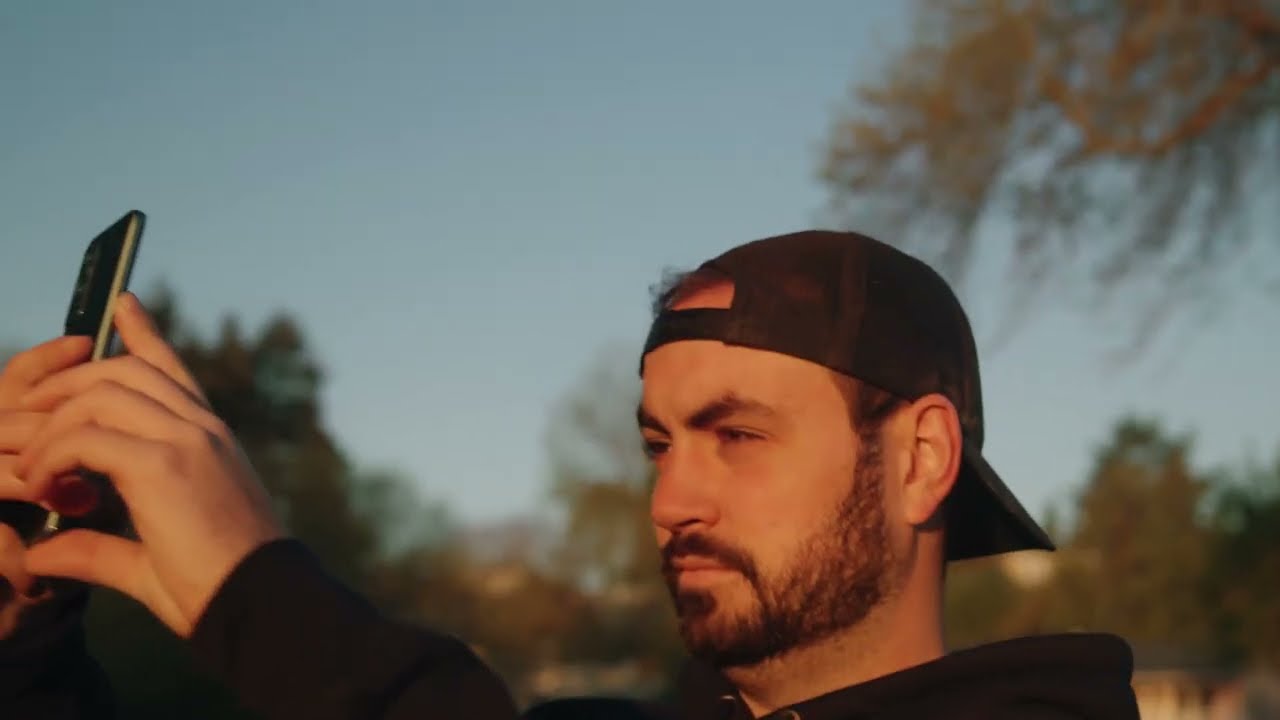
Hey guys how's it going I'm Ryan Lusaka, and today we're going to be doing a mobile photography tutorial for this video. I'm going to be partnering with Qualcomm technologies inc to show you how to get professional quality nature photos with the Qualcomm snapdragon 888 5g mobile platform, like the one inside this OnePlus 9 pro smartphones. Now this OnePlus phone has some cutting edge features that take full advantage of the snapdragon 8885g mobile platform. Now some of those key features include low light photography with night mode being able to shoot in 12-bit raw while having manual controls and support for multiple lenses and because this device can shoot in 12-bit raw. That means that you're going to have way more control over your images when you're editing and that's also going to yield a higher image quality on your photos. So what am I getting at? Well, what I'm getting at is that this device can take professional quality photos because it takes full advantage of the snapdragon 8885g mobile platform.
Now, what is mobile photography is, when you take images with a small device like a cell phone in a more on-the-go fashion. Typically, when I go out, I do have a camera on lenses. However, there are times when I don't really want to lug around all my gear. Look in this heavy bag, which has a camera and lenses and other stuff that I'm probably not going to end up using anyways. So this ends up being a much better option so now that we have our device, the next thing that we want to do is go take photos well, if you're going to go, take some photos.
You've got to plan a little, so what we're going to do is we're going to go over the main steps in order to plan out your photography goals properly. The first thing that you're going to want to do is have a location in mind, you're, going to want to pick a place that you're going to want to take these photos, that's relative to the style, the photography that you'd like to take. So, for example, I love nature photos. So I'm going to go out into the woods, go to a mountain, a lake, maybe the ocean and find something cool that interests me and make photography scenes from there. The next thing to consider is the time of day that you're shooting.
So, for example, if you want photos that have more gold and light you're going to want to shoot at sunrise or sunset, because that's just the way those times of day are, if you want to have more, you know: vibrant tones, lusher, greens, more vibrant blues you're, going to shoot middle of the day. You know maybe with some clouds in the sky and then, if you want more of a moody scene, you're going to want to shoot on foggy or rainy days to encapsulate those feelings as well. Next is going to be time of year now. The reason why this is important is that certain weather conditions are only going to happen at certain times of year, so, for example, if you're shooting at a lake in the morning, you want low steam in the water. You have to usually shoot late summer fall or early winter before the lakes or ponds freeze over.
If you want to be able to have fog in your photos, you have to be able to shoot during a time of year when there's more rain high humidity things of that nature. So when you're planning that part out think about the types of photos you want to take and if weather is going to have an impact on the photo conditions, the last thing to consider is overall preparedness for visiting the location. So, for example, if you want to go to a mountain lake and shoot that you want to make sure that you have the proper permits, gear safety, equipment, etc. , to be able to capture the photos that you want to in a timely and safe fashion. There are other places too, where they might require entry tickets or certain times a day when you're allowed to be there or not so make sure you're doing research and also be conscientious of sustainability and leave no trace practices.
That means when you visit somewhere leave it exactly the way that you found it. So now these photography principles, we're gonna, put our mobile photography skills to the test and take it out in the field. So let's go so. The first thing that we did was go out and location scout. We wanted to make sure we knew exactly what we were going to shoot in the optimal light that we wanted.
We went down to the water's edge along lake Washington to shoot the cherry blossoms. During their peak bloom, we found some really, really cool locations that gave us different ideas for compositions. I walked through and took a few preview shots that I thought would be perfect in optimal light, and I took them right on the phone so that way, I knew exactly what I wanted, and I could reference those photos for when the lighting was better, we drove around to multiple locations to kind of get some different ideas of what each area could offer, instead of just one location that also cranked out more ideas for us that we came up with, depending on how the light was going to be in the morning to continue our flowery content theme, we decided that it'd be really great to shoot the tulip fields that are north of Seattle. These tulip farms are a really great source for awesome photography, just due to the fact that it was a time of year when the tulips were blooming, and they were in a ton of really cool shapes that we could utilize for compositional ideas. For example, a lot of these spots had cool leading lines.
A leading line is a compositional idea that leads your eye through the image. For example, if you have an image of a road you're going to be looking all the way down the road, because it's leading you to a certain spot in the photo in this case when we were at the tulip fields, there were tons of different rows. There are patterns that winded throughout, and we were trying to utilize those to make fascinating, compositional ideas that were also eye-catching. Of course, like I mentioned earlier, getting your compositional ideas down first and then executing a better light is the way to go. We were also being very mindful of the light and noticed that the sun was getting lower.
We decided to do a few more ideas with the sun being backlit instead of forward lit just because the light looked less harsh from that direction. I'd free walk in different areas to see how she would fit into a composition in a more seamless way through trial and error. Some spots didn't look so good and then others looked great, so we ran with what worked, and then we kept going at it until we got something that we were both happy with. We headed to a second tulip farm where we wanted to shoot more photos, and we ended up waiting until the light was exactly what we wanted. The sun was going to set directly behind the tulips, giving us that warm golden glow and there was an awesome barn where we could also capture more compositional ideas that were super cool.
Now the barn was one of my favorite spots to shoot, not only because it was a cool subject, but because of the way that the flowers framed it in the bottom of the photo. When I'm composing my horizontal images, I want to make sure that, whatever my subject is usually in the middle or has a line leading to it and or I want to make sure that the foreground is well filled in so that way, the image doesn't feel as empty notice here, how the flowers are taking up most the photos that I'm taking- and I also have my trees evenly spaced on both sides of the image be mindful of these types of things. You're composing your photos, as I mentioned earlier, this device has both an auto and a manual ability for taking photos. Now I always opt for the manual option just because I know how to shoot in manual. However, if you want to have the auto settings, not a problem just tap wherever the brightest part of your photo is, and your photo will automatically be corrected to what the camera thinks is the correct exposure when you're taking photos, you want to make sure that your photos are evenly exposed and what that means is that you don't have anything that's too bright or too dark.
You want to be able to see almost all the details as evenly as possible throughout the photo when you use your manual settings, that's exactly what you're trying to do in order to achieve a well-balanced photo. So that way, it's easy on the eyes, and you can clearly see what you're looking at, for example, if you notice this photo is way too bright and parts of the image almost look white, but notice. If I change the settings slightly that the photo becomes way easier to see- and you know exactly what you're looking at the colors are richer, and it looks way more balanced. So definitely keep this in mind when you're taking your photos, we wanted to take full advantage of this golden light. So we tried a few different photography ideas that implemented the light, but in different ways.
So, for example, I shot a few close-up images of the flowers where just the flowers were in focus and the other parts of the image were out of focus. In the background, I also tried to do some close-range images of my friend free, where she was the center focus and then everything around her was also out of focus. That gave us more content, variety, and we were getting content in perfect light too. So, after the light was gone, we decided to wrap it up and head back home. We had to get up really early because we wanted to shoot those cherry blossoms that we had sawed earlier in the day in much better light for sunrise than morning.
So in the morning we headed out to the spot that we wanted to shoot. We got to the location a little before the sun came up just to make sure that we had the ideas down, that we definitely wanted to shoot in the better light and then once the sun came up, let it rip, and we got a ton of awesome photos in different spots, with all the compositions that we had planned out the day before the golden tones on the cherry. Blossoms looked amazing, and it was super rich in color. The light also hitting the grass on a lot of these spots looked perfect too, and gave it perfect luminance as well, now make sure to join the snapdragon insiders community at snapdragoninsiders. com and follow them on Instagram at snapdragon.
Insiders be sure to use the hashtag shot on snapdragon with your mobile uploads. Well, guys, that's it! This is my tutorial for mobile photography. I hope you enjoyed it and I hope you learned something. If you have any questions, feel free to leave a comment below I'd be glad to go over it and, as always, have a great day. You.
Source : Qualcomm Snapdragon
Phones In This Article


Related Articles


Comments are disabled
Latest Articles


