Meizu M2 Camera Review with Samples | HOWISIT By HowiSiT
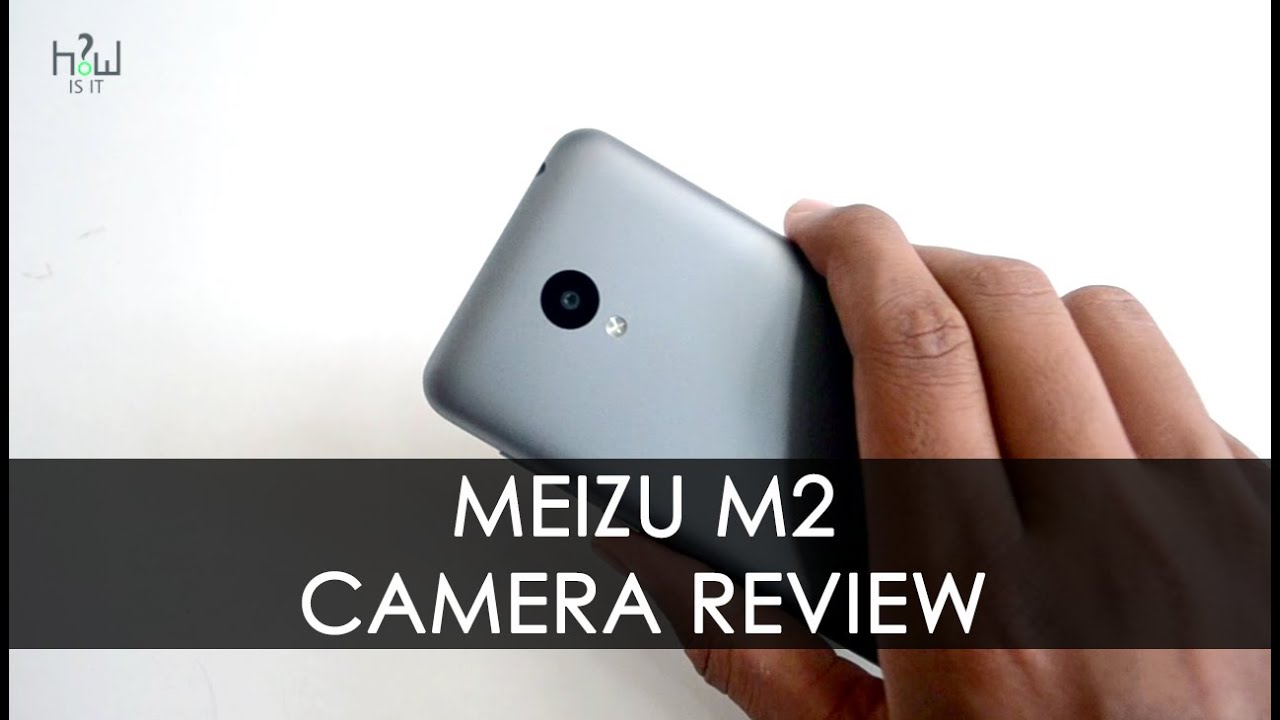
Hello friends in this video, we are going to see the camera review of Music m2. It has eight megapixel rear camera with single LED flash and five my whistle front camera without any further delay. Let's get into it, I'm James, and you're, watching how's it. Let's open the camera app and see the camera interface. This is the camera interface, which is very simplistic and let us take a shot from the app itself. As you can see, shutter speed is really fast, and you can take a snap in just a click of a button, and it just takes faster than what you have expected.
So moving back. What we can do is we can touch to focus on the screen itself. That makes the picture more crisp and clear, but it will take some time to focus, but once it focuses, the image looks very sharp and the detailing in the image is also perfect. So moving on to the camera interface, there are some other interfaces, such as you can scroll from right to left or left to right to toggle between the efforts. As you can see, let me give you a closer look of this.
There is a beauty mode panorama, mode, light mode, QR scan mode, slow motion, auto mode and manual mode. So this is a bunch of options are available in camera effects, interface, where you can use those options and moving on to the manual mode, you can adjust the shutter speed, ISO settings and there is also exposure setting- is also there in manual mode, so you can play around with it to get the better picture in manual conditions. You can also get those modes by scrolling from the top to down, and you will see these mode options are available. You can also choose from there moving up to the settings. We will see that the camera interface has some pretty enormous tech options that we will see.
Mentoring, operations, storing location, HDR grid lines and language is also available where I was switch, it off the level cache and after switching it on you will be able to see the level gauge is available on the on screen. Shutter button and moves depends upon your stability to increase your accuracy of taking the shots. By moving on, we will be able to see that you can save the images first on ST and you can increase the photo size up to four is to three ratio and video size up to 1080p. Countdown option closes three seconds five seconds and ten seconds so moving to the front camera are settings, there is no HDR. Option is available for the front camera, and mastering separation is also not available.
Apart from that, all other options are available for the front camera, and you can use that it can record video up to 1080 pixels, and we will see the video interface, so you can just tap on the video icon. You will move to video interface. There is an option to pause the video, and you can also take snap so, while recording the video autofocus seems to be working fine in video mode also, so we will let you know in more sample images which we will show in the later part of this video. This mails on mobile running on fly me OS, which are much more options clicks in the camera section which is integrated in it, and we will let you know all those options now. So if you Doubleday the screen of the camera, you will be able to get the square picture where you can use those pictures to make your DP in Facebook and WhatsApp, for taking better picture and with good focus.
You just tap on the screen for continuously more than one or two seconds, and it will take the snaps immediately. As you can see, the images come out to be really well also so without using the on-screen shutter button. You can also use that, and you can also use the volume up or down button to take the snaps so moving ahead. What we can see is next. We go into the light of field.
This mode is quite interesting because focuses on the part of this area, which we are going to take the snaps and what it does it. It will take continuous snaps off for the same image for more than six to seven times. It will focus as the different part of the same image and to give you a better picture of the email whenever you touch a one area, and it will focus that one particular area and apart from that, it will blur all the other sides. So let's see some outer shots and a sample images, so the outer shots came out to be really well and to give my liking, the lighting and the senses are really working out. Well, as you can see, these images were taken and the same pictures and that comes out really well.
The focus is little on the lower side. You can't able to really focus the image that is too much closer with the object, so you need to stand little behind and that's making the focus a little harder. The camera performs decent job in nighttime, as you can see the artificial lighting and the low lighting, and maybe to only flash the image performs perfect. So, let's see the front camera the front. Camera images came out really well in normal mode, and you can also use the beauty mode, and you can also apply the beautification after you are taking the normal snaps.
You can play with the settings too using the beautification mode and to get a better picture of that. There's a move, your samples, it is a 13-mile rear, shooter a sequin, see the colors are perfect. If you want the brightness just tap to focus just tap on the screen, and it will focus, and it will give you a clear picture of the brightness, so the brightness increases depending upon your focus. So if you want me to focus the ground, it will increase the greenness. So if I want to focus the top of the stadium, it just blurs.
So that's the difference. So if you liked this video eat like button and subscribe to the channel for more videos, this slow motion- video has also been recorded with the default settings in the museum ? in default to video settings, and the image quality seems to be little on the lower side because of its size. The quality of image is not that great and also use the touch to focus to get the brighter brightness, but then the slow motion video came out to be really well, and it's more than average I would say and let's check the front camera video quality. As you can see, the brightness in the mobile is perfect, but the other side to be my liking, not that much, but by a slight margin, so make sure that you are shooting in good lighting conditions, and you will get a clearer picture that snaps at the camera review. So speaking of the camera quality, the Museum m2 performs really well for this price tag of 7000 rupees and the image quality in both the front, camera and rear camera came out to be really well.
This phone is a very good buy, even though it faces some heavy competition in the likes of euphoria, Redmi 2, prime, in focusing on three five zero and Lenovo a6000 plus, I already had a comparison, video of all those former parts. You can check that video, and I've already made a tips and tricks for this museum ? for using fly movies. You can also check that out. It's like button and subscribe the channel for more videos join me on Facebook and Twitter hope you enjoyed this video focus in my next video. This is Tim signing off.
Source : HowiSiT
Phones In This Article

Related Articles


Comments are disabled
Latest Articles


