LG Velvet Basic Camera Settings By Phone Tech At Work
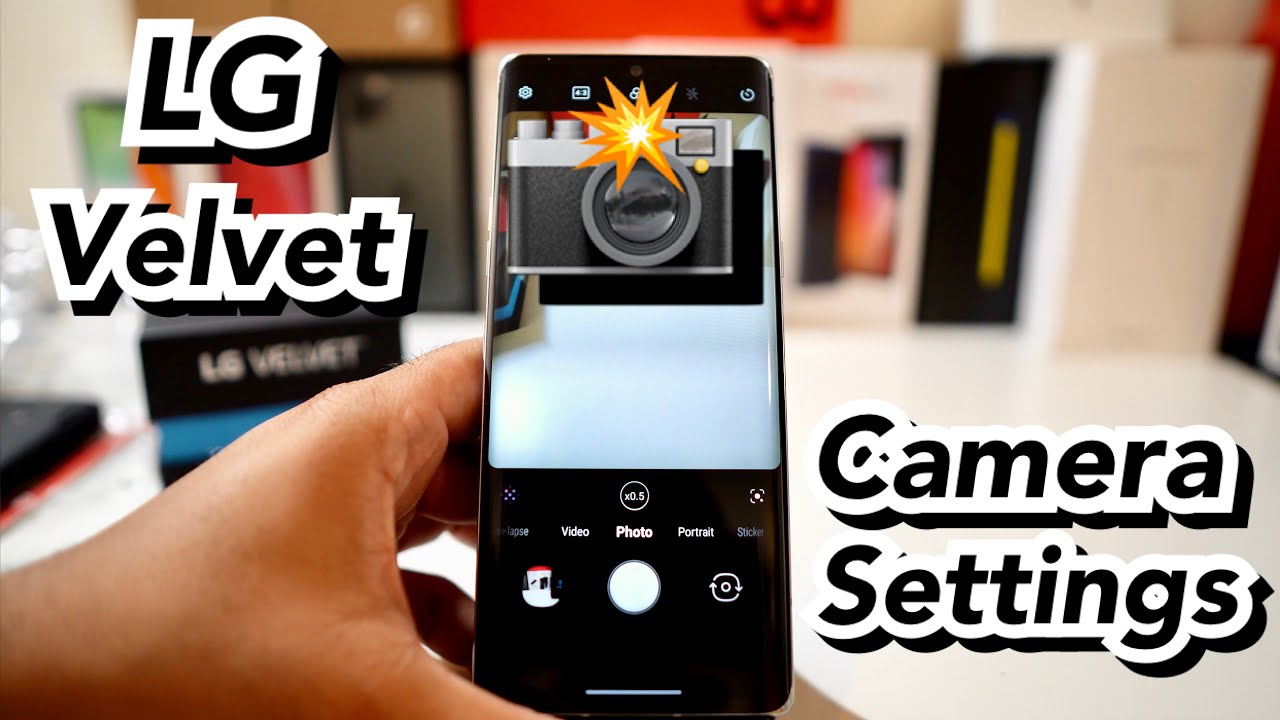
Hey, what's going on everybody, this is Alan Anthony from phone tech at work, and it's time to check out the camera settings of the lg velvet. So let's start the video show you what I'm talking about all right guys, so the lg velvet, let's just hit the camera settings real, quick and let's get right into it. So, as you guys can see, you do have a different setup when it comes to the back now, so it's not the same as the v60 and uh, let's just start off with the camera, so you have your regular photos just like so see we could change it up just a little, so you have your photos which you're able to zoom in about two times, so you can get a nice little close-up shot. Let's see how fast that is when it comes to taking photos pretty fast, all right, so you have your portrait mode, which is basically you can blur out the background, get a nice little both, and it does actually tell you when, when you're able to actually take that type of shot. Now you have a bunch of different settings here. So you have a 3d effect cartoon background, so you're able to add a bunch of different stuff when you could get that portrait mode, and it does work for humans, I'm not sure about animals.
Now you have your 3d stickers, but you can add a bunch of stickers, and you can make the photo pretty fun add different ones. You can put some type of uh. What is this a taco okay, but it has to find a face first. So basically just some filters all right. So when you go into more you're going to more here, so you can do more here all right.
So when you go into more, you have a night view mode, which is basically, you could take some better shots in the dark panorama which you could take a really wide picture without having to use a wide angle lens- and you have your manual settings here for your manual camera, so you're able to adjust a bunch of different stuff here. So you have your autofocus, your white balance. Uh, you do have your ISO and your s-stop over there. So if you guys don't know what that means, that's basically some stuff when you have an actual camera like a mirrorless camera, where you're able to adjust a bunch of stuff. So you have your white balance and your um uh.
I forgot the exposure there you go, so we have your ISO, your shutter and your autofocus and your white balance you're able to adjust that all right. So let's get into the top itself, let's see what's on that top okay, so let's just get out of manual all right, so let's get out of there. So you just hit the x right there on the bottom, all right. So let's just go into the next one um, so it's photo stickers. We did that one.
So next on the settings is that you have your slow motion: YouTube live and your AR stickers, which is pretty cool, so that's pretty much what you get, and you can actually customize which one you want up top which one you want on the right which is pretty dope as well. So let's go back into portrait, let's see! What's on the other side, so we have video, which is pretty cool, so you have your ASMR recording where it will amplify the sound of a subject in a video recording. So you can hear even the softest sounds. So if you guys haven't watched any type of ASMR videos where they're eating crab legs and just a bunch of stuff, that's exactly what it is. You got the voice both take a video that reduces the ambient noise and focuses on the voice.
That's pretty cool as well. Let's see how much you presume into there, so you can zoom about one time or a half for video, and now you also have time-lapse there, where you're able to do a little time-lapse of some type of background that'll make it go faster when it's taking like a really long video, so you can actually adjust that to how fast it will go. So you got 30 times 60 times, and you have it on auto as well. Now, let's head into the top real fast just want to get into that all right, so you have your full HD now. This is on time-lapse, so we do have to back out here all right.
So let's get right back into photo and let's just see the type of settings that it'll get. So you have your 4x3. These are your different ratios when it comes to taking photos, so you can actually use the whole 48. Megapixel is over there see if we could um hit that real fast. So you have 48 megapixels 4x3 16x9 one by one, and you have the full phone right here, where you're able to take a whole shot, and it's a little bigger, but it does lose some quality all right, so I usually try to leave it on 4x3 when it comes to uh.
You know saying like a lot of social media posting, but when I have phones that have the 48 megapixel, I try to leave it on there. So you'll try to leave that one as your stock option, because you want the clearest and nicest photos that you could get now go over here. You have some filters, so you are able to change some filters when you're taking a photo. Just like so black and white a bunch of different photos. So when you don't like the colors of something, you could probably turn that on now here you have your flash on and off flash pretty simple.
I usually leave my flash off because I really want to see how it is. You have your self-timer right there. If you want 3 seconds 5 seconds or 10 seconds, you could definitely get that without an issue, so go back to there now back to the actual camera setting. So, let's see if we could turn it down. My exposure is a little high, but let's see if we could get it done, or we could just turn on the brightness just a little all right, so the brightness is a little lower.
So we could try to look through these menus. So you have the auto scene optimizer, which will basically take phone with the best settings for the scene. Composition, take a picture by using a composition suggested depending on the person, uh tips, you have your photo size, so I like to keep it on the 48 megapixel like I said before, but you can actually do a bunch of different stuff here. So this is pretty much uh. What you'll get so you guys could pause this and read it for yourself.
You definitely can check that out. So you have your save as your high efficiency, one, where you're basically taking photos that have a different size type, so it actually saves a lot more space. So if you don't want to take up your phone, when you know you take a lot of pictures, then you could definitely turn that on. But if you do want to edit photos, you should probably turn that off. So when it comes to the grid right here, so we have grid cheese so for the grid.
You want to put that on when you want to get that perfect centered photo for the cheese shutter, you could say whiskey, cheese, smile or kimchi or lg when you want to take a photo. If you're, you know having a group photo or like a selfie, and you just really want to take the shot without actually holding it, you can turn that on as well. When you add the signature you're, basically adding like the lg signature to the bottom or whatever you want to add, it is customizable. So if you guys have lg foam, then you guys already know what this is yeah, that's a big ROG all right, and I can't cancel, and you could tag locations as well. So, basically guys that's what you get when it comes to the lg velvet.
When it comes to camera settings um, let's see how the quality is real, quick. Let me turn up that brightness just a bit all right, so the brightness is up. Let's see how the quality is when it comes to that 48 megapixel camera all right, so the flash is on thanks for doing this. Video flash is on. You got something on my uh all right here we go all right, so let's just see how it is now it's a little exposed on the camera, but it's really not exposed at all.
Let's see if we could uh show what it looks like there. It actually looks pretty good all right, so you see it see how the quality is there. It's not even turning, but the quality is actually pretty good. Furthermore, it's just a little overexposed for the camera. Um.
Let's see I like adjust that real fast all right. So, let's take some photos. All right, bring it out. Just a little. Take some pictures here.
Now quality looks pretty good, let's see if we can zoom in there nice on edges. Now it's a little hard to see in the camera, because I'm a little overexposed, but it's all the stuff. That's coming out of this phone, all right so uh here it goes, quality looks pretty decent. One thing that I did not show was the front facing camera. See if we could uh show some stuff with the front facing camera, uh pretty much the same settings you can actually put the HDR.
You can do like the kimchi thing or whatever, but um. So one thing that I missed out was about the video settings. How much you could do so? You're doing HD full HD, full HD 60, so there's no 4k 60 here it doesn't look like so um, don't see 4k 60, let's see with the front facing camera all right. You could do 4k as well on the front facing camera over there. So you have the 4k option just really wanted to actually show that real, quick and back to the video all right.
So if you guys like this, video hit it with a thumbs up, if you guys have any questions, let me know down in the comments below I'll try to answer them for you. But these are the basic camera settings of the lg velvet peace and love I'll, see you guys in the next video later camera's pretty good by the way.
Source : Phone Tech At Work
Phones In This Article

Related Articles


Comments are disabled
Latest Articles


