LG G8 ThinQ - Screen Repair - TearDown By Jose Morales

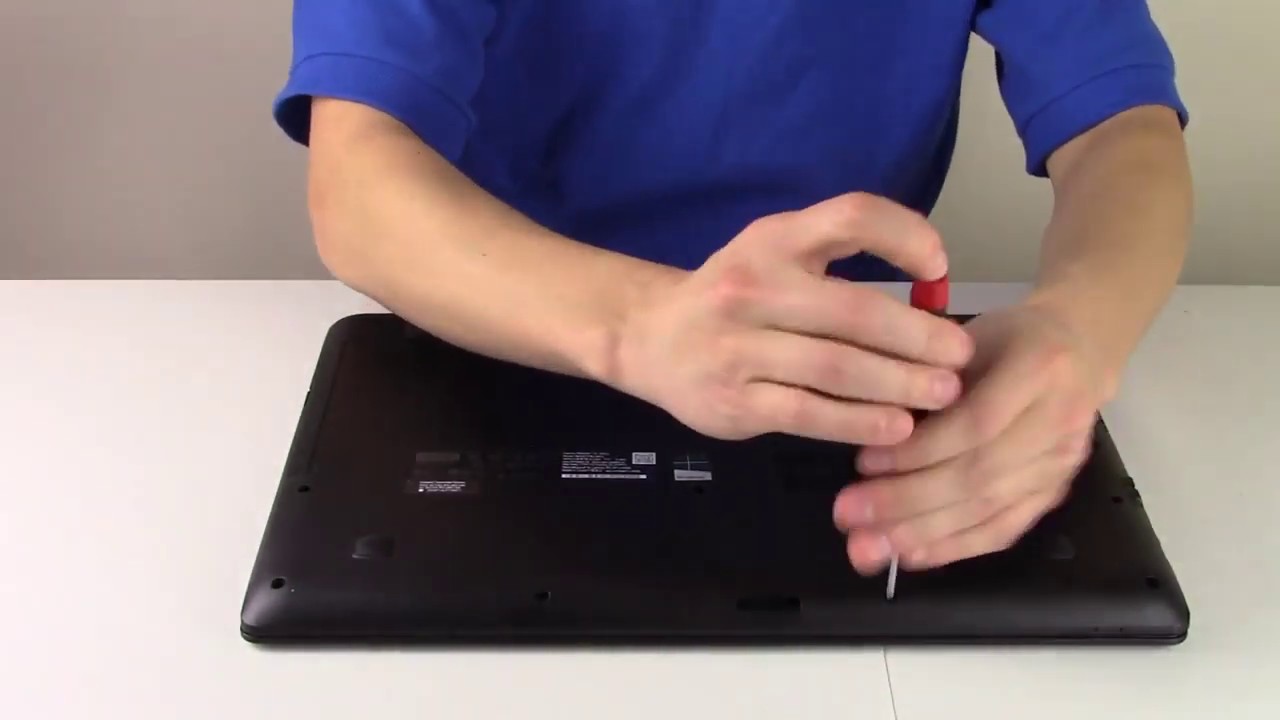
Hey guys welcome to another video on today's video. We got this GA thing cube. So what happened to this phone? Like always, it has a broken screen, so it still works, but as you can see, it looks horrible. If you touch it, you might get a glass on your fingers, but anyways you see it's a Verizon uh phone, that's the model! Ga, thank you. So, let's work on this phone, we're gonna start by removing the back cover. We're going to heat this up a little.
Let's use our heat gun there we go. We heat this up a little, and we're going to use our razor blade just to get a little in there all right. You see just a little to slide my playing card in between there, as you guys can see. I already like went like all the way in the corner and that's how we get our entrance as you guys can see, we can just go around and cut it pretty easy. I know it's not gonna.
Be that easy, but you know just give the right amount of heat. Don't apply too much heat. To be honest with you, don't go crazy, but you know it's a good amount. You see that's about it, I'm not cutting off this video. You see just to show you how much heat I used.
So I'm not going to skip there. We go see. Now we go on the other side, see that's about it. This one does not need that much heat just enough to cut through there. So right there, and now we can like just pull a little and see what's going on and if it requires just keep pushing down uh with the playing card, we're going to find a little more glue in the middle, but that's going to be it.
Let's see, you can see the glue right there. There is where you're gonna just basically touch with the with uh the playing card. So don't pull too hard. You don't want to damage. You know.
If it's not going just apply a little more hit. You know, don't try just to pull at once and, like I said, do not use uh the eraser blade to go around because, like for real that that's not going to be good. So that's all we have to do and boom boom. That's how you remove the back cover. You see how it easily came off, as you guys can see.
We do not have any cable. Every connection right here is with contacts you see with like kind of spring contacts. So that's it. I'm going to put the back cover on the side. We're gonna, remove all the screws, all right, all the screws are being removed, and now we are going to just uh lift this uh plastic holder, we're just pushing down all the screws.
I mean all the cables against the um against the motherboard, just to kind of keep the motherboard on place. As you guys can see. That's it that's one piece and always the bottom piece on this. Android font is the loudspeaker. So I'm just going to push it out, as you guys can see.
That's the loudspeaker, let's put that on the side, and now we are going to remove the sim tray there we go so now, uh we are going to unplug the battery and then the front camera. The front camera is right there. So, lets uh just unplug this quick just like that, you see, so that's gonna, be like oh, it's like a wing. That's weird anyways uh, we're going to unplug, the um, that's the LCD! Actually! So, but you know what uh before we keep going and removing the LCD. This can stay, unplugged doesn't matter, but we are going to connect and try our new LCD make sure the battery is unplugged, though, because that can damage the LCD too and let's push the power button there.
You go. Look at that. So that way you know we don't install the screen and then, when we get to a problem like we have to remove it, so we're going to avoid any headache. So let it turn on for a little all right. So now the needs just test.
If every letter is working, yep everything is working. Fine, they're repaired, so unplug the battery again unplug the new LCD put it on the side, and we're going to keep going. So now we have everything on the top unplugged, so we are going to unplug these two little cables on the bottom, which they are antenna cables. So there you go one two, that's it and to remove the motherboard, we don't have any screws, so all we have to do is lift the motherboard, so we're going to push it uh from the bottom and remember on the bottom. We have the charging port like coming from uh, it's uh.
It has the Lego connection on the bottom, so you have to be careful, though, when you lift that motherboard there you go gotta, do it slowly, just like that and boom, and this is the connection I'm talking about the charging port. If you guys need uh to replace the charging port, that is the charging port. You can go ahead and do so all right. I'm going to show you the charging port, how it looks, we're going to put it on the side uh. We do not need to remove the battery because the battery stays in there.
Our cable LCD cable is right here. So right now we are going to proceed and remove this LCD, so we're going to use our heat gun again. So this time we have to give a little more heat than what we did on the bottom remember. We have adhesive all the way around so probably like not much in the middle. If you apply so much heat in the middle look, what happened uh the screen becomes yellowish so, but we are going to start always start by the cable, because that's going to be like a weak spot for the LCD, and you know I'm starting with also with my eraser blade uh, as you guys can see.
Like I told you like around the cable, is a weak spot. We can use our playing card too for this, so we're going to go all the way around there we go. You know as much heat, you apply the easier it's going to be to remove that glass, but also the easier is for you to get burned. So, so just be careful, I'm going to apply a little more there. You go that's about it! I'm gonna use this one.
Now then I have, I can have like anything in there just to push uh to push my LCD out uh there you go like I say you know this one has only glued uh on the edges, so it's not going to be as difficult. Probably if you have like uh the screen, all shutter, especially on the sides, are gonna, be a little more like headache like there. We go see, that's how you remove that LCD. So now, as we can see, this LCD is a special LCD. It's not like your usual LCD.
We have a little component right here on the back. You see we have these little component, that we have two removed and installed and the new screen. So, but let's do that later, let's put this on the side and let's clean up our frame because we have pieces of glasses left over on this frame. So this is the time to grab my tilt brush and just brushed uh all the edges on this phone. You know, or even the whole housing just to prevent any little uh piece of glass stuck in there and ruin my day.
So, let's just remove all little pieces like that, and so you guys can see that frame. Look awesome again. There we go, everything looks beautiful. All the glass is being removed, so there we go, and now we're going to proceed with the screen. What I'm talking about is uh.
You see we have this. We have this little sensor or could be even like a 3d touch like we have seen on the iPhones, so I'm going to apply just some heat. It's going to be easier to remove it because, as you guys can see, it goes stick to the frame. Let me see. Maybe I can use a playing card, so there will be less damage there.
We go. It's gone in pretty good, so be careful because that little cable it look really thin and fragile. So there we go now we're gonna, open the lid right here, pull the little cable there. We go. That's how it's gonna look and let's grab our new LCD there.
We go open the lid and close the lid very easy. So that's how we're going to have it and just we're going to position this uh on the same place? How the other one was so this I have to go on the opening right here. You can also like to test it before you install the screen. You see, you can test make sure it goes in between this space uh, because another way you can break the screen, but anyways uh. If you do that, you're going to see, and you're going to have enough space there.
So that's it. We have our LCD ready to be installed. So let's go ahead and do that. So what we're going to do is we're going to grab our b9000, so this is safe glue to use to re-glue our new LCD, and we're going to apply it on the same matter and how it was how the factory came. You know just uh applied all the way around.
You see the white uh stripe, so we're going to apply glue on the same place. So that way, you know we're going to avoid putting glue where I don't need it, because you don't need to put that too much glue on other places that the phone doesn't even need it. I see some people even putting some glue on the back of the LCD, which is a crime. Not all the LCD needs glue on the back. Some of them can even get damaged by doing it so, but anyways just apply glue.
You see on the white stripe how we are doing it right now. There you go almost done and yep that's it. We have enough glue there to hold our screen, really careful. We are going to lay our screen flat on that frame, so you can watch and see. Maybe there is nothing in between this LCD and the frame, because that can also damage our screen.
Just lay the screen flat on top, when it's already flat on top, then we can go ahead and check all the little corners make sure it's going to be aligned and from here we're going to put our clamps, and we're going to let it sit at least 10 minutes, okay at least 10 minutes, because if you start to work on it, you know you don't want that screen to be moving. Meanwhile, is drying. So let's put our clamps and let it be for, like 10 minutes all right guys, it's been over 10 minutes, and we are going to remove all these clamps. Let's do it. There we go, and now our phone is dry with the new screen installed on.
So we're going to jump right ahead and install everything back on this housing, but anyways uh right now, I'm going to go ahead, and I'm plugged in the LCD connector right there, and please don't forget these two little cables, which are antenna cables. If you forget these, you might have like uh, you might lose signal and or Wi-Fi reception. It could be any little problem. You know there we go, and then I'm going to install the headphone jack there we go and remember that one has one single screw right there, all right we're pretty much done here. This phone does not have any crazy, uh cables or any other crazy type of stuff.
You know what I'm talking about uh. You know because we're going to install uh the back cover if there is any uh glue around there, because you see the glue becomes like hard and damaged uh just peel it off peel it off, because we are going to install the back cover using also the b9000, because uh this adhesive uh really got damaged, so I don't want to use it. If is this bad? You need to replace it. So that's it. We just.
We just want to have this housing completely like renew there. Furthermore, we go so at this point, I'm going to put the sim tray back on the phone just because uh it's gonna even help to hold it. There we go, and also we don't forget later on we're going to install the loudspeaker. As you guys can see, we have the loudspeaker, so just push it in its nothing else you have to do now. We have the uh, oh wow.
This is a wireless charger. This is the wireless charger inductor, as you guys can see, just make sure, let's inspect right there, if you have any other components. No, we don't have anything so uh plug the battery, make sure there's nothing in between, because if you leave like even one single screw like this, if you leave it like in between there, it's going to like burn the form, so just be careful and just push the plastic against the phone. All right. Now we're going to put all these uh screws back on the phone.
So all right and that's the last one. So we have everything set. We can go ahead and even test turn on the phone test. The screen, because all we have here is what it looks like a fingerprint reader right there. So we can just go ahead and turn on the phone, but let me just install everything at the same time, and then we're going to turn on the phone.
Like I said you see, we have adhesive, which is damaged all the way around here uh. We have to remove it because another way, the that back cover is going to be lifted, which also is fine. So at this point, we're going to apply a little of b9000 again all the way around just to secure the back cover uh. We don't want that back cover to fall off. So that's good enough, like I said you do not need to put like in the middle.
That's that's a crime, don't do it. So, let's just lay these on top and push it against the phone, make sure it's closed. There we go and also here you know we can go ahead and put the clamps and let it sit again for like five ten minutes just to make sure it dries all the way it's not moving there. You go again we're going to be back like um, five, ten minutes, all right guys. We have finished, it's been more than 10 minutes.
We are going to remove all these little clamps uh. Furthermore, we have our back cover already glue. There you go. We have our new screen, and we're going to turn on this phone. There we go lg, GA, thank you.
There. You go brand-new screen all right guys. There we go, look beautiful colors! Of course, we installed a brand-new screen original screen because I think they make also uh Chinese copies for this, but, as you can see, the OLED screen is totally different from the LCD. So just make sure when you order the screen do not order like LCD, make sure it's all led just I might leave a link down below uh. Where did I buy the screen, so you guys can get it from there? So there you go guys uh! That's it! Thank you for watching, don't forget to subscribe I'll, see you guys tomorrow, bye.
Source : Jose Morales
Phones In This Article

Related Articles


Comments are disabled
Latest Articles


