iPhone 7 Plus Camera Tips, Tricks, Features and Full Tutorial By sakitech
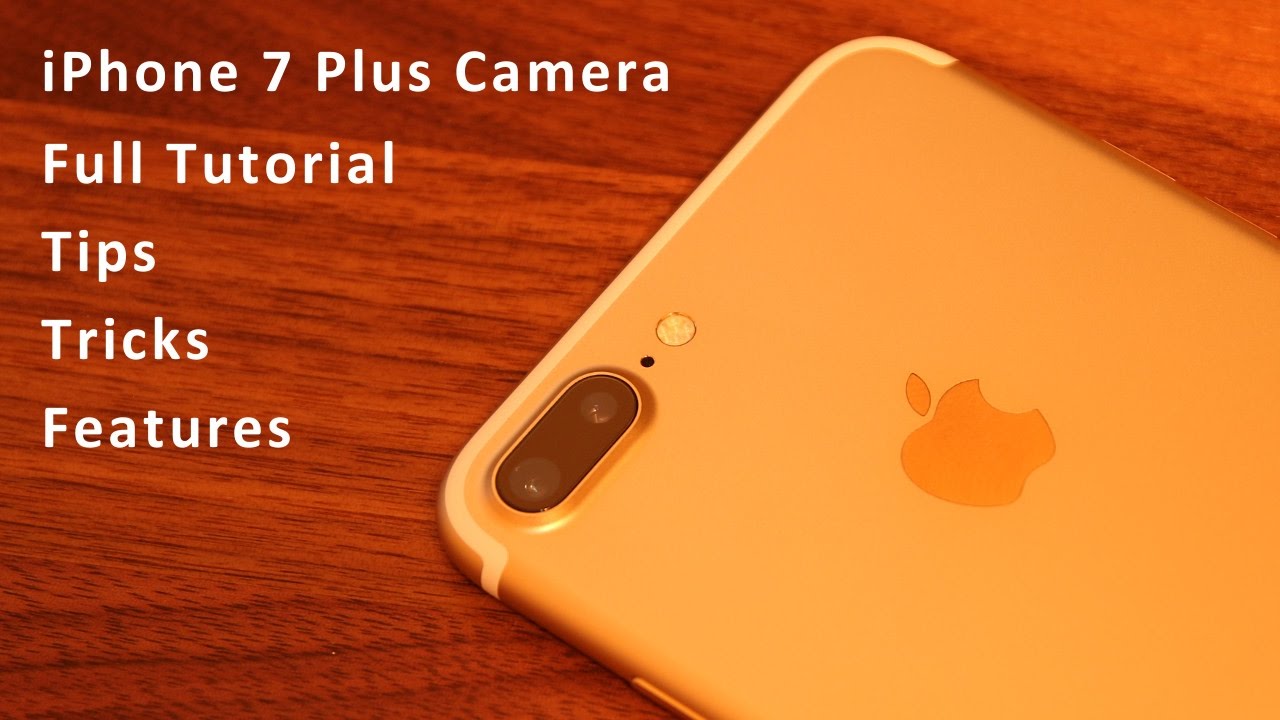
Hey there, my friends' sake here from sake Tech and in today's video I'm, going to share the full suite of tips, tricks and features for the iPhone 7 plus as camera. The iPhone 7 plus has an amazing camera setup. It actually has a dual camera system. One camera is a wide-angle 12 megapixel camera with an aperture of f11 8, while the other camera is a telephoto camera. Also, 12 megapixels, with an aperture of f-22. Most of the pictures and videos you take are going to be using the primary 12 megapixel wide-angle camera.
The reason the second camera exists is to give you optical zoom and to give you nice portrait shots, and we will be talking about that in a minute. But together, these two cameras constitute one of the best smartphone camera in the world and because it is such a great camera, I highly recommend learning as much as you can so in this video I will give you a full tutorial to master every aspect of this camera, let's dive in alright. So lets all launch the camera really quickly and go over some basics. Just in case you don't know everything that is to know as far as the very basic level is concerned, and I'm sure that you know that you can swipe over to change different camera modes. So that's the panorama mode right there that's the square mode which is equivalent of Instagram, and then you have a photo over here, which is your regular photo shot.
And then you have video slow-motion and your time-lapse videos. So let's go back to the picture mode photo mode over here and on the top. If you tap this, you get access to light effects. So if you were taking a picture of something, you could actually live preview. The picture with the effect that you desire to apply to that picture- and let's say you like this effect over here- you tap on it and that's how you take the picture.
It automatically takes a picture with the desired effect instead of going into the picture and editing it later to add that effect manually. So let me just put this in normal mode in the middle is the normal mode? There are no effects applied. The other thing, of course, on the top is the timer select, so you can select between 3 seconds or 10 seconds and if you tip tap on 3 seconds and if you take a picture, it simply takes 3 seconds before it takes a picture, and it actually takes a burst photo. So it's not going to take one picture. He's gonna, take a burst session of photos, and you can pick the best one that you want.
So just remember, anytime. You take a picture using the timer option. It's going to take a burst of 10 photos. So if I go back over here and if I shut off the timer and if I take a picture, it takes one picture if I tap on the timer and let's just select 3 seconds and if I now tap the shutter button, it's going to count down and as you can see it just took 10 burst photos. And if you go into the album, it's going to say on the top over here: burst, 10 photos and what you can do is you can tap on select, and you can preview.
The 10 burst photos that it just took and what you're supposed to do is simply pick the best one that you like so tap this one click done. It deletes just gonna. Ask you if you want to keep everything that it just took, that means the 9 photos, or you only want to keep the one that you favorite all right so again, I can have two favorites. If I want it, you just check them as you preview them, and you go back. Let's say you said this looks the best you click done, and then you say, keep only one favorite, and it deletes the other 9 and keeps the only one that you want to keep now.
Obviously this is good for more than one reason. This is also good because it actually saves a lot of space. If you didn't know that your timer takes 10 photos, you've been wasting a lot of space and the only way to find out that a photo is a burst photo is to look on the top or look at the bottom so over here right now, this is not burst anymore. Let me take one more: let me show you what I mean: let's go back, let's do a timer shot. It took 10 photos.
If you go back in here, it's going to see, burst 10 photos and at the bottom it's going to allow you to select. So that select is only so. You can select the photos that you want off of all the bursts. Now, if you are focused on a burst photo, if you click delete, it deletes all ten photos, it says, delete ten photos, and they're all gone. Let's go back to camera and then over here.
Let's turn this off. Really quick and as you know, this is a live photo. I'm sure you know exactly what that means. If you don't know what that means, I encourage you to go to Apple's website and look for live photos. Basically, your camera takes a picture, but it also records the video before and after that picture, giving the picture a live effect, so I think it records one point, five or three seconds before and after a picture is taking, so the picture actually comes to life and that's why it's called live photo and the top here is a fantastic feature.
HDR photography now make sure you have this thing turn on if you're, in an environment where there's a lot of different colors, such as, if you are in the city, and you're, taking a picture of a nice building, but then you also have the sky. You also have the pavement. You also have people walking by you have a lot of different colors. HDR is perfect for that kind of shot, because it takes three photos at low exposure, high exposure and balanced exposure and combines them all together to create a color, rich and light rich photo. It's going to look way better than a regular picture.
It is certainly going to look much richer and colorful and better exposed than a regular photo, especially in if you're, in a tough environment, where there's a lot of light, a lot of different colors and just a lot going on in the frame that you're trying to take a picture off now. I do recommend actually keeping this in auto mode, because the iPhone does a great job of picking correctly at the correct time whether it should be used or it shouldn't be used. And of course this is the iPhone 7 plus. So, as you know, there are two lenses, as we talked about in the beginning of the video and the really only reason there's a second lens. A telephoto lens is to enable optical zoom.
So if I put something over here and if I tap this one X over here, it's actually going to optically zoom two times on lens. So in this scenario, you're not losing any quality. Okay, you may lose a little, but not too much, because this is optical zoom, but it is using the secondary camera right now to zoom in to this lens and again, if I tap this, it goes back to 1x and at 1x it's using the wide-angle camera that I talked about at 2x, it's using the telephoto camera that I talked about, which is f, 2.2 and just a generic tip here that has nothing to with the iPhone 7 plus, but 2 X optical zoom is a great way to take, portray pictures. So, if you're taking a picture of somebody- and you just want to take a picture of their face, it's nice to go back a little, do an optical zoom and take a picture of their face. That way, it's going to give you much better portray pictures, because it's going to give you that nice background blur that you don't get with the wide-angle lens.
So just remember. This optical zoom is good for zooming in optically, without losing quality, and it's also great for taking a portrayal shot of a person and giving you a nice background blur. While it fully focuses on the face of that person and of course the iPhone 7 plus allows you to zoom in up to 10x digitally so the 2x is optical, but anything beyond 2x zoom up until 10x is going to be digital zoom, so the quality is going to go down, but at least you can get up close and personal, and all you do basically is on. If you tap on this button and hold it, it brings up that wheel, and you can scroll over like this, and then you can zoom in all the way up to 10x. Alright and you are going to lose quality which you can, it's still a good thing to have again press and hold, have they will come and then just manipulate that wheel to zoom in and zoom out now.
One more thing I want to talk about. Another basic tip is the controlling the exposure on the fly using your fingers. So basically, let's say you tap on this picture. You focus on this camera lens because you want to take a picture of it, but let's say that you think this picture is a little overexposed. For example, right now it looks like there's so much light that you can barely see the camera and everything out there is just blown out of proportion.
So what you can do is you can tap on that camera and simply slide your finger up and down to change the exposure on the fly. So let's take a look at how that works. So if I go like this, I can actually lower the exposure. As you can see, that's a much better picture right there than the blown out version we just saw again he can swipe up to over blow it or swipe down to just bring things a little back to normal okay. So let's keep it right here and take a picture fantastic now.
The other two things I want to talk about is the video mode and the slow motion mode. Now, when you go to slow motion and video, it's very easy. You simply click record, and it starts to record, but you don't really know exactly what you're recording you don't know what resolution you're recording yet and what frames per second you are recording at and both on the video mode and the slow motion mode. You have several options that you can pick if you want to, and let me show you where to go for that, so basically go into the main screen. Furthermore, you go into the settings you scroll down where it says, photos and camera you tap on it, oops, that's the books, photos on camera, and you scroll down and over here you have four options for the camera.
Now, first and foremost, if you don't have, the grid enabled just enable if it's nice to have those lines across the camera. Let me just show it really quick over here. If you look carefully you'll see these lines over here. That just allows you to better align a picture when you're taking a shot, but let's go back to settings and let's go to record video and let's click on this and as you can see, you have a bunch of options. So, as you know, the iPhone 7 plus can record in 4k video.
But if you want to record in 4k, you have to choose the option once you choose the option and if you launch the camera over here and if you scroll over to video on the top here, it's going to say 4k. If it says nothing, then that means you're recording at your default mode. The default mode. Is this one right over here: 1080p high definition, thirty frames per second and of course you also have the option record at 1080p at 60 frames per second, which is gonna, give you a nice smooth and stable video, but it's only going to take more space on your iPhone. So if you don't have a lot of storage, you may want to stick to 30 frames per second.
But if you have a lot of storage space or if you just want high quality, smooth and stable videos, just go with 1080p at 60 frames per second, that's going to get you the best video you can find on the iPhone. You also have the option to go for the regular HD. So this is a regular HD. That's full HD, Full HD is 1080p and regular. HD is 720p, and you can record at 720p, but that's going to give you a low resolution and only 30 frames per second and again, if you go into the camera on the top, it's going to say 720p, and you already know it's 30 frames per second, because that's the only option now what if I pick 1080p at 60 frames per second, if I tap this guy, if I go back into the camera on the top, it's going to say: HD, ? 60.
That means high-definition 1080p at 60 frames per second alrighty and one more thing over here. If you go into the settings over here, it tells you it gives you a nice little chart over here. It says if you record a one-minute video at 720p at 30 frames per second, it's going to cost you 60 megabytes of storage, but if you record 1080p at 30 frames per second there are 130 megabytes, but if you go to 60 frames per second you're, actually wasting 175 megabytes and, of course, at 4k for just one minute of video you're going to be wasting 350 megabytes. So these are some nice numbers to work with. Finally, when you're recording video, what the iPhone 7 plus does, is it switches between the two cameras, it switches between the wide angle and the telephoto lens as it pleases? So, if you don't want that to happen, you simply lock the camera lens and, most of the time it's going to be using the regular wide-angle camera lens that we talked about.
But if you disable, this option is going to switch back and forth between the telephoto lens and the wide angle lens as it desires, which might not be what you really want. Okay, so that's the regular video and if I go back out here again and if I launch the camera and if I scroll over to slow motion, as I said, you have a couple options with the slow motion as well, so by default, you're recording at I'm going to show you right now. Here's record slow motion, you're recording at 720p at 240 frames per second, but as you can see, you have the option to record in full high-definition at 1080p, but at 120 frames per second. Basically, what that means is with the 240 frames per second, you can actually slow down the video much more than if you did at 120 frames per second, but you get the lower quality. If you want a higher full high-definition resolution, you can do on a 20 frames per second or if you want slower video, then you can go for 720, which still looks great, but it's just not as high as 1080p and again at the bottom.
Here it shows you the difference so one minute of video in slow motion, if recorded at 720p at 240 frames per second, it's going to waste 300 megabytes of space, but if you do 1080p at 120 frames per second is 350 megabytes. So that's 50 megabytes more for one minute of slow motion, video and again, if I choose this and if I go back into the camera and if I scroll over on the top, it's going to say HD. That means 1080p and that says 120. That's the frames per second alrighty and let's go back out here and when you buy your phone it comes the default setting is 720p. So that's the two options we have for that at the bottom.
Here we have a file option. It says, keep normal photo. So, as I told you, when you take a picture using HDR, what it does is it blends the best parts of three separate exposures into a single photo, so what you can do is, if you enable this, it's going to show you the picture it took at the normal exposure. So remember, I said it takes a photo at low exposure and high exposure and in a balanced exposure. So it will keep the normal photo.
So you can compare the HDR version to the photo that would have taken that you would have taken just normally without HDR. So let's enable that- and let me just put this lens over here- one more time and now, let's enable HDR and let's take a photo. So now, if I go in here, it says HDR over here. So you know that is the HDR photo. But if you swipe over, it actually took a picture in a normal situation.
So this is what the camera would have taken without the HDR. This is what it took with the HDR. Now, there's not a lot of difference here, because the lightening conditions are not that crazy. But if you go out and try to take a picture of a very advanced scene, you will see the difference all right. So if you want to you can keep this enabled just see the differences but make sure you shut it off later because it does take extra space.
Each photo is going to cost you a couple megabytes so if you're short on space, just disable these options that you do not need- and that's basically if I mean if you go up here. These are nothing. It has nothing to do with the camera itself. It's just the way the photos are organized. But let me just talk about this one really quick! That's the iCloud photo library.
If you turn this on what it's going to do, is it's going to upload all the pictures you have on to the actual iCloud photo library, and then you can access those pictures from other Apple products such as MacBook, iPads, other iPhones and even online. If you go to iCloud com, so basically any picture you take on this phone right now. I have this enabled. So if I go back out here and take a photo, let's take a photo of this again take a photo. What it does is it uploads that photo to your iCloud library, and it automatically pops up across all your Apple devices, your iPad, your MacBook, as long as you have the same option enabled on the other end.
So that is something you want. You can actually enable this option. Let me go back in here and show you one more thing, since we are talking about that, it also allows you to optimize iPhone storage, so you can either keep the original picture that you took. We can tap on optimized, iPhone storage and what that's going to do. Is it's gonna, keep the photos on your iPhone, but it's going to lower the quality.
Hence, save you, some storage space. Just remember the actual high quality photos will be uploaded to your iCloud account, so you do have access to them all the time. But if you want the originals with the highest possible quality right on your iPhone, make sure you say download and keep originals now, I don't like to do this because then any crappy photo I take, gets uploaded to the iCloud. So I like to turn this off, and then I can manually upload the pictures that I want in my photos, album and upload them as I, please, okay, so that that's basically it guys I mean there's not a lot going on over here at the camera. Everything is taken care of in the background, so you don't have a lot of modifications to make such as Android smartphones, but these are the options with the video make sure you pick the right option, and again you have to look at the top over here to see what resolution and what frames per second you're recording at again 60 frames per second at 1080p is gonna.
Give you super smooth and stable video. If you go to slow motion again, you have two options: 720p at 240 frames per second for super, super slow motion, video or 1080p, which is higher quality, but it's going to be 120 frames per second, and I do want, let you know if you're looking for a camera. That is a little more advanced. If you want to dive in to the camera and configure a lot of options manually, you can away always go to the App, Store and download a camera app that is more advanced than the basic app on the iPhone. As a matter of fact, if you go over here, there's one camera that I did see.
It's called pro camera. It's $2.99 right now is I. Think it's on sale and this guy is gonna, give you more options and, as you can see, it looks much more advanced, so you have the options to actually download apps. That's gonna, give you some real depth, but for the basic camera this is all you have, and you should be aware of everything you do have, because this is a Spencer phone and the camera is absolutely amazing, on par and even better than some point-and-shoot cameras. I hope you enjoyed this video.
Give this video a thumbs up subscribe to sake Tech. If you have not done so already, and I'll see you in the next. Video have a fantastic day. Actually I just purchased that Perl camera just so you guys can see what it looks like. So, let's go in really quick and, as you can see, it's a different interface altogether.
You have some exposure compensation graphs over here, and you can tap this button here and that's going to bring up the menu, and you can go into the settings, and here you can do a lot of stuff. You can do you know self-timer. Furthermore, you can pick the file format that you want to save it at, and you can use stabilization and whatever I'm not going to go into the details. Let's go back to the camera over here and again. If you tap these settings, as you can see, can do rapid fire burst shots.
You can enable grids. If you want to, you can actually change the ISO and shutter speed. You can change the white balance. You can actually have a histogram right here and that again is something if you aren't a professional photographer. Furthermore, you know what I'm talking about, but again I just want to show you that you don't have to stick to the basic camera.
Furthermore, you can always go and buy another camera after you. Do your research I just randomly pick this up pro camera because it was simply sitting there. All right well, I already said, have a great day. So, let's end the video right now, and I will see you the next time.
Source : sakitech
Phones In This Article

Related Articles


Comments are disabled
Latest Articles


